Introduction:
Changing a chandelier can breathe new life into a space, instantly elevating its ambiance and visual appeal. Whether it’s for a functional upgrade or a style refresh, the process of changing a chandelier requires precision, safety, and attention to detail. In this comprehensive guide, we will navigate through the step-by-step process of changing a chandelier, covering essential considerations, installation techniques, and expert tips. By following this guide, you will be empowered to bring a fresh radiant centerpiece to your space with ease and confidence.
Part 1: Assessing the Space and Choosing a New Chandelier
Level 1: Evaluating the space and design considerations
Before embarking on a chandelier change, it’s crucial to assess the space where the new fixture will be installed. Consider the room’s dimensions, ceiling height, and existing décor to ensure that the new chandelier complements the space harmoniously.
Level 2: Selecting the ideal chandelier style and size
Carefully consider the aesthetic direction and purpose of the room to choose a chandelier style that aligns with the space’s overall design. Additionally, ensure that the new chandelier’s size is proportionate to the room, achieving a balanced and visually appealing installation.
Part 2: Preparing for Chandelier Replacement
Level 1: Turning off power and ensuring safety
Prior to beginning the chandelier replacement, locate the electrical panel and switch off the power to the room. This essential step ensures a safe and secure environment for the installation process.
Level 2: Gathering necessary tools and equipment
Compile a set of essential tools, including a ladder, wire cutters, a voltage tester, and pliers, among others, to facilitate the smooth removal of the old chandelier and the installation of the new fixture. Having the necessary equipment on hand will streamline the replacement process.
Part 3: Removing the Old Chandelier
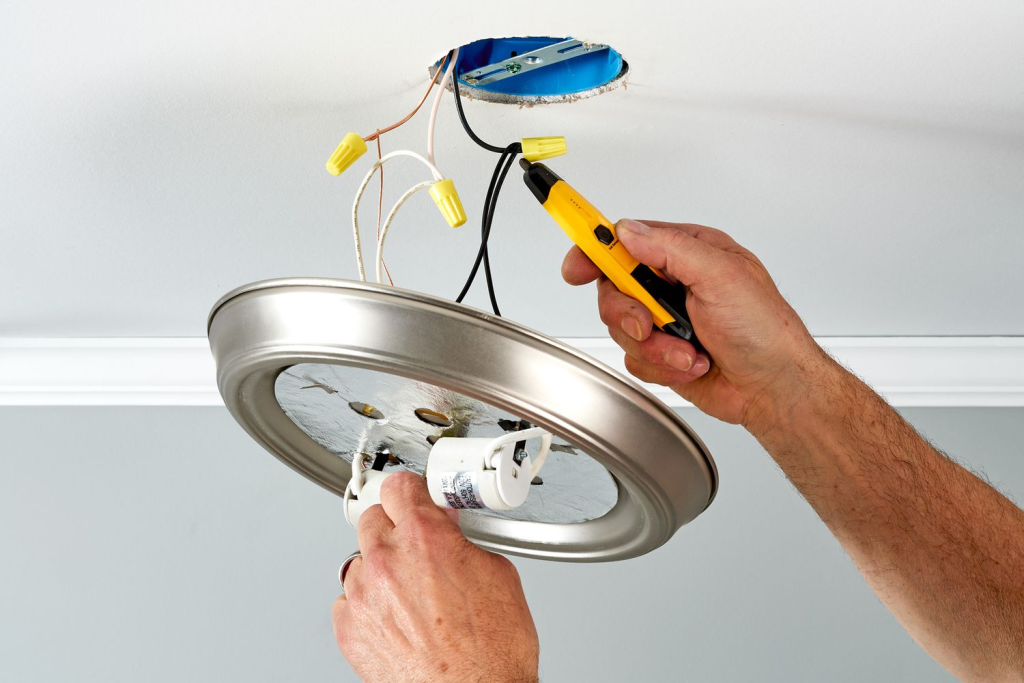
Level 1: Disconnecting electrical connections
Carefully remove the decorative elements to access the chandelier’s wiring. Using a voltage tester, confirm that the power is off, and then safely disconnect the electrical connections by separating the chandelier wiring from the ceiling wires.
Level 2: Unfastening and lowering the old chandelier
With the electrical connections secured, proceed to remove the mounting bracket or canopy that holds the chandelier in place. Safely lower the chandelier, ensuring that it is properly supported to prevent damage or injury during removal.
Part 4: Installing the New Chandelier
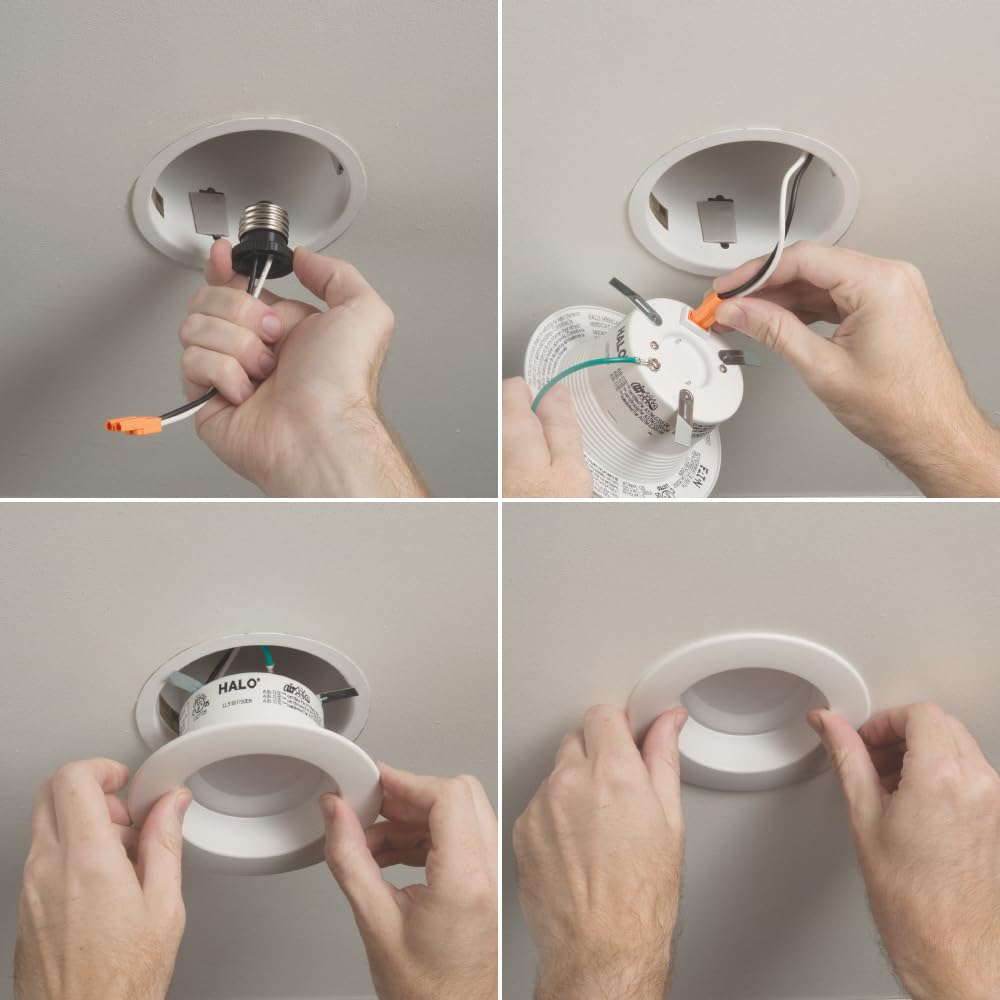
Level 1: Assembling and preparing the new chandelier
Before mounting the new chandelier, carefully assemble its components according to the manufacturer’s instructions. Familiarize yourself with the fixture’s parts and ensure that all necessary components are in place before beginning the installation.
Level 2: Mounting and wiring the new chandelier
Following the manufacturer’s instructions, mount the new chandelier and connect its wiring to the electrical junction box in the ceiling. Secure the fixture’s mounting bracket, ensuring that it is level and firmly attached to provide a stable foundation for the new chandelier.
Part 5: Adjusting and Testing the New Chandelier
Level 1: Balancing and positioning the chandelier
After the new chandelier is mounted, take the time to adjust its height and positioning to achieve a balanced and visually appealing placement within the room. Use a level to ensure that the fixture hangs evenly and is aligned with the room’s layout.
Level 2: Testing and fine-tuning the chandelier
Once the chandelier is in place, perform a thorough functionality test to assess its illumination and make any necessary adjustments. Test the dimmer switches if applicable, and ensure that the chandelier is performing as intended before completing the installation process.

Part 6: Finishing Touches and Aesthetic Enhancements
Level 1: Adding embellishments and accessories
Enhance the visual impact of your new chandelier by incorporating embellishments and accessories that complement its design and the room’s aesthetic. Consider adding decorative ceiling medallions, chandelier shades, or additional crystal accents to elevate the fixture’s overall allure.
Level 2: Dimmer switches and smart lighting integration
Install dimmer switches to control the intensity of the chandelier’s illumination, allowing you to create the desired ambiance based on the time of day or specific activities. Consider integrating smart lighting technology to adjust the chandelier’s settings remotely, further enhancing its functionality and convenience.
Part 7: Maintenance and Care for your Chandelier
Level 1: Regular cleaning and dusting
Maintain the brilliance of your chandelier by implementing a regular cleaning regimen. Use a soft, lint-free cloth to dust the chandelier periodically, ensuring that its surfaces remain sparkling and free of dirt or grime.
Level 2: Professional inspection and upkeep
Consider scheduling periodic inspections and maintenance services performed by a professional electrician or chandelier specialist. This ensures that the chandelier’s electrical components, wiring, and structural integrity are in optimal condition, promoting its longevity and safe operation.
Part 8: Showcasing Your Transformed Space
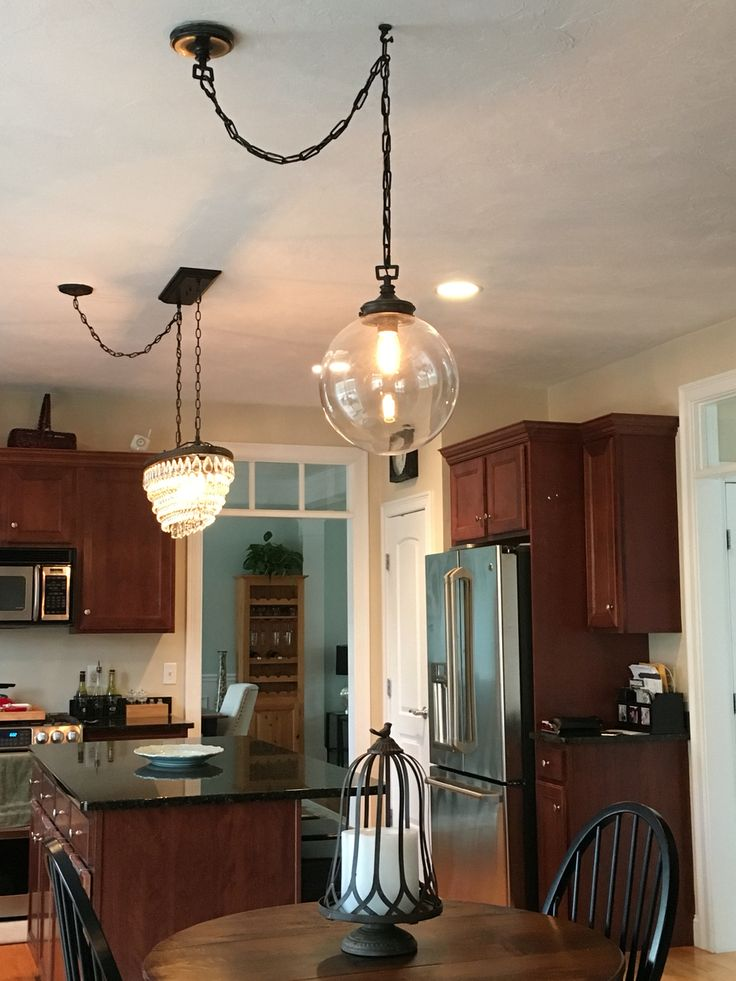
Level 1: Styling and accentuating the room
With the new chandelier as the focal point, curate the room’s decor and furnishings to accentuate its elegance. Position furniture and decor elements to maximize the chandelier’s visual impact and create a cohesive design scheme that complements the new centerpiece.
Level 2: Sharing your chandelier transformation
Share your chandelier transformation journey with friends, family, or fellow home decor enthusiasts. Whether through social media posts, blog features, or in-person gatherings, inspire others with your expertly changed chandelier and the enhanced ambiance it brings to your space.

Conclusion:
By following this comprehensive guide, you have not only successfully changed a chandelier but also transformed the entire ambiance of your space. A well-chosen and expertly installed chandelier can serve as a radiant centerpiece, enhancing the aesthetic appeal and functional illumination of any room.
Mastering the art of changing a chandelier requires meticulous attention to detail, careful consideration of design elements, and adherence to safety protocols. As your new chandelier takes its place, it becomes a symbol of elegance, sophistication, and your discerning taste in interior design. Revel in the transformative power of a well-changed chandelier, and let its radiant glow illuminate and elevate your surroundings.
Changing a chandelier is not merely a functional upgrade but a transformative endeavor that reshapes the ambiance and allure of a space. By carefully evaluating the room, selecting the perfect chandelier, and executing the replacement process with precision, you have successfully brought a fresh and radiant centerpiece to your home. Embrace the possibilities of aesthetic enhancements, diligent maintenance, and the art of showcasing your transformed space. Let your chandelier stand as a testament to your discerning taste, craftsmanship, and dedication to illuminating your surroundings with elegance and style.