Introduction to Recessed Light Conversion
Switching your recessed can lights to pendant lighting can transform the ambiance of a room. This upgrade is not just about style; it offers functional benefits too. It’s a simple change with the potential to make a big impact on your home’s interior design.
Potential Benefits of Converting Can Lights to Pendant Lighting
Here are some advantages of converting from can to pendant lights:
- Aesthetic Appeal: Pendants add a modern touch and can be focal points in a room.
- Focused Lighting: Pendant lights direct light downwards, ideal for task lighting.
- Customization: Choose from various designs to match your decor.
- Versatility: Appropriate for many areas like kitchens, islands, or dining rooms.
- Easy Update: No need for major remodeling to install pendant fixtures.
- Value Addition: Upgrade could increase your home’s resale value.
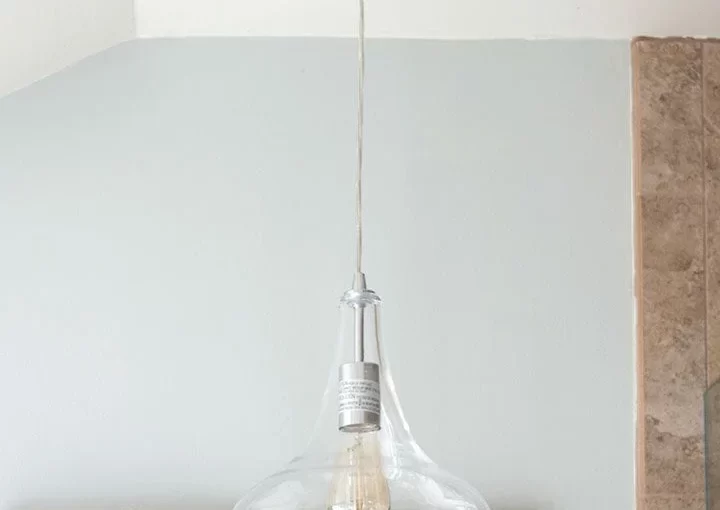
Converting from can light to pendant offers an instant upgrade to the look and feel of your home. With the Westinghouse Recessed Light Converter Kit, the process becomes quick and painless, letting you add a dash of elegance with ease.
Choosing Your Pendant Light Fixture
When you convert can light to pendant, picking the right light fixture is essential. It’s the centerpiece that commands attention and sets the tone for your room. Think about the look you want to achieve. Do you want something bold and eye-catching, or more subdued and elegant?
Deciding on Style and Scale for Your Room
The style of your pendant should match the decor of your room. Are you aiming for a modern, industrial, or maybe a vintage look? Meanwhile, the scale is about finding the right size. A very large pendant can overwhelm a small space, while a tiny one can look lost in a large room.
Choose a pendant that complements the area without dominating it. Consider the ceiling height, room size, and the area where the light will hang. Over a dining table or a kitchen island, you want to make sure the pendant provides enough light without obstructing views.
In short, when you choose your pendant light fixture, focus on design harmony and proportional balance. The right choice will enhance your space, making it more inviting and pleasant.
The Westinghouse Recessed Light Converter Kit
Transforming your can lights to pendant lighting is easier than you think. The Westinghouse Recessed Light Converter Kit is a popular choice for this job. Its design caters to a variety of lighting styles, from sleek pendants to grand chandeliers, without the need for complex remodeling.
Overview and Capabilities of the Kit
The kit fits both 4-inch and 6-inch recessed can lights. It can support fixtures up to 50 pounds, which covers most pendants and even some heavier chandeliers. A great feature is that the kit comes with a plain white medallion. You can paint it to match your ceiling or decor. You won’t need it if your fixture’s canopy is big enough, but it’s there if you need it.
Most users find that the simplicity and versatility of the kit make the conversion process a breeze. They appreciate not having to meddle with complex wiring or having to hire an electrician. User reviews often highlight how this makes the upgrade a cost-effective and time-saving project.
Essential Tools for the Conversion Process
You will need a few basic tools to convert can light to pendant with this kit. A standard drill and a screwdriver are necessary. The kit includes self-piercing screws, making it easier to attach the brace to your existing can light. With these tools and the kit, you’ll be ready to give your space a quick and stylish update.

Step-by-Step Conversion Guide
Converting your can light to a pendant is a straightforward process with the right guide. Follow these steps for a safe and efficient installation.
Preparing for Installation: Safety First
Before you start, safety is key. Turn off the power at your home’s circuit breaker. Double check by flipping the light switch to ensure no current flows.
Removing the Existing Can Light
Gently pry down the existing can light fixture. Disconnect it from the ceiling, careful not to damage wires.
Installing the Socket Pigtail and Brace
Screw the socket pigtail into the can’s socket. Place the brace into the opening and adjust to fit.
Attaching the Mounting Bracket and Ground Wire
Secure the bracket to the brace with provided screws. Connect the green ground wire to the can’s side.
Finalizing the Pendant Light Installation
After you’ve installed the socket pigtail and the brace, it’s time to add the final touches to your new pendant light fixture.
Adding Aesthetic Touches with Optional Medallions
Even if your new pendant light covers the old opening, you can add a medallion for a polished look. This decorative element can be painted to blend with your ceiling. Attach the medallion before hanging the light.
Wiring and Securing Your New Pendant Light
To wire the light, join the kit’s socket pigtail to your light fixture’s wires. Next, secure the light fixture to the mounting bracket. This makes sure your new pendant light hangs safely and works well.
These steps will help you convert can light to pendant easily, improving your home’s appeal. Remember to follow instructions and handle wiring with care for safety.
Post-Installation Insights
After converting can lights to pendants, understanding the long-term outcomes is essential.
Long-Term Durability and Performance
Once you convert can light to pendant, assess the durability and performance. Good quality pendants should withstand years of use. Check for stability and confirm that there’s no unusual wear on the wires or fixtures.
Regularly cleaning your pendants prevents dust build-up and ensures they shine brightly. If your pendant looks dim or flickers, you may need to replace the bulb or check connections.
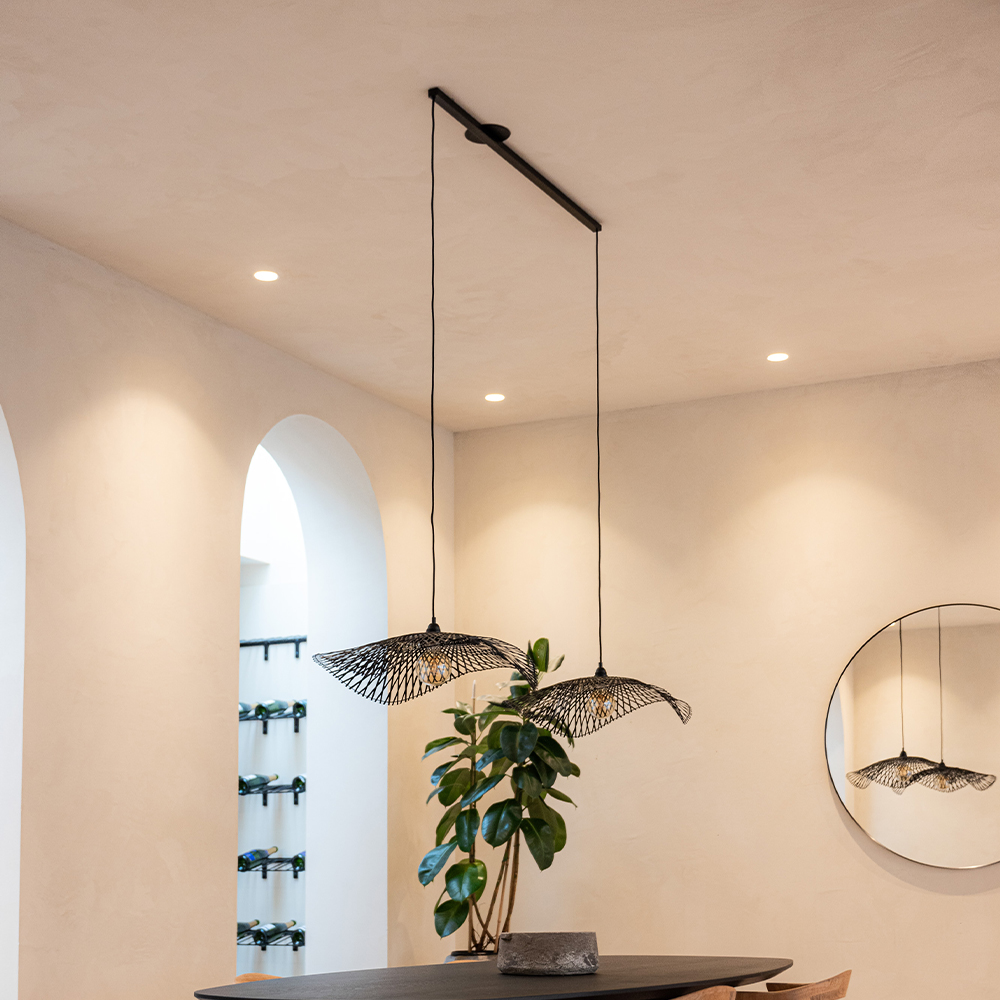
Enhancing Your Space with Larger Pendant Lights
Thinking bigger can make a bold statement. Large pendant lights act as centerpieces and spread light over a wide area. If your room feels underlit or you desire a more dramatic look, consider upsizing your pendants.
Be mindful of the scale; too large a light can overwhelm a space. Balance is key for elegance and compatibility with your room’s style. With the correct choice, larger pendants can significantly enhance the area’s overall aesthetic.
When upgrading to larger lights, you may still use the same Westinghouse converter kit. This means no additional remodeling is needed. Enjoy the uplifted look of your space with these straightforward changes.

Follow Our Home Remodel Journey
Our journey through the transformation of our 1891 home is something we’re excited to share. Witnessing the evolution from its historic charm to a modern-day treasure, we’ve tackled a series of remodels that blend tradition with contemporary style. We invite you to follow our progress and gain inspiration for your own remodel adventures.
Updates and Progress on Our 1891 Home Remodel
As we convert can light to pendant fixtures, the beloved character of our 1891 home remains intact while we infuse it with new life. We embrace each challenge and celebrate every small victory. Our journey showcases a blend of DIY efforts and professional expertise, ensuring that we maintain the home’s integrity.
Making a home update such as swapping can lights for elegant pendants can seem minor, but it vastly enhances the ambiance. By sharing our real-time updates, we hope to inspire others to see the potential in their spaces. From selecting the ideal pendant size to the final installation using the Westinghouse Recessed Light Converter Kit, we provide insights into our process.
Join us as we navigate the intricacies of home remodeling. Regular updates will reveal the transformative power of well-chosen lighting, how we address challenges, and celebrate successes. More than just a renovation, it’s a journey of preserving history and creating a loving space for years to come.