Part 1: Introduction to Makeup Lighting – Setting the Foundation for Flawless Application
Level 1: Why Proper Lighting Matters in Makeup
The best lighting for makeup Lighting plays a pivotal role in achieving flawless makeup application. Poor lighting can distort colors, create harsh shadows, and lead to uneven blending, resulting in a look that doesn’t translate well under natural or artificial light.
- The Impact of Lighting on Makeup:
Good lighting ensures accurate color representation and helps you see subtle details, such as fine lines, blemishes, and undertones. This precision is essential for creating a polished finish that looks natural in any setting. - Common Lighting Mistakes:
Many people apply makeup in poorly lit bathrooms or under yellow-toned bulbs, which can skew their perception of foundation shades, concealer coverage, and blush intensity. Understanding the importance of proper lighting is the first step toward better makeup results.
Level 2: The Science Behind Makeup Lighting
Understanding how different types of light interact with skin and makeup products can help you make informed decisions about your lighting setup.
- Color Temperature and Its Effects:
Lighting is measured in Kelvins (K), with lower values producing warm tones and higher values emitting cooler tones. For makeup, neutral daylight (around 5000K) is ideal because it mimics natural sunlight, providing balanced illumination without distorting colors. - Avoiding Color Distortion:
Warm lighting (below 3000K) can make reds and oranges appear more vibrant, while cool lighting (above 6500K) may emphasize blues and purples. Neutral lighting ensures that your foundation matches your skin tone and your eyeshadow hues look true to their intended shades.
Part 2: Types of Lighting for Makeup – Finding Your Perfect Match
Level 1: Categories of Makeup Lighting
There are several types of lighting options available, each offering unique benefits for makeup application. Below are some of the most popular choices:
- Natural Daylight:
Sunlight provides the most accurate representation of how makeup will look in real-life situations. Applying makeup near a window during the day allows you to work with consistent, unfiltered light. - Ring Lights:
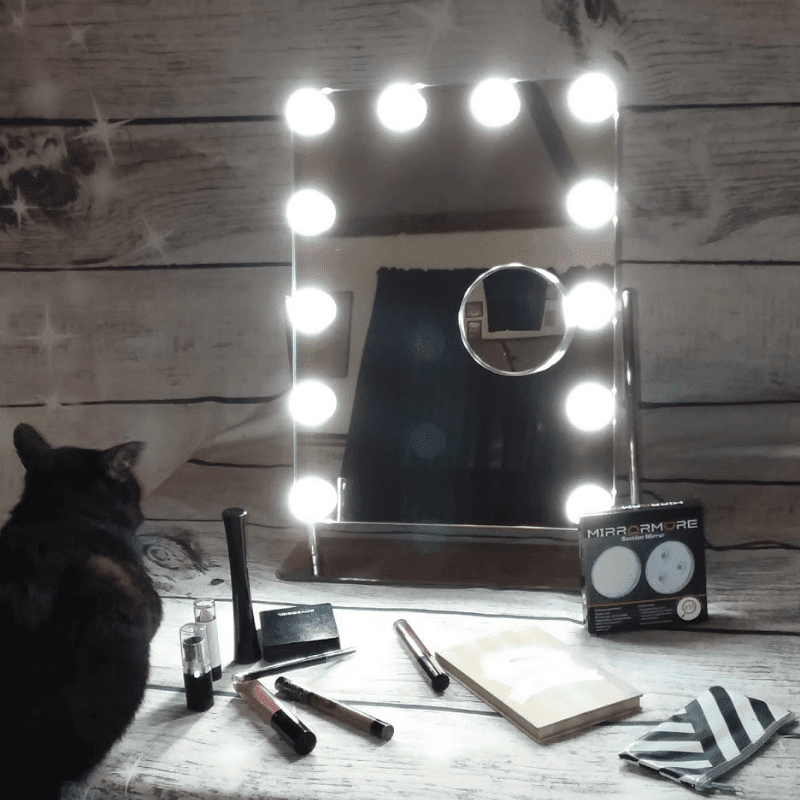
These circular LED lights have gained popularity among beauty enthusiasts for their even, shadow-free illumination. Ring lights are portable, adjustable, and often come with dimming features, making them versatile tools for both beginners and professionals.
Level 2: Specialty Lighting Options
For those seeking advanced solutions, specialty lighting options cater to specific needs and preferences.
- Full-Spectrum Bulbs:
Designed to replicate natural sunlight, full-spectrum bulbs emit a wide range of wavelengths, ensuring accurate color rendering. They’re an excellent choice for vanity mirrors or makeup stations. - Smart Lighting Systems:
Modern smart bulbs allow users to adjust brightness and color temperature via apps or voice commands. These systems enable you to simulate various environments, such as office lighting or evening ambiance, ensuring your makeup looks great no matter where you go.
Part 3: Why Investing in Good Makeup Lighting Pays Off – Beyond Just Aesthetics
Level 1: Practical Benefits of Proper Makeup Lighting
Investing in quality lighting not only enhances your makeup routine but also improves overall efficiency and confidence.
- Precision and Consistency:
With reliable lighting, you can achieve consistent results every time, reducing the need for touch-ups throughout the day. This saves time and minimizes frustration caused by mismatched foundation or overly heavy contouring. - Boosting Confidence:
Knowing that your makeup looks flawless gives you peace of mind, whether you’re heading to work, attending a special event, or simply running errands. Confidence in your appearance can positively impact your mood and interactions.
Level 2: Emotional and Psychological Impact
Beyond practical advantages, good lighting contributes significantly to emotional well-being and self-expression.
- Encouraging Creativity:
Proper lighting inspires experimentation with bold colors, intricate designs, and new techniques. When you can clearly see what you’re doing, you’re more likely to push creative boundaries and try something daring. - Reducing Stress and Fatigue:
Struggling to apply makeup in poor lighting can be frustrating and exhausting. By eliminating guesswork and strain, optimal lighting creates a calming, enjoyable experience that sets a positive tone for the rest of your day.

Part 4: Tips for Choosing and Using Makeup Lighting
Level 1: Factors to Consider When Selecting Makeup Lighting
To ensure your lighting setup meets your needs, consider the following factors:
- Location and Placement:
Position your light source directly in front of your face at eye level to minimize shadows and highlight facial features evenly. Avoid overhead lighting, which can cast unflattering shadows under your eyes and chin. - Brightness and Adjustability:
Choose lights with adjustable brightness levels to accommodate different times of day and tasks. Dimmable options allow you to soften the glow for evening routines or brighten it for detailed work like eyeliner application.
Level 2: Enhancing Your Setup
A well-thought-out lighting arrangement will maximize functionality and aesthetics.
- Combining Multiple Light Sources:
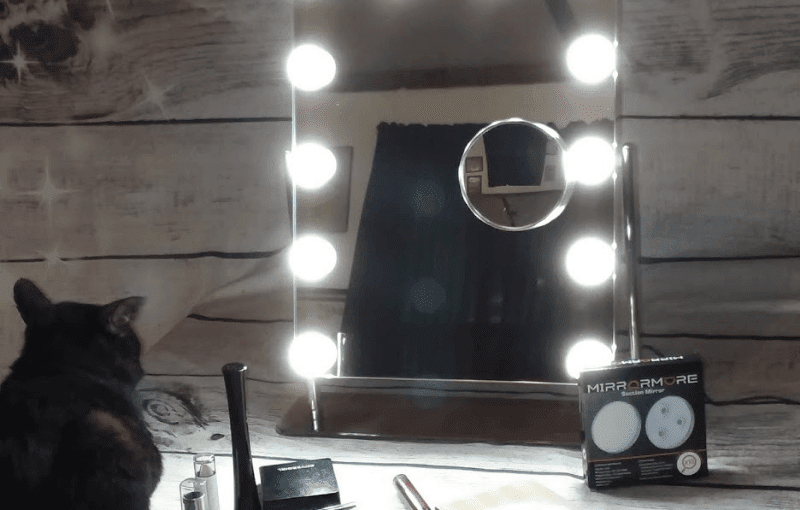
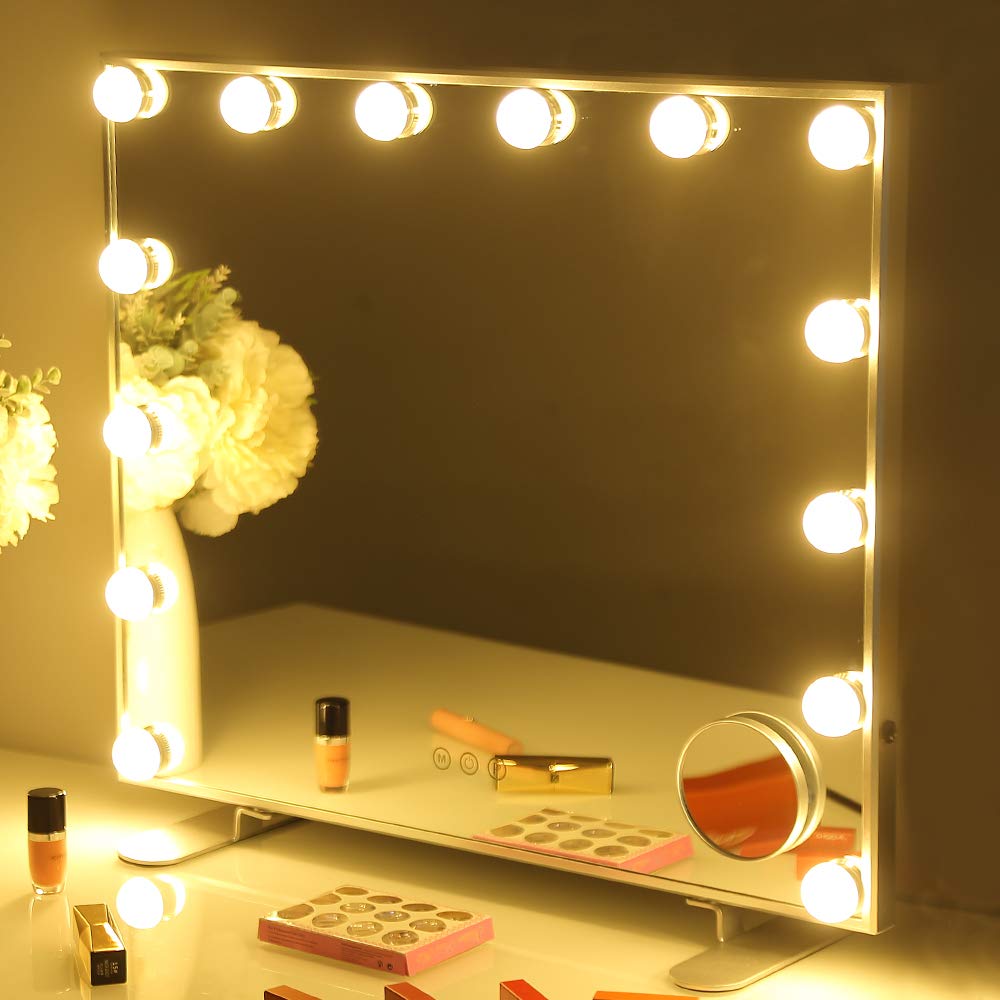
Layering different types of lighting—for example, using a ring light alongside a vanity mirror with built-in LEDs—creates depth and eliminates blind spots. This approach ensures comprehensive coverage for all aspects of your makeup routine. - Adding Mirrors with Built-In Lights:
Mirrors equipped with surround lighting provide uniform illumination around your reflection, making them ideal for precise tasks like applying mascara or perfecting lip liner.
Part 5: Step-by-Step Guide to Creating Your Ideal Makeup Lighting Setup
Level 1: Planning Your Space
Creating an effective makeup lighting setup begins with thoughtful planning and organization.
- Assess Your Current Setup:
Evaluate your existing lighting situation. Identify areas with insufficient illumination or harsh shadows that need improvement. Consider relocating your vanity or adding supplementary lights if necessary. - Choose a Central Location:
Select a spot with easy access to power outlets and ample space for your products and tools. Ideally, this area should be free from clutter and distractions to maintain focus during application.
Level 2: Creative Ways to Customize Your Setup
Take your makeup lighting to the next level with these creative enhancements.
- Incorporating Decorative Elements:
Add decorative touches like fairy lights, neon signs, or floral arrangements to personalize your space. These elements not only enhance the aesthetic appeal but also create a relaxing atmosphere. - Using Portable Lighting Solutions:
For travel or on-the-go touch-ups, invest in compact, rechargeable lights like foldable ring lights or clip-on lamps. These portable options ensure you always have access to adequate lighting wherever you are.
Accessories That Enhance Your Makeup Lighting Experience
Level 1: Essential Accessories for Makeup Lighting
Enhance the functionality and enjoyment of your makeup lightings with these handy add-ons.
- Dimmer Switches and Remote Controls:
Install dimmer switches or use remote-controlled lights to easily adjust brightness levels without interrupting your routine. This flexibility allows you to adapt to changing lighting needs throughout the day. - Light Diffusers and Softboxes:
Attach diffusers or softboxes to your lights to soften harsh glares and create a more flattering glow. These accessories reduce shine and ensure smooth, even illumination.
Level 2: Creative Enhancements
Take your makeup lighting experience to the next level with these creative additions.
- Colored Gels for Mood Lighting:
Experiment with colored gels to create dramatic effects or simulate different environments. For instance, blue gels can mimic nighttime lighting, while pink gels add a romantic touch. - Mirror Covers and Frames:
Upgrade your vanity mirror with stylish covers or frames that complement your decor. Some frames come with integrated LED strips, combining functionality with elegance.
By understanding the significance of makeup lightings, exploring diverse types, leveraging expert tips, and embracing innovative enhancements, you can unlock endless possibilities for achieving flawless makeup. Whether you’re prepping for a big event or perfecting your everyday look, the right lighting ensures you’ll always put your best face forward—one radiant moment at a time!
Conclusion: Celebrating the Art of Makeup Lighting
Level 1: A Tribute to Precision and Beauty
Best lighting for makeup embodies the perfect blend of artistry and technology. Whether you’re a professional makeup artist or someone who enjoys experimenting with cosmetics at home, proper lighting is indispensable for achieving stunning results.
- A Universal Tool for Everyone:
Regardless of skill level or budget, there’s a lighting solution suited to every individual’s needs. From affordable ring lights to high-end smart systems, the market offers endless possibilities for enhancing your makeup game. - Inspiring Future Innovations:
As technology continues to advance, we can expect even more sophisticated lighting solutions tailored specifically for makeup application. Features like AI-driven color correction and customizable spectral outputs could revolutionize the industry.
Level 2: Looking Ahead – Trends in Makeup Lighting
The future of makeup lighting holds exciting potential for innovation and personalization.
- Augmented Reality Integration:
Imagine virtual mirrors that use AR to show how your makeup will look under different lighting conditions or suggest adjustments based on real-time analysis of your skin tone and texture. - Sustainability and Eco-Friendly Designs:
Manufacturers are increasingly focusing on energy-efficient LEDs and recyclable materials. These eco-conscious innovations align with growing environmental awareness while maintaining performance and style.