Introduction to Incandescent and LED Bulbs
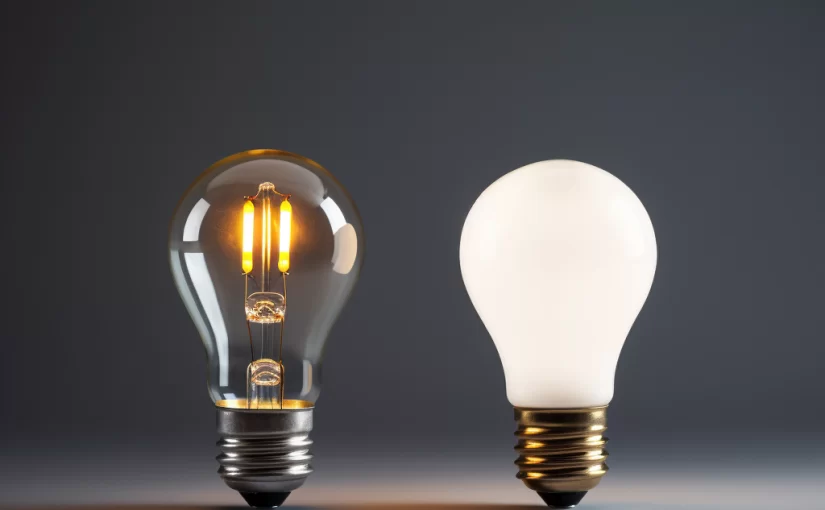
In the world of lighting, two common choices stand out: incandescent bulbs and LEDs. These incandescent bulb vs led bulb types have distinct features, making them suitable for different applications.
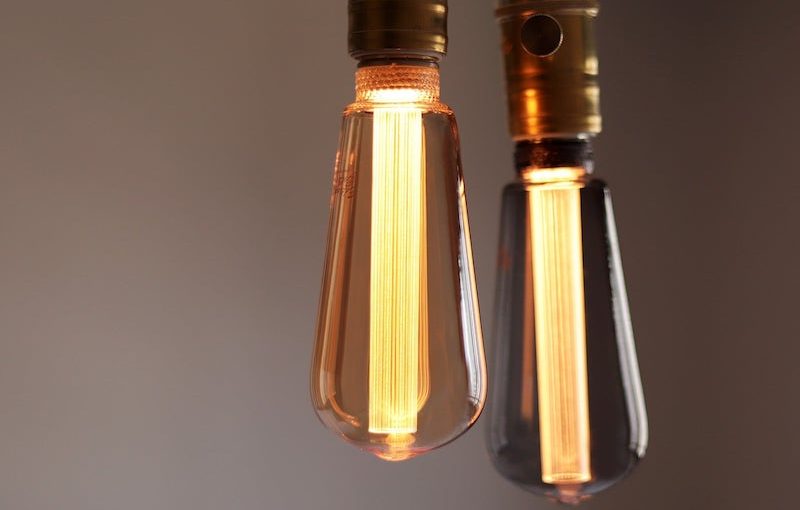
What are Incandescent Bulbs?
Incandescent bulbs are traditional lighting options. They produce light by heating a wire filament until it glows. While incandescent bulbs are known for their warm light, they are not energy-efficient compared to modern lighting solutions.
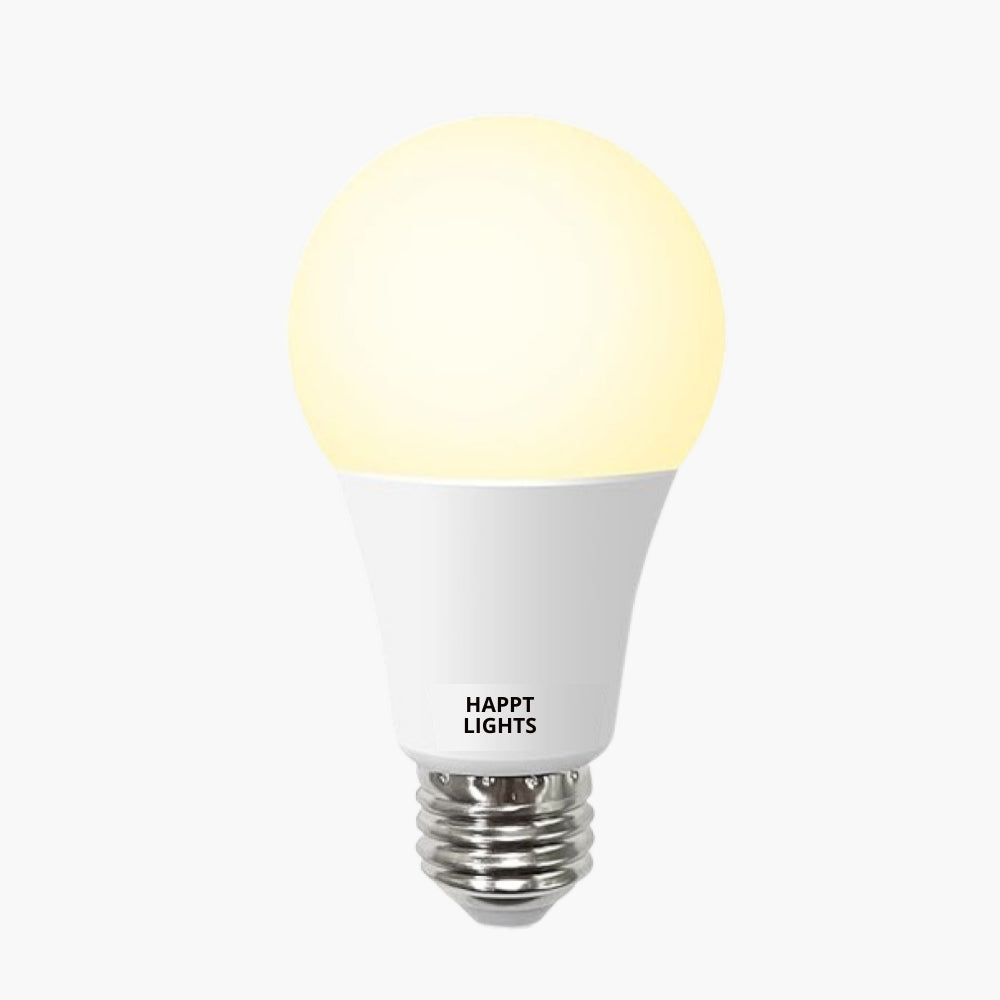
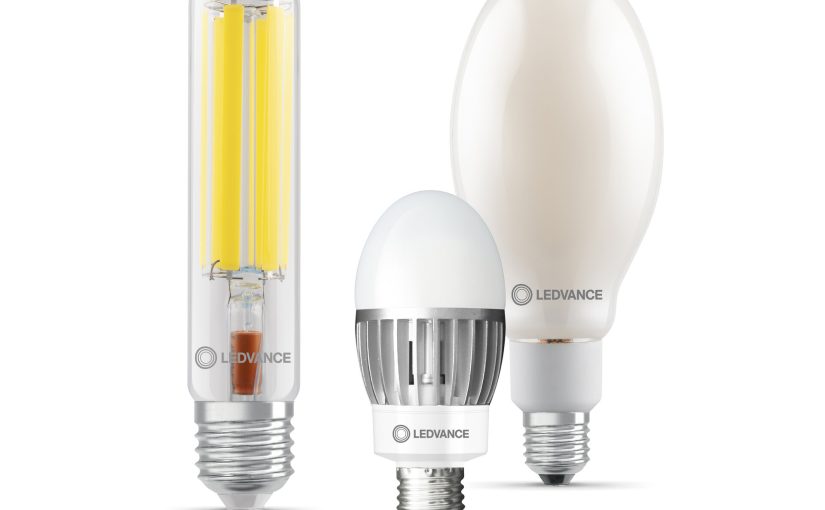
What are LED Bulbs?
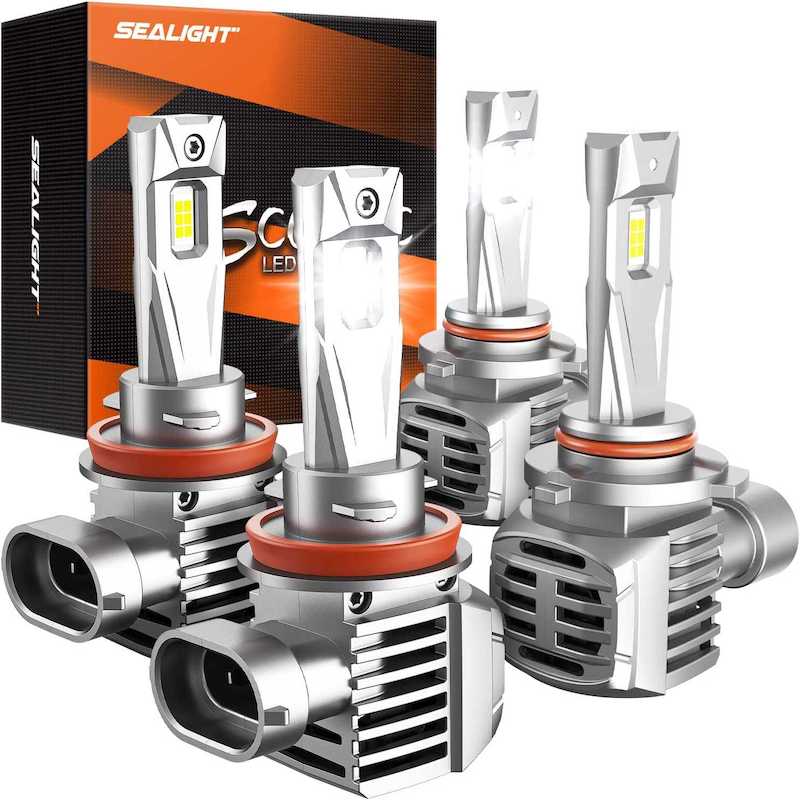
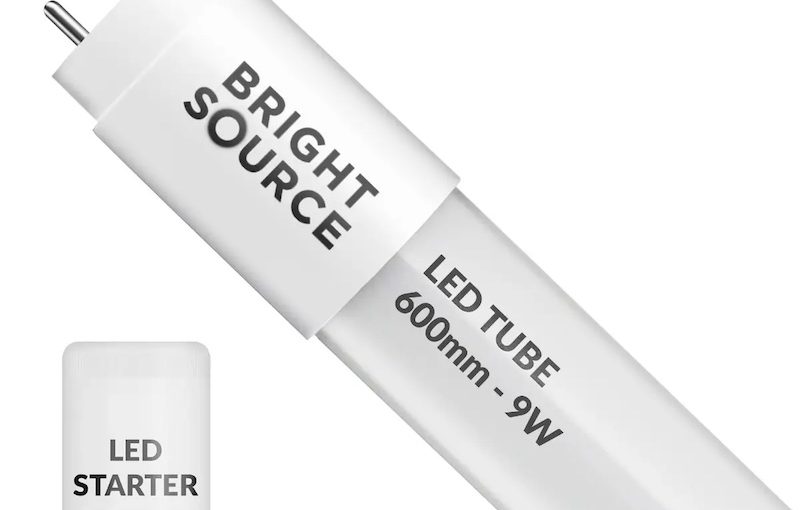
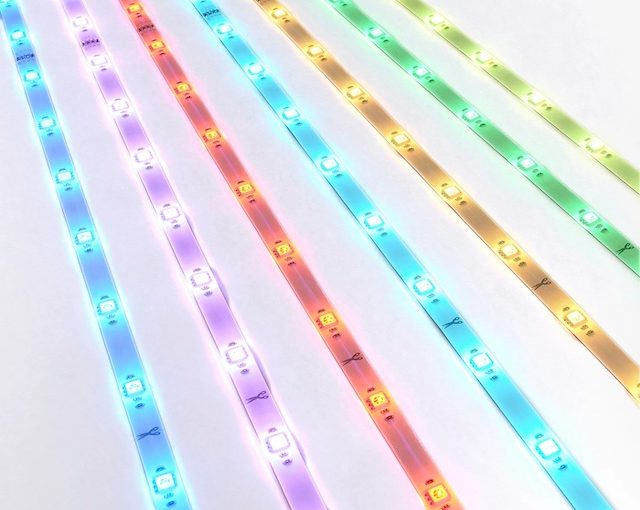
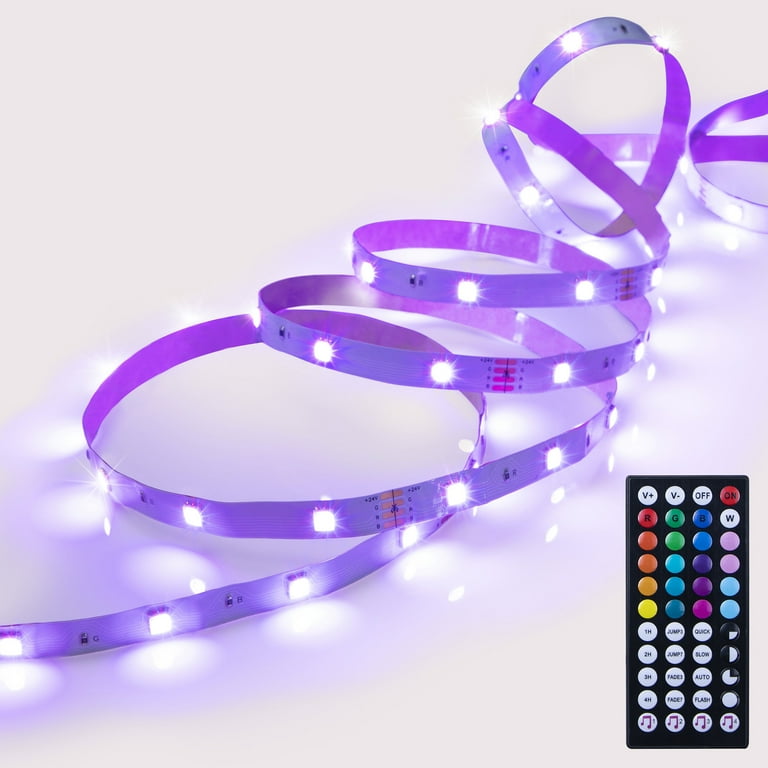
LED bulbs, short for ‘Light Emitting Diodes’, offer a contemporary lighting solution. With a diode that emits light when current passes through it, LEDs are highly energy-efficient and have a far longer lifespan than incandescent bulbs.
How Do Incandescent and LED Bulbs Work?
Understanding how these bulbs work is key to recognizing their differences.
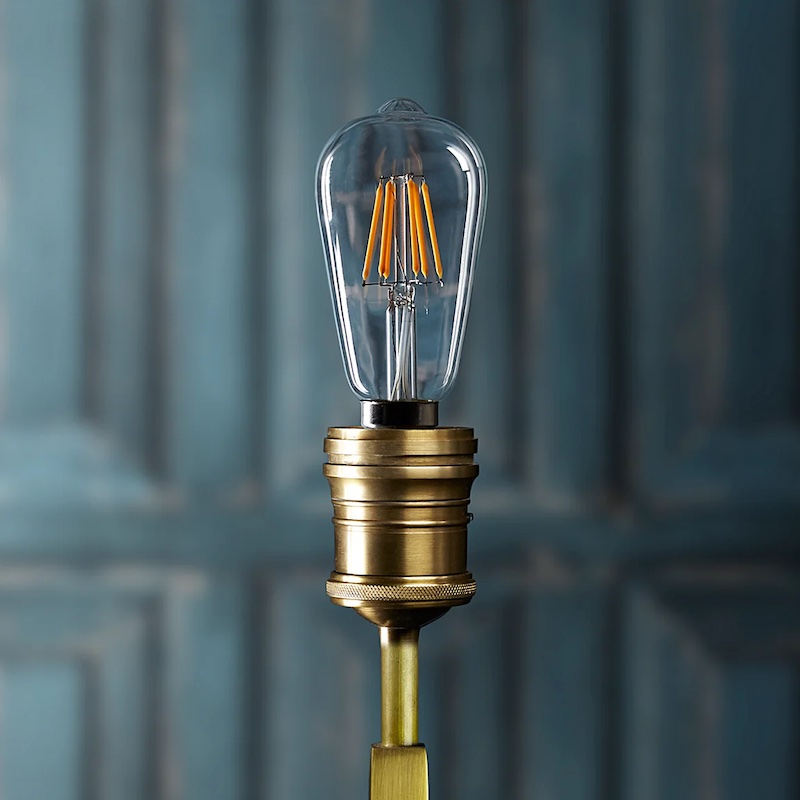
Functionality of Incandescent Bulbs
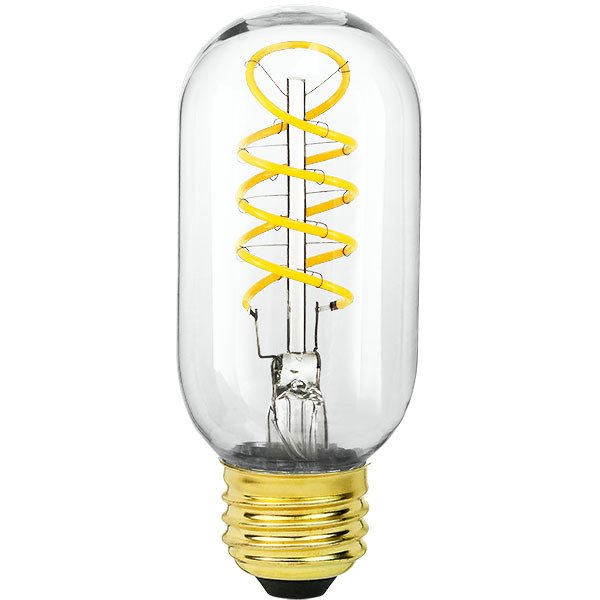
An incandescent bulb heats a thin wire, called a filament, until it glows. The glowing filament gives off both light and heat. But this process is not energy-efficient. Most of the electricity turns into heat, not light.
Functionality of LED Bulbs
An LED bulb uses a diode that emits light when electricity passes through it. LEDs convert more electricity into light, with little heat waste. This makes them more energy-efficient. LED bulbs also turn on instantly, providing immediate light.
Energy Efficiency Comparisons
Energy Consumption of Incandescent Bulbs
Incandescent bulbs consume a lot of energy. They turn most of the electricity into heat, not light. This makes them less energy-efficient. These bulbs are not the best for those wanting to save on their electric bills.
Energy Savings with LED Bulbs
LED bulbs are more energy-efficient. They turn a higher portion of electricity into light with less waste. This leads to significant energy savings. Over time, LEDs can lower energy bills and reduce environmental impact. Switching to LEDs offers both financial benefits and helps conserve energy.
Cost Analysis Over Time
When considering the switch from incandescent bulbs to LED bulbs, cost is a pivotal factor.
Initial Costs and Long-Term Savings
The upfront cost of LED bulbs is higher compared to incandescent bulbs. However, LEDs offer long-term savings. LEDs use less energy, cutting down on electric bills. Over time, the savings from reduced energy consumption can offset the initial investment.
Moreover, incentives or rebates for energy-efficient products may further reduce costs. Homeowners and businesses should consider both initial price and potential savings. Despite a steeper initial price, LEDs provide financial benefits in the extended run.
Replacement Rates and Lifespans
LED bulbs boast a much longer lifespan than incandescent bulbs. While an incandescent bulb may last about 1,000 hours, an LED can last up to 50,000 hours. This means less frequent replacements and lower maintenance costs.
Fewer replacements also translate into less waste. This is beneficial not just for individual households, but also on an environmental scale. The extended life of LEDs means that consumers will buy fewer bulbs over time, reducing the overall demand for production.
In summary, while the initial cost of LED bulbs is higher, the long-term savings and reduced replacement rates offer significant financial and environmental advantages.
Pros and Cons of Each Bulb Type
Advantages of Incandescent Bulbs
Incandescent bulbs are popular for their warm light. They give a cozy feel to any space. These bulbs can dim smoothly, which is great for creating ambiances in restaurants or homes. They’re also inexpensive to buy, which makes them an easy initial choice. Incandescent bulbs fit in any standard socket, making them very versatile for different lighting needs.
Advantages of LED Bulbs
LED bulbs shine when it comes to energy efficiency. They use less electricity, so they cost less to run. Their lifespan is much greater than incandescent bulbs, often lasting years. They produce less heat, making them safer to use. LED bulbs turn on instantly, with no flicker or warm-up time. They work well in a wide range of temperatures.
Drawbacks of Incandescent Bulbs
Despite their low cost, incandescent bulbs are less energy efficient. They convert most energy into heat, not light. This also makes them more costly over time. They have a short lifespan, which means more frequent bulb changes. This leads to higher maintenance costs and more waste.
Drawbacks of LED Bulbs
LED bulbs can cost more upfront than incandescent bulbs. Some may not work with existing dimmer switches. They provide directional light rather than a wide spread. Without proper heat sinks, LEDs can fail in high-temperature environments. Certain LEDs emit a blue light, which can affect sleep patterns if used at night.
Environmental Impacts and Sustainability
Environmental concerns shape many decisions today, including choices in lighting.
Carbon Footprint of Bulb Types
Every bulb type contributes differently to our carbon footprint. Incandescent bulbs, due to their lower energy efficiency, result in higher carbon emissions from the energy they use. LED bulbs, being more energy-efficient, contribute less to carbon emissions. This is because LEDs use less power to produce the same amount of light.
Waste Management and Recycling Considerations
Managing waste and recycling is vital for environmental well-being. Incandescent bulbs, with shorter lifespans, create more waste over time. LEDs last longer, leading to less frequent disposal. Both types of bulbs should be disposed of properly. Incandescent bulbs can be thrown away in regular trash, while LED bulbs are better if recycled. Recycling helps to keep materials in use and out of landfills. Consumers are encouraged to take used bulbs to recycling centers or special waste facilities.
Conclusion: The Better Choice for Consumers
As we weigh the advantages and drawbacks of both incandescent bulbs and LEDs, consumers must ponder several factors.
Factors to Consider When Choosing Bulbs
When picking between incandescent bulb vs LED, contemplate these elements:
- Energy Efficiency: LEDs outperform in energy-saving, reducing electric bills.
- Cost: Incandescent bulbs cost less initially; LEDs offer long-term savings.
- Lifespan: LEDs have a far greater lifespan, needing fewer replacements.
- Brightness: Both provide ample light; consider lumens for true brightness comparison.
- Dimmability: Incandescent bulbs dim better, while some LEDs need compatible dimmers.
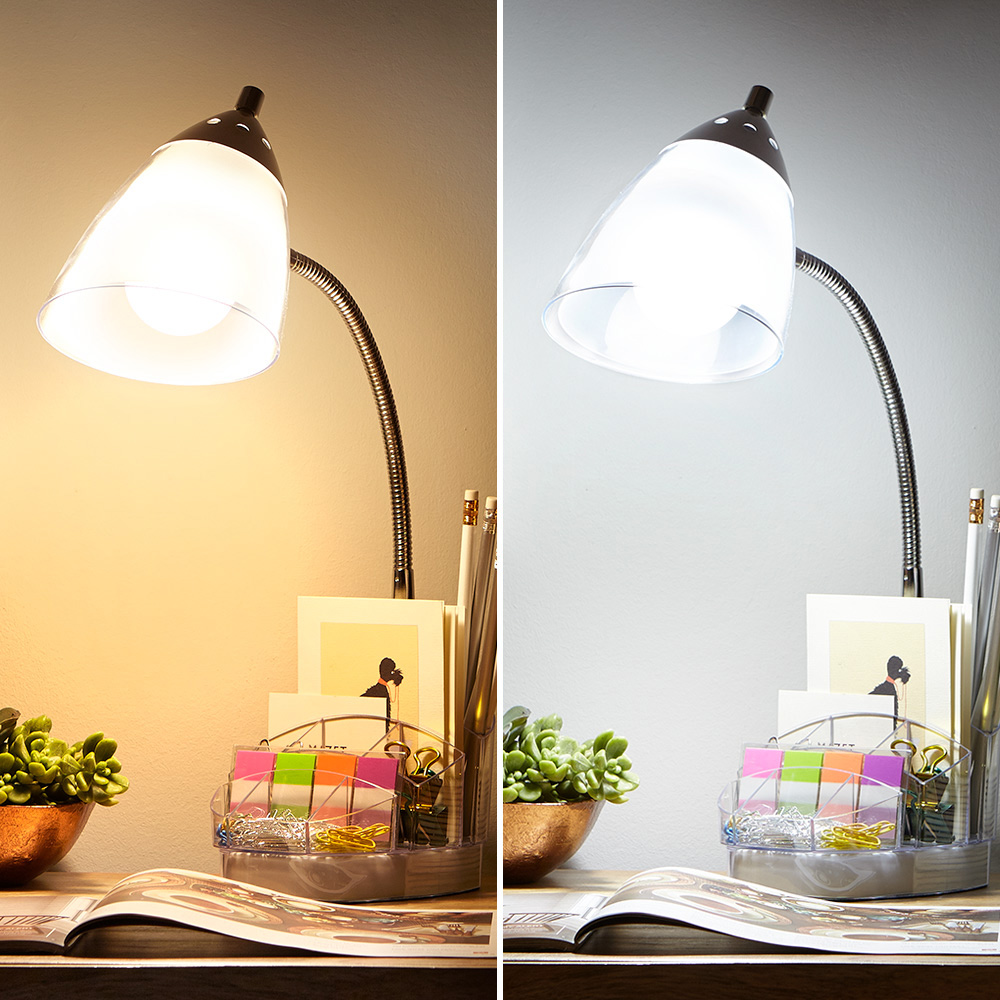
- Color Temperature: Incandescent bulbs give off a warm glow; LEDs vary in light color.
- Environmental Impact: LEDs are more eco-friendly with lower emissions and waste.
Consider your specific needs, the intended use area, and your budget to decide.
Final Recommendations for Home and Business Use
For homes seeking ambiance and lower upfront cost, incandescent may suit. But for overall savings, reduced energy use, and fewer bulb changes, LEDs are the smarter investment. In businesses, the lower operating costs and energy efficiency of LEDs often make them a clear choice. Remember, while initial costs are higher for LEDs, they pay off over time.
For both home and commercial settings, opting for LEDs aligns with environmental goals and saves money. Therefore, joining the LED wave will likely be a bright idea for most.
In terms of environmental impact, LED bulbs are also better than incandescent bulbs. They do not contain hazardous substances such as mercury, which is present in some types of incandescent bulbs. This makes LED bulbs easier to dispose of and less harmful to the environment.
In conclusion, LED bulbs are a more energy-efficient, environmentally friendly, and cost-effective option compared to incandescent bulbs. While incandescent bulbs may still be used in some applications, LED bulbs are increasingly becoming the preferred choice for residential, commercial, and industrial lighting.