Importance of Proper Home Lighting
Proper home lighting goes beyond mere visibility. It shapes the mood and atmosphere of each room. Good lighting can turn an average room into a cozy retreat or a vibrant space for gatherings. The right at home lighting can influence our emotions and productivity. Moreover, it can improve safety by reducing the risk of trips and falls. It’s essential for creating visual comfort and can even impact our health. Natural light is beneficial, but we also rely on artificial lighting. It’s crucial to plan our at home lighting correctly. It accommodates our lifestyle and complements the aesthetic of our home.
Planning Your Lighting Layout
A thoughtful lighting layout is crucial for comfort and functionality. Start by assessing each room’s purpose. Ask yourself what activities you do in each space. Cooking, reading, working, or relaxing—each requires different light.
Assessing Each Room’s Function
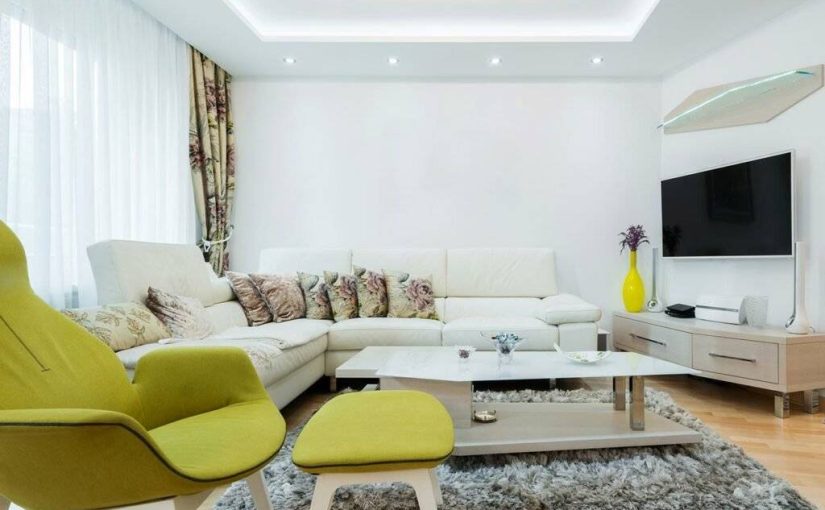
Evaluate the function of each room to determine your at home lighting needs. In the kitchen, bright, shadow-free illumination aids in food prep. In the living room, softer lighting creates a welcoming atmosphere. For home offices, consider lights that enhance focus. Bedrooms benefit from calm, soothing light to aid in relaxation before sleep.
Balancing Ambient, Task, and Accent Lighting
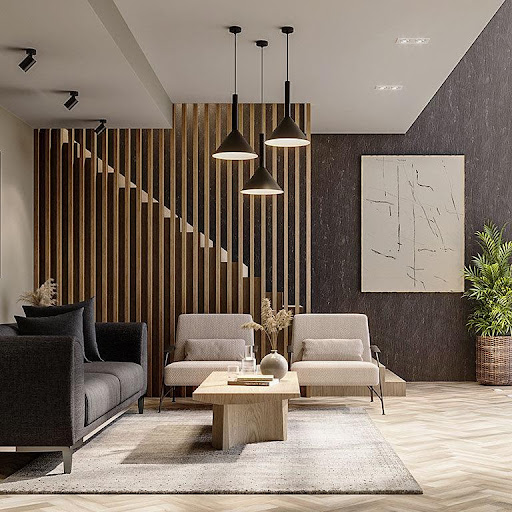
To achieve the best at home lighting setup, mix three types of lighting. Ambient lighting provides overall illumination and sets the room’s base light. Task lighting targets specific activities or work areas, such as reading nooks or desks. Accent lighting highlights decor or architectural features. This balance ensures that each room is both practical and aesthetically pleasing.
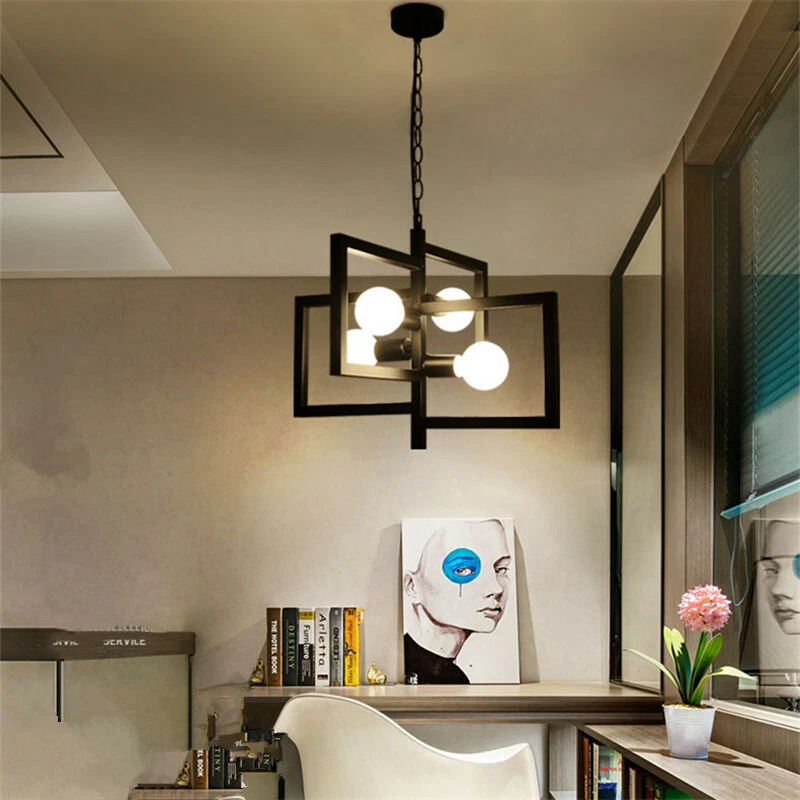
Choosing the Right Light Fixtures
The fixtures you select play a vital role in your at home lighting scheme. They not only serve a functional purpose but also contribute to the design and feel of your space. When choosing the right light fixtures, it’s important to consider both style and utility.
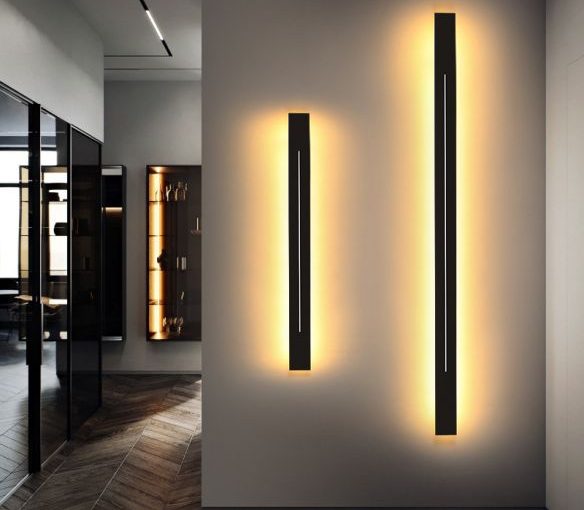
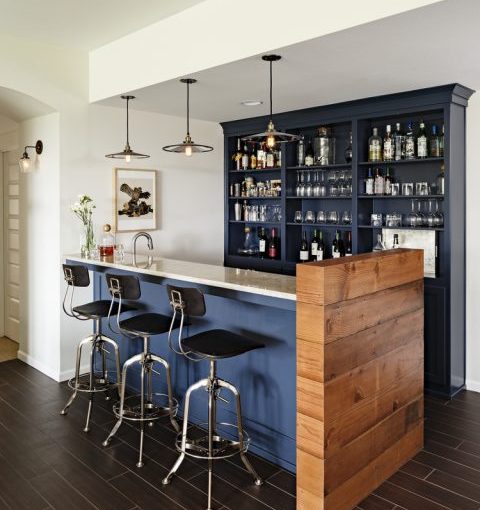
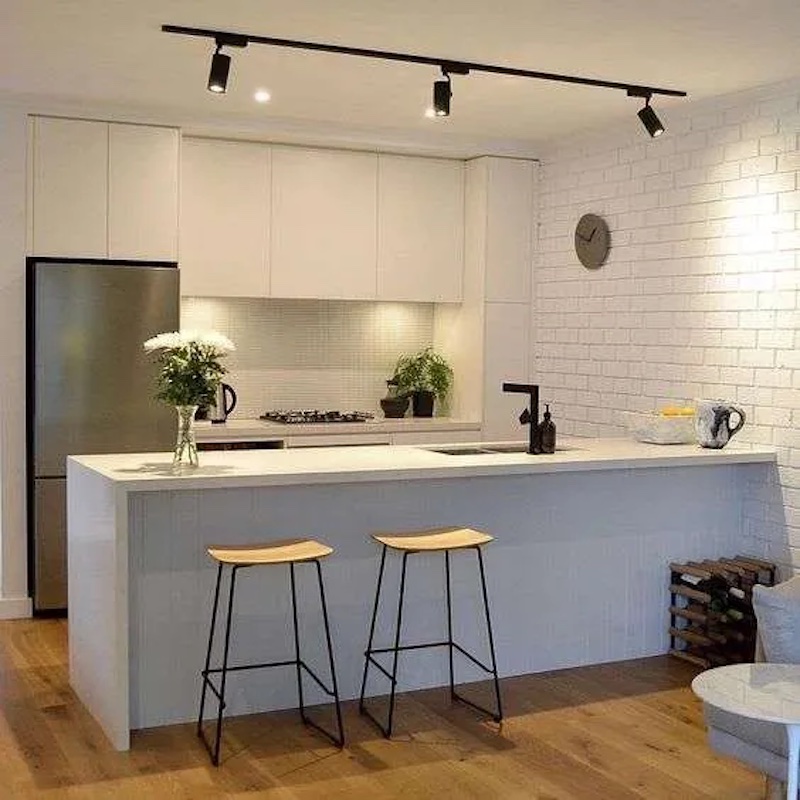
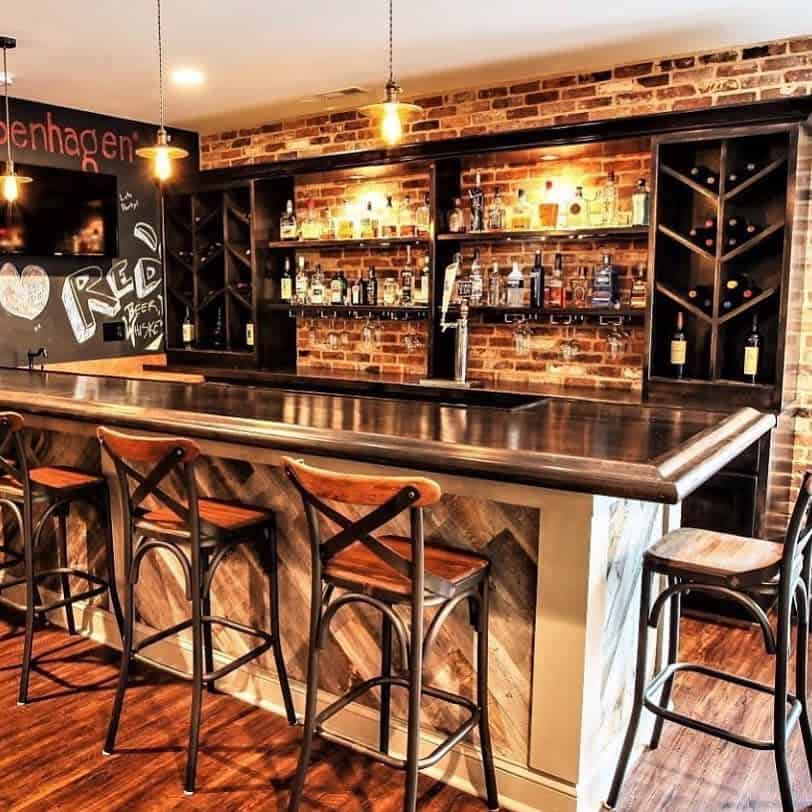
Ceiling and Wall Fixtures
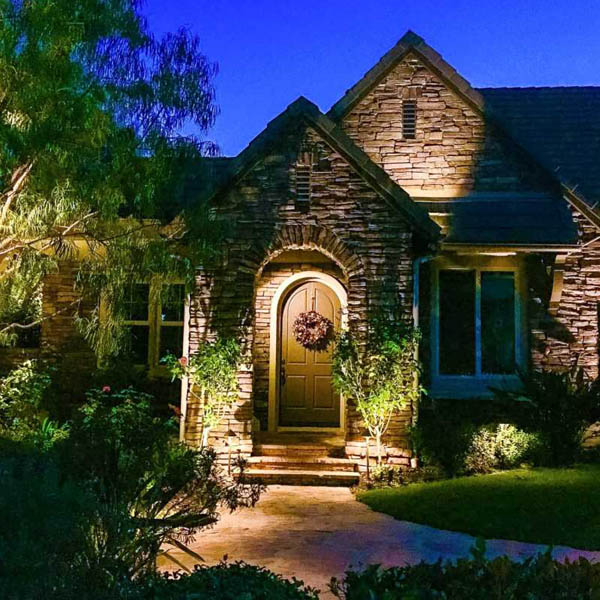
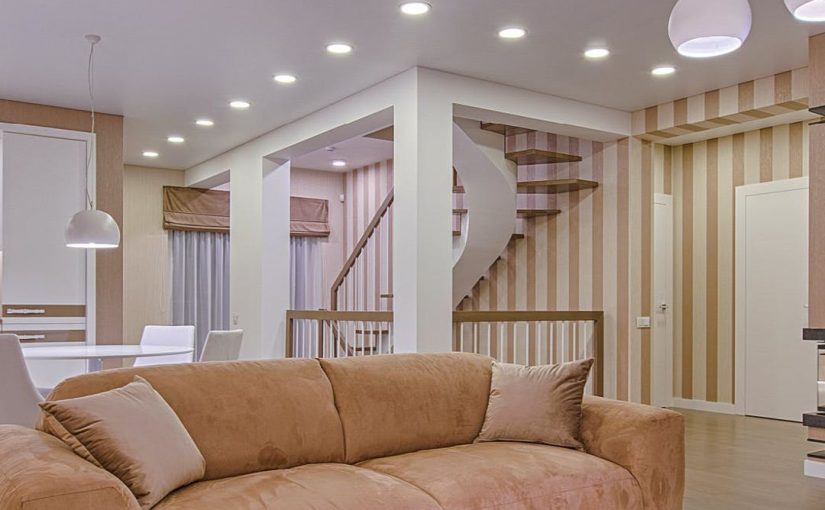
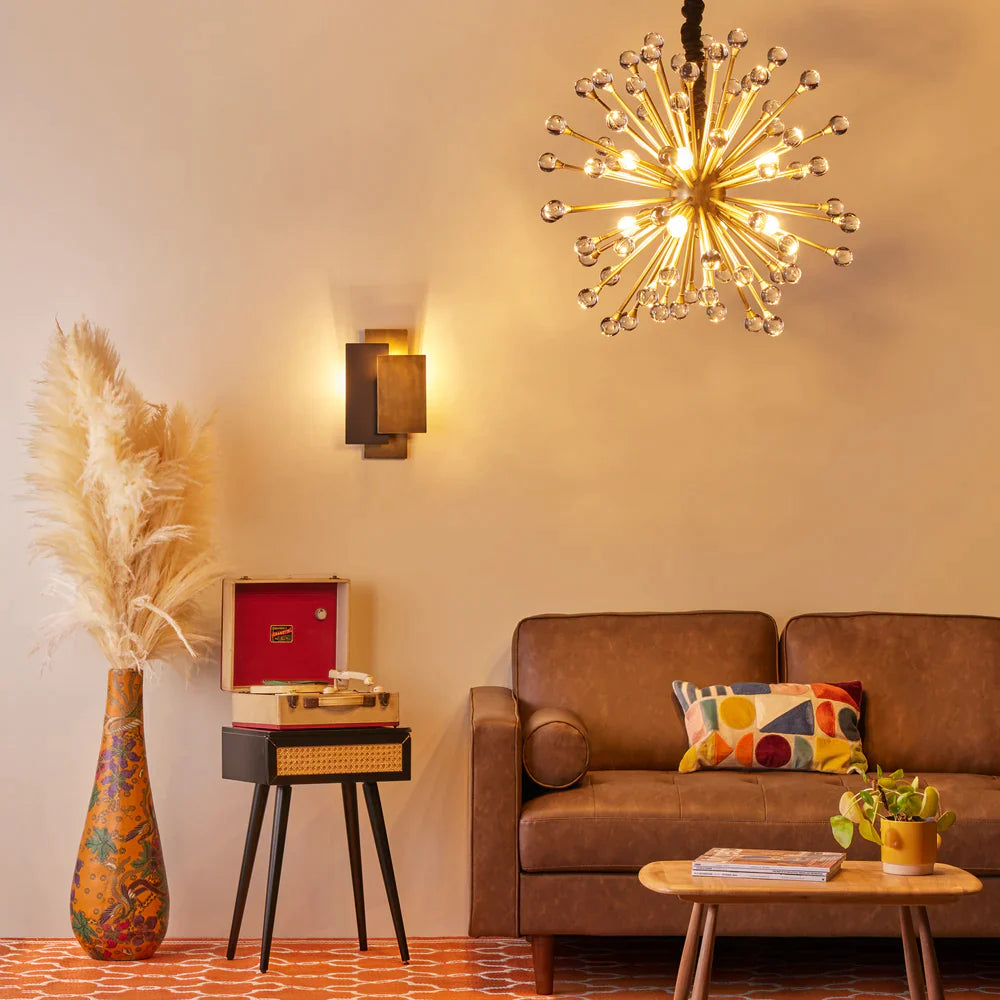
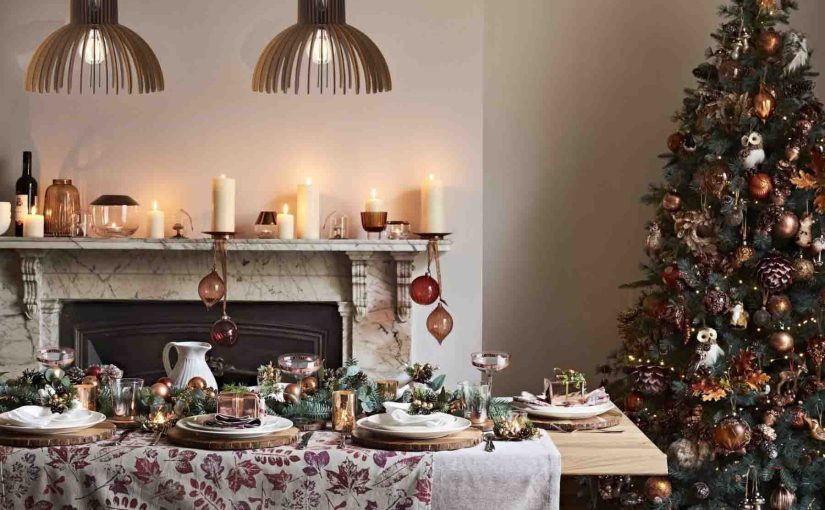
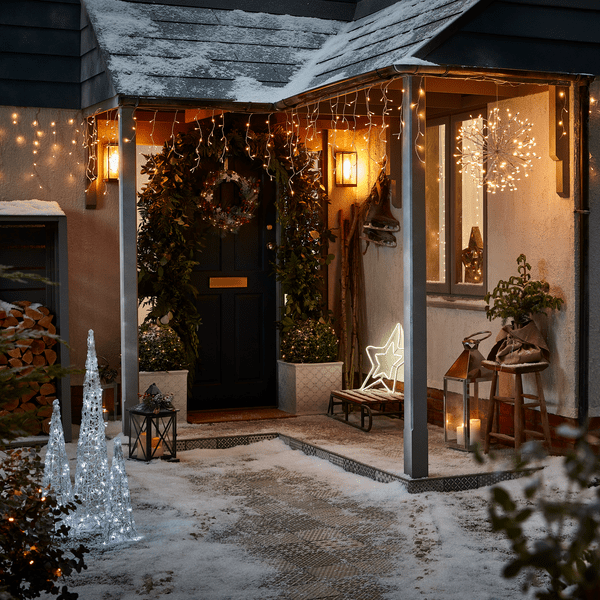
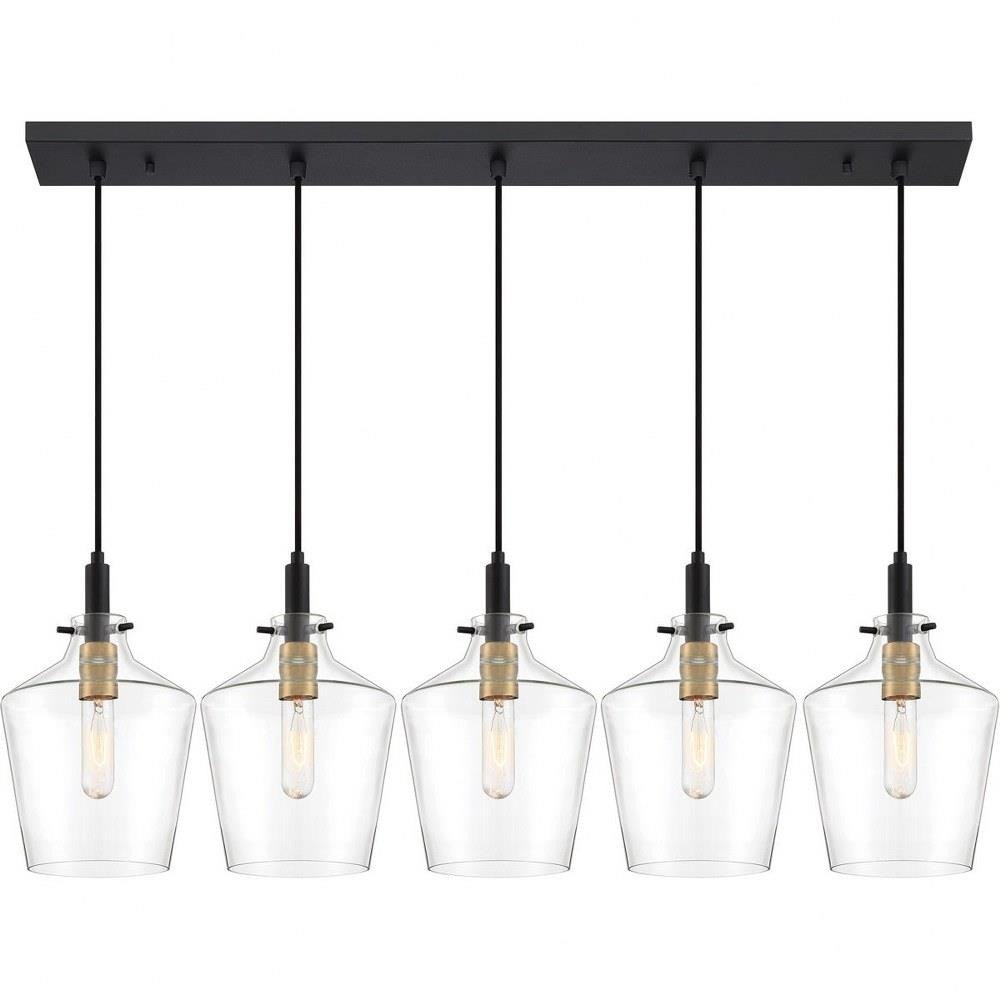
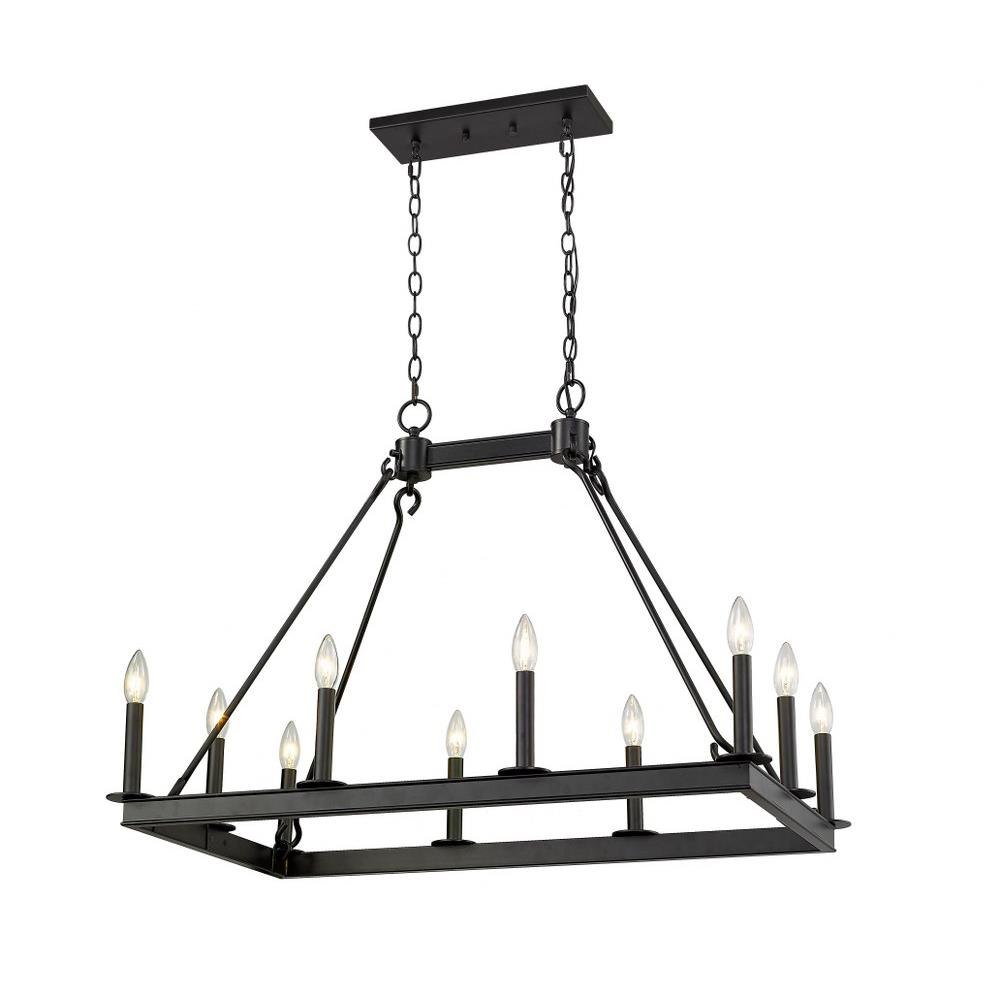
Ceiling and wall fixtures are the backbone of a home’s lighting setup. For overhead lighting, consider flush mounts in areas with low ceilings and chandeliers or pendants for rooms with more height. Recessed lighting offers a clean, streamlined look and can be used throughout your home. Wall sconces add warmth and can serve as accent or task lighting. Match these fixtures to the room’s function and overall style to achieve a harmonious design.
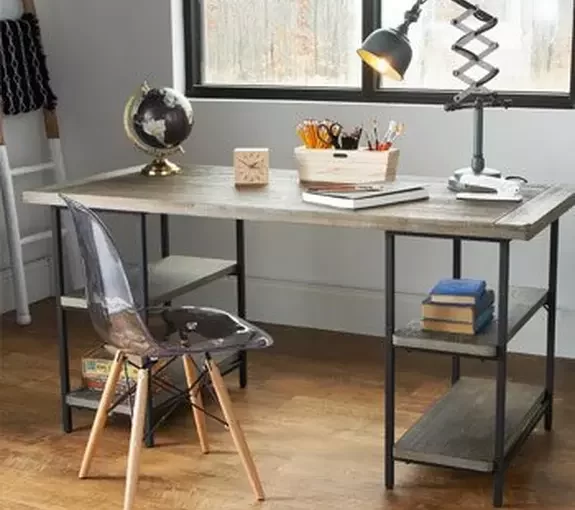
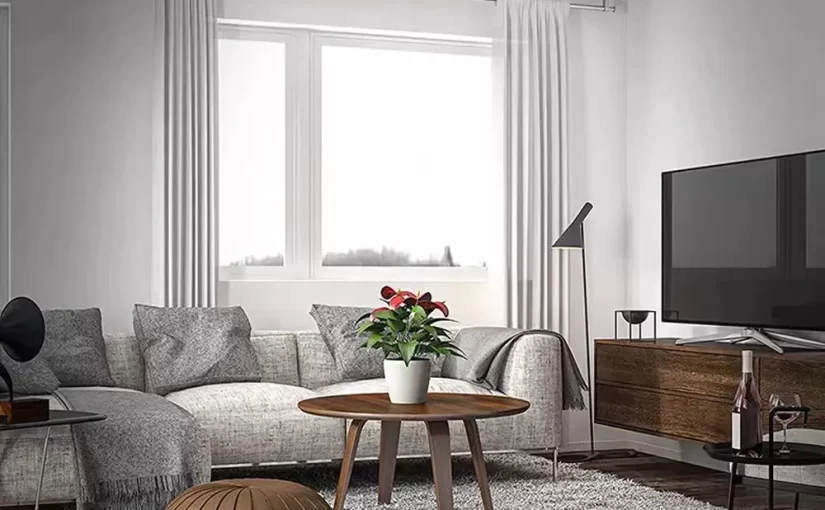
Portable and Floor Lighting Options
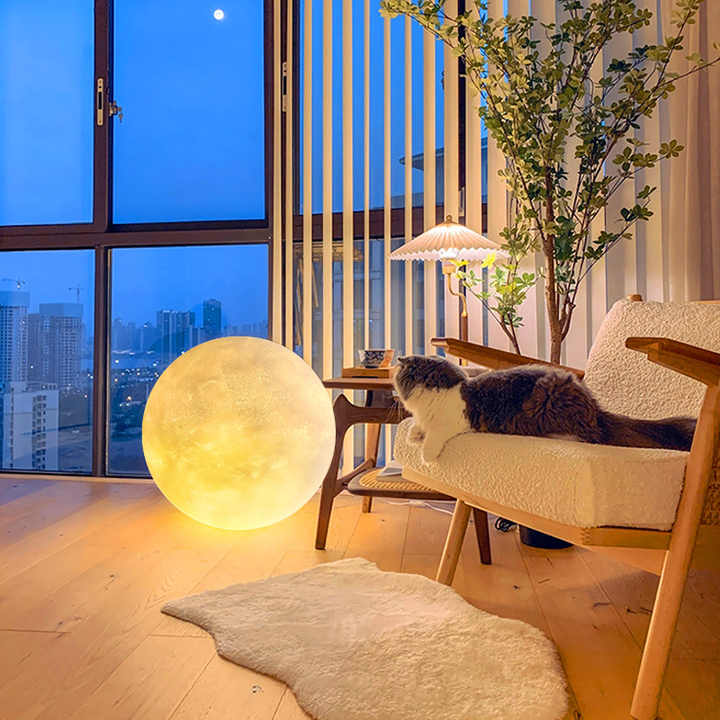
Portable lamps and floor lighting add flexibility to your at home lighting. Table lamps are perfect for task lighting, like reading or writing. Floor lamps can brighten dark corners and offer a movable light source. These options allow you to adjust the lighting according to task or mood. They also introduce an opportunity to add character with unique designs and textures. Be sure to incorporate a variety of portable and floor lighting to enhance the functionality and appeal of your home.
Understanding Color Temperature and Bulb Types
Choosing the right bulb type is key to effective at home lighting. The color temperature and type of bulb you select can greatly affect the atmosphere and functionality of your space.
The Impact of Color Temperature on Mood
Color temperature measures the color of the light that a bulb emits, which can range from warm to cool. Warm light, which has a low color temperature, creates a cozy and relaxing mood. This is ideal for living rooms and bedrooms, where comfort is a priority. Cool light, with a higher color temperature, is energizing and better suited for kitchens and home offices.
LED vs. Incandescent vs. CFL Bulbs
LED bulbs are energy-efficient and have a longer lifespan. They are available in various color temperatures, making them a versatile choice for many rooms. Incandescent bulbs provide warm light and are budget-friendly, but they are less energy-efficient. CFL bulbs also offer energy savings and have a longer life than incandescent ones, though they take time to reach full brightness.

Smart Lighting Solutions for Home Automation
Tapping into the potential of smart lighting can transform your home’s ambience and functionality. With the evolution of home automation, integrating smart bulbs and lighting systems has become a game-changer for at home lighting solutions.
Benefits of Smart Bulbs and Lighting Systems
Smart bulbs and lighting systems present several advantages for homeowners. Here are some of the key benefits:
- Ease of Control: Manage your lighting from any location using a smartphone or voice assistant. Adjust brightness, turn lights on or off, and change colors with simple commands.
- Customization: Set the mood for any occasion with customizable lighting scenes. Different settings can cater to reading, relaxation, or entertainment.
- Energy Savings: Using smart technology often leads to reduced power consumption. LED smart bulbs are energy-efficient and offer significant savings over time.
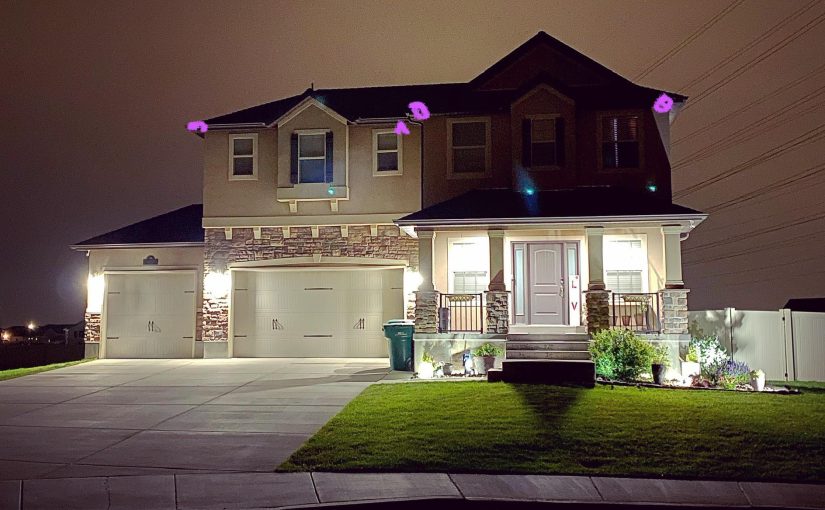
- Improved Security: Program lights to turn on and off at predetermined times. This can deter potential intruders by simulating presence even when you’re away.
By enhancing ease of use and adding features that contribute to a smarter lifestyle, smart lighting systems have become an essential element of modern homes.
Integrating Lights with Other Smart Home Devices
Smart lighting can work seamlessly with other smart home devices to create a cohesive ecosystem. This integration allows for advanced functionality:
- Coordinated Actions: Pair your lights with motion sensors to automatically illuminate a room when someone enters, or turn off when it’s empty.
- Synergy with Home Assistants: Easily command your lights through voice-activated devices like Amazon Echo or Google Home.
- Energy Management: Track and control light usage alongside other appliances, optimizing energy efficiency across your home.
- Work with Smart Thermostats: Coordinate lighting with heating and cooling systems, allowing for an ambient environment that adapts to your schedule and preferences.
A well-integrated smart lighting system can greatly contribute to a home’s convenience, security, and energy efficiency. It does more than just light up spaces; it elevates the living experience to new heights.
Energy Efficiency and Sustainable Lighting
Efficiency and sustainability play a crucial role in at home lighting. Choosing the right products and habits can significantly cut down on electricity bills. It also reduces one’s carbon footprint, aiding environmental conservation.
Tips for Reducing Energy Consumption with Lighting
To reduce energy consumption with your at home lighting, consider the following tips:
- Use Energy-Efficient Bulbs: Replace traditional incandescent bulbs with LEDs or CFLs to save on energy costs.
- Optimize Natural Light: Make use of daylight by arranging furniture to maximize natural illumination.
- Install Dimmers: Dimmer switches let you adjust light levels to suit your needs, conserving energy when full brightness isn’t necessary.
- Turn Off Unused Lights: Develop the habit of switching off lights when leaving a room.
- Use Smart Timers: Smart timers and sensors can automatically turn off lights, reducing wasted electricity.
- Regular Maintenance: Keep fixtures clean and dust-free to maintain optimal light output and efficiency.
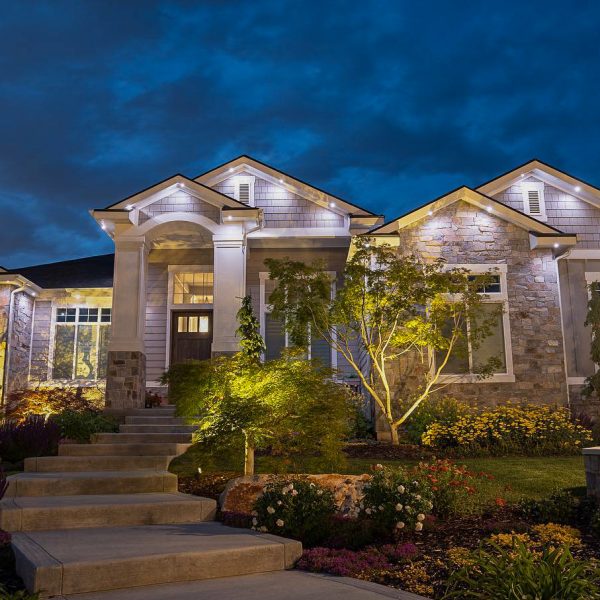
Eco-friendly Lighting Choices
When considering eco-friendly at home lighting, these choices are recommended:
- Recyclable Materials: Look for fixtures made from recyclable or sustainable materials.
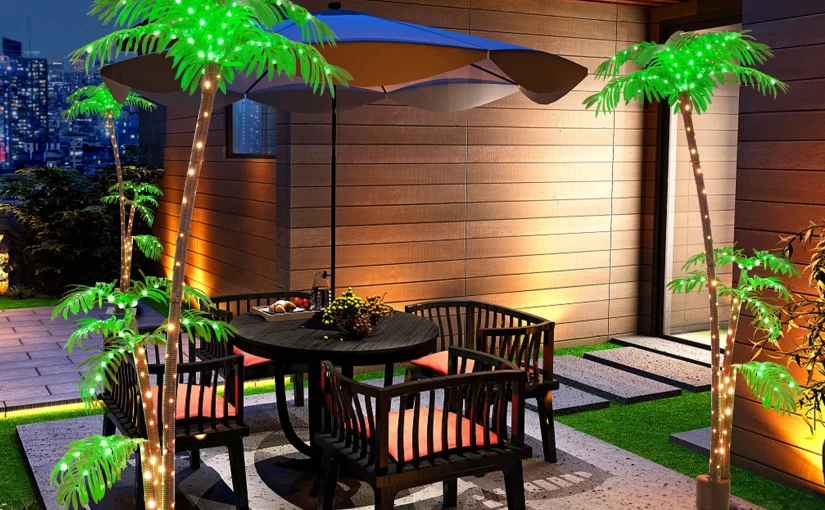
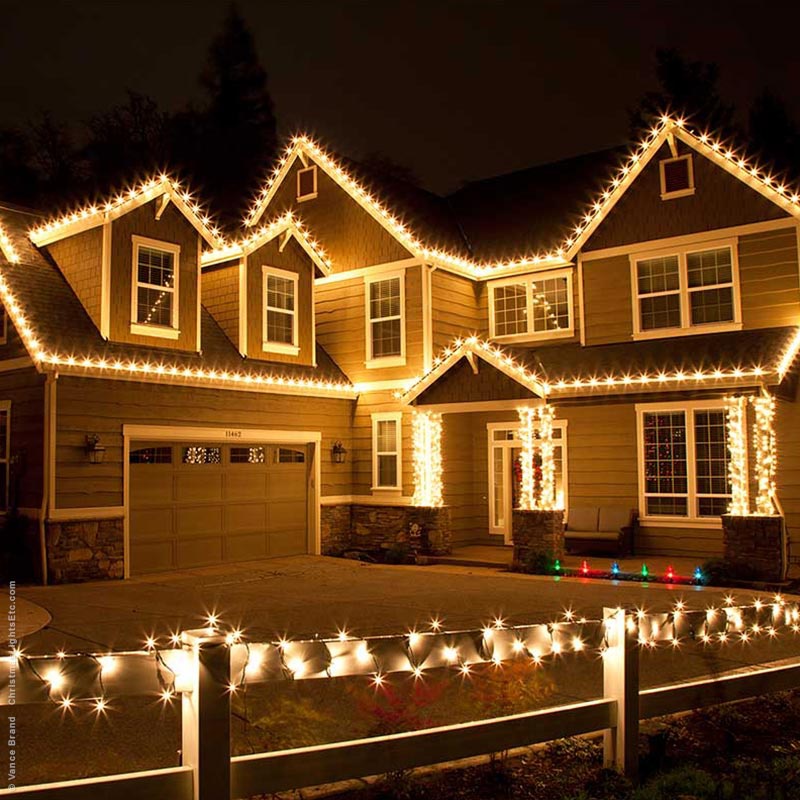
- Solar-Powered Lights: Use outdoor solar-powered lighting for gardens and pathways.
- Energy Star Rated Products: Choose lights with an Energy Star rating for guaranteed efficiency.
- Biodegradable Components: Seek out light bulbs or fixtures that feature biodegradable parts to minimize waste.
Providing not only a reduction in energy use, sustainable lighting options also contribute to a healthier planet. Implementing these methods can have a profound impact on both your home and the environment.

Lighting Design Trends and Inspirations
When planning your at home lighting, keeping up with current trends can inspire unique and creative setups.
Exploring Current Styles and Innovations
Current lighting trends blend technology with aesthetic appeal. Smart lighting continues to rise in popularity. Designers are incorporating minimalist fixtures with clean lines. There’s a move towards sustainable materials and energy-efficient designs. LED lights are dominating due to their longevity and versatility. Vintage bulb designs are making a comeback, offering a retro feel with modern efficiency. Biophilic design, using natural elements, is also trending, reflecting the desire for a connection to nature in our living spaces.
Creating a Personalized Look with Lighting
To create a personalized lighting look, start with your room’s core style. Pick fixtures that reflect your taste. Mix and match different types for variety; think ceiling fixtures with portable lamps. Include smart bulbs to customize lighting scenes on demand. Use dimmers for adjustable ambiance. Try layering lights at different heights for depth. Don’t be afraid to use lighting as an artistic statement with bold or unique fixtures. Remember, your at home lighting should match your personality and meet your daily living needs.