The Essence of Bohemian Décor
Bohemian décor, or ‘Boho’ style, embodies a carefree, eclectic aesthetic. At its heart lies a love for artistic, unconventional design that tells a unique story. This style often mixes vibrant colors, patterns, and textures, infusing spaces with warmth and personality. The Boho vibe is all about creating a relaxed atmosphere where everything need not match perfectly but instead, harmoniously coexists.
To truly embrace the Boho spirit, think of your space as a canvas for self-expression. Elements such as tribal motifs, vintage finds, and handcrafted items are hallmarks of Bohemian interior design. Layering different elements is key, combining old and new, luxury and simplicity. Incorporating natural materials like wood, wicker, or rattan adds an earthy touch that is quintessentially boho.
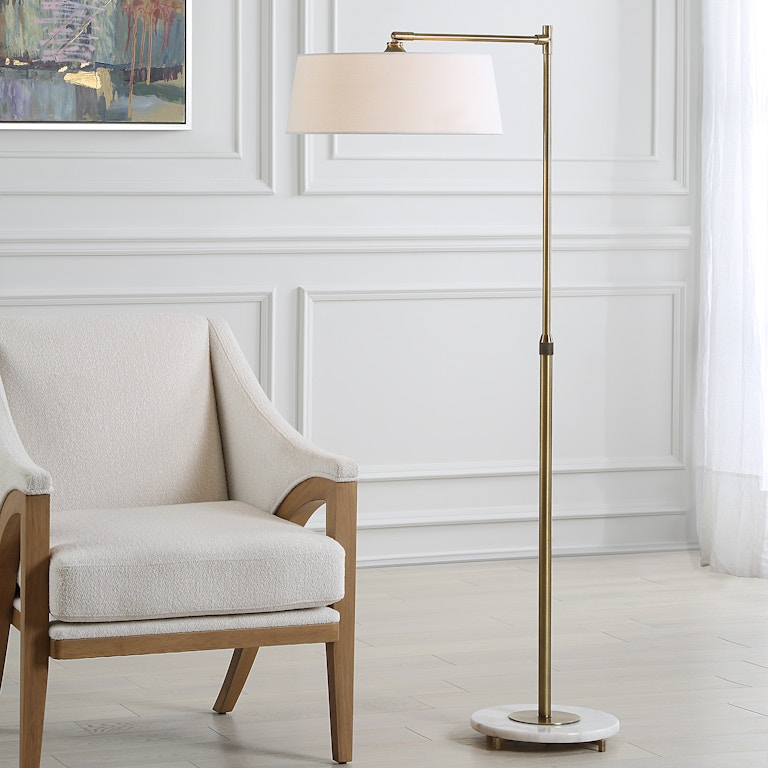
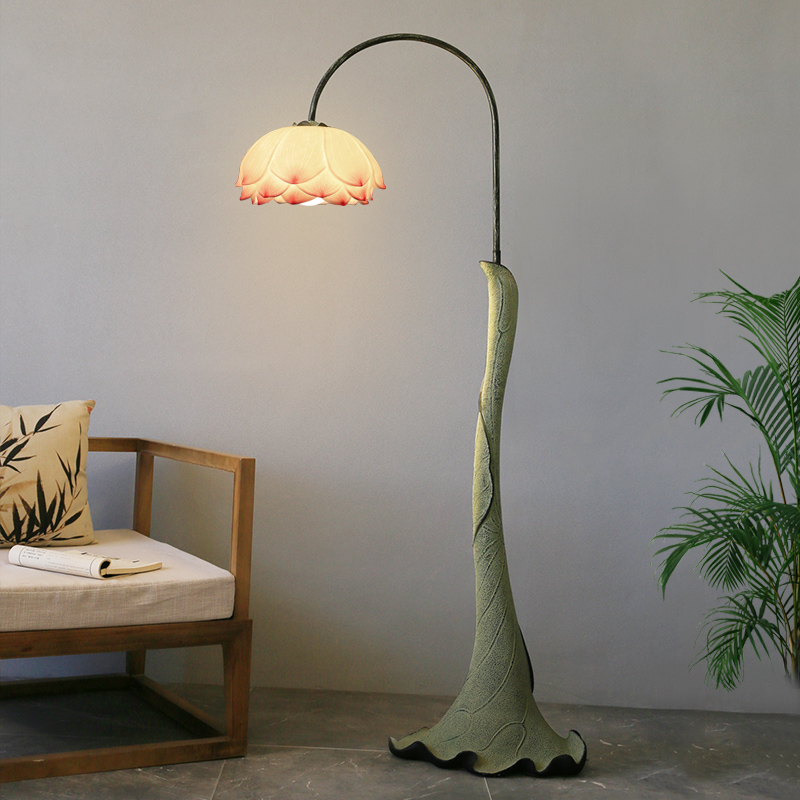
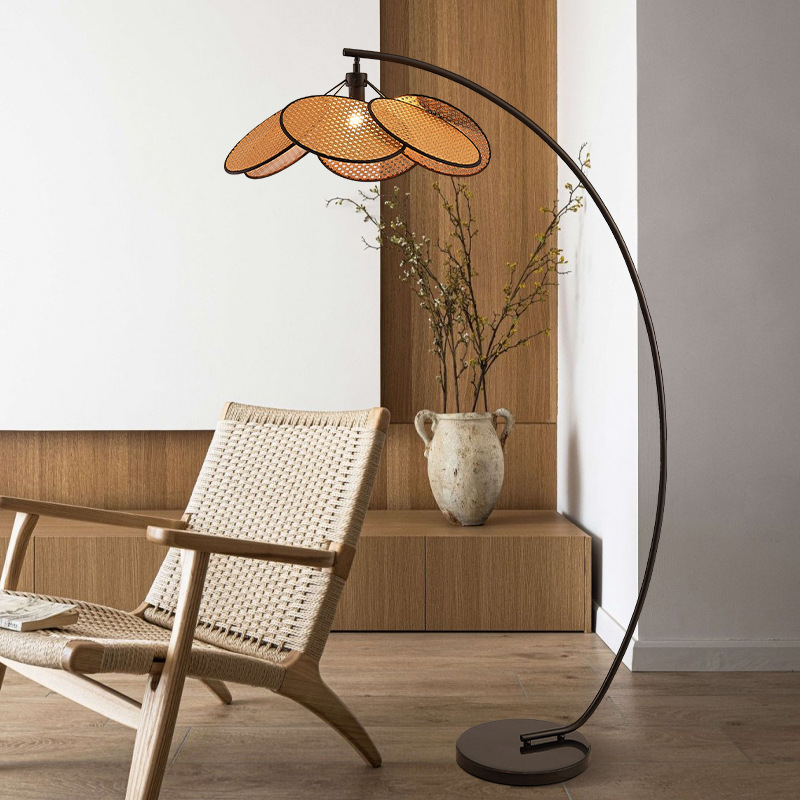
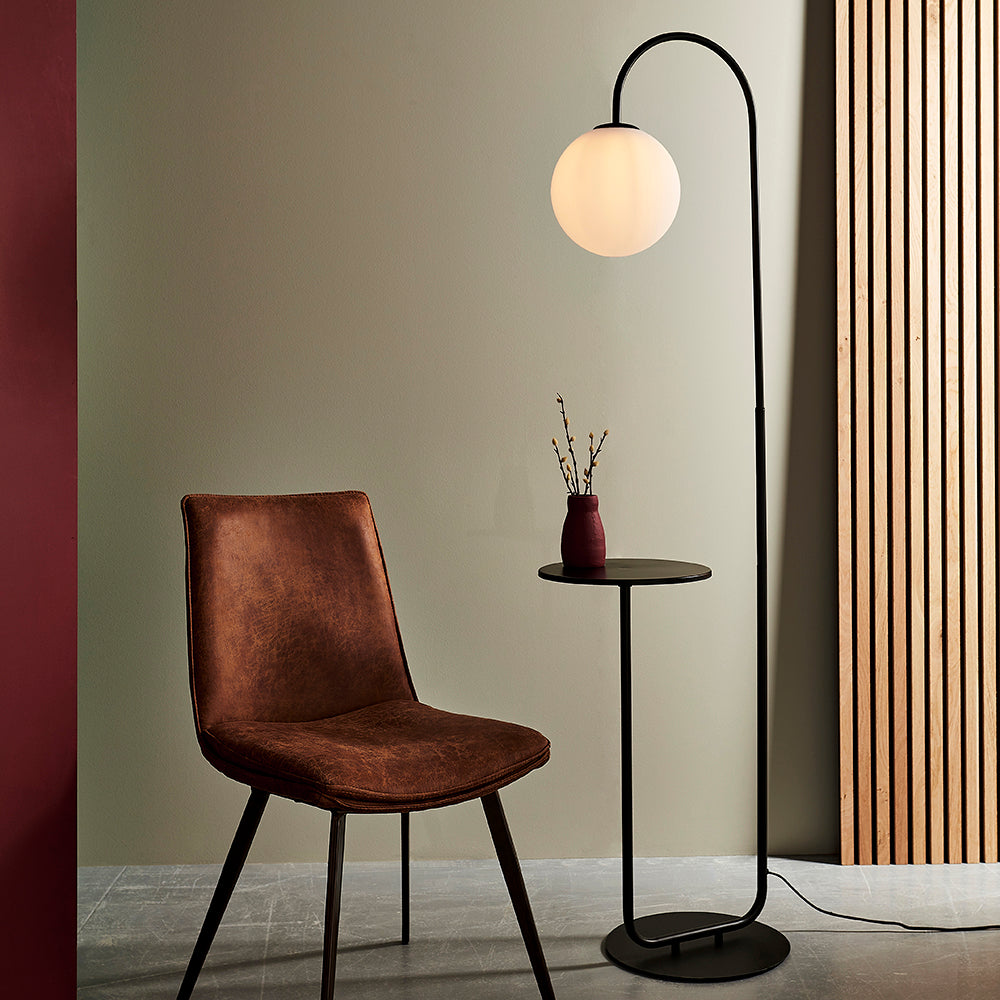
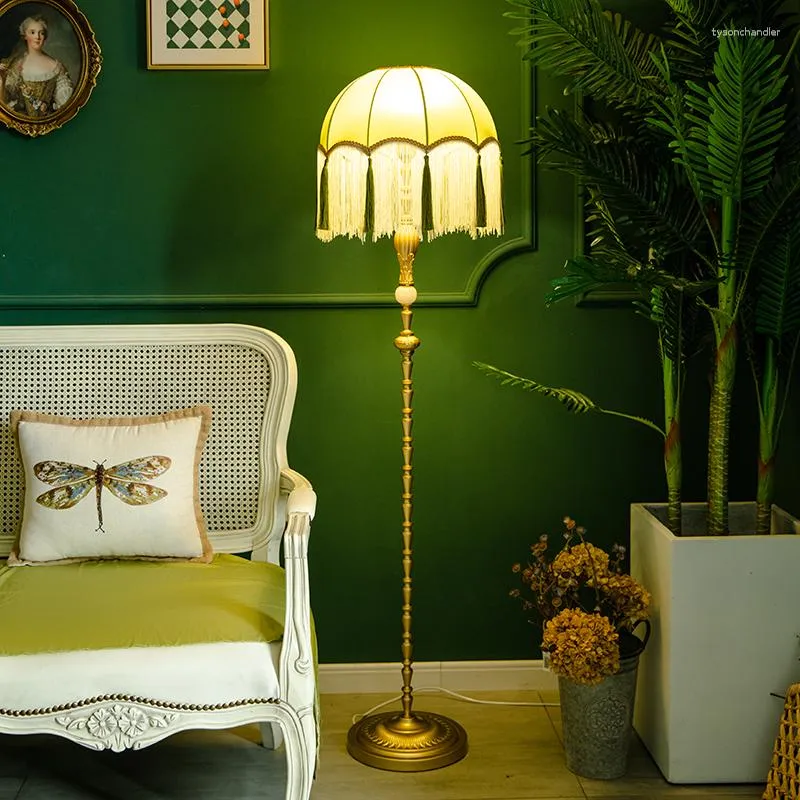
With a boho floor lamp, you’re not just choosing a light source; you’re adding a statement piece that can tie the entire room together. Its unique design, often featuring intricate details, bright colors, and sometimes even beading or fringes, makes it much more than a functional item. A boho floor lamp serves as a focal point that complements the free-spirited yet thoughtful nature of Bohemian décor.
Remember, Bohemian décor is not just a style; it’s a reflection of a laid-back lifestyle and open-minded approach to interior design. It encourages mixing and matching to find the perfect balance for a comfortable and inspiring living space.

Key Characteristics of a Boho Floor Lamp
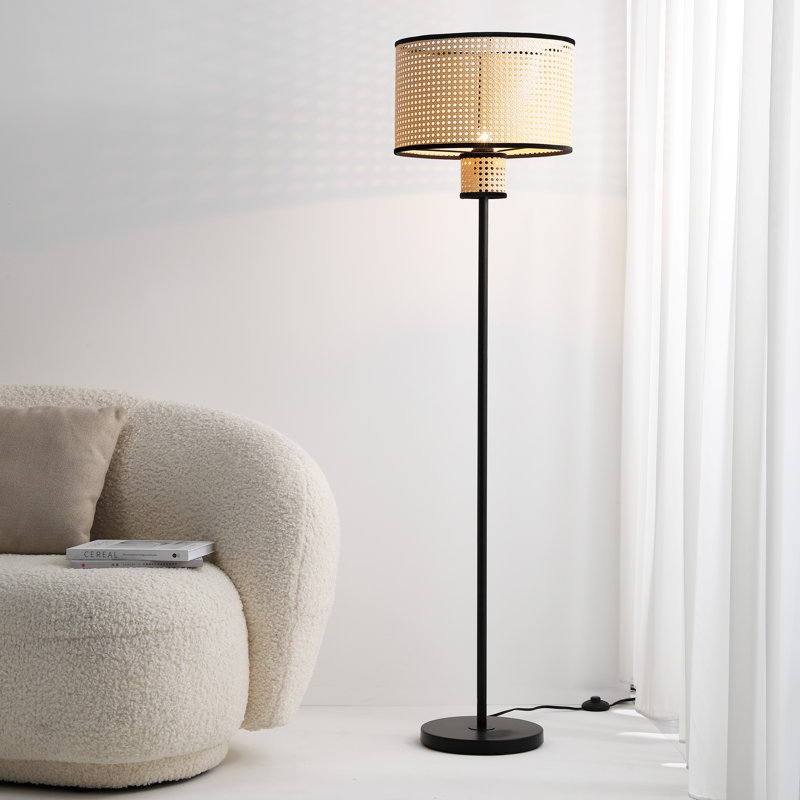
When selecting a boho floor lamp, it’s important to understand the key features that define this chic lighting fixture. A boho floor lamp isn’t just about illumination; it’s a piece of art that reflects the free-spirited nature of Bohemian design. Here are some defining characteristics to look for:
- Eclectic Design: Each boho floor lamp possesses a unique blend of design elements. Look for lamps that combine various patterns, colors, and materials for that signature eclectic look.
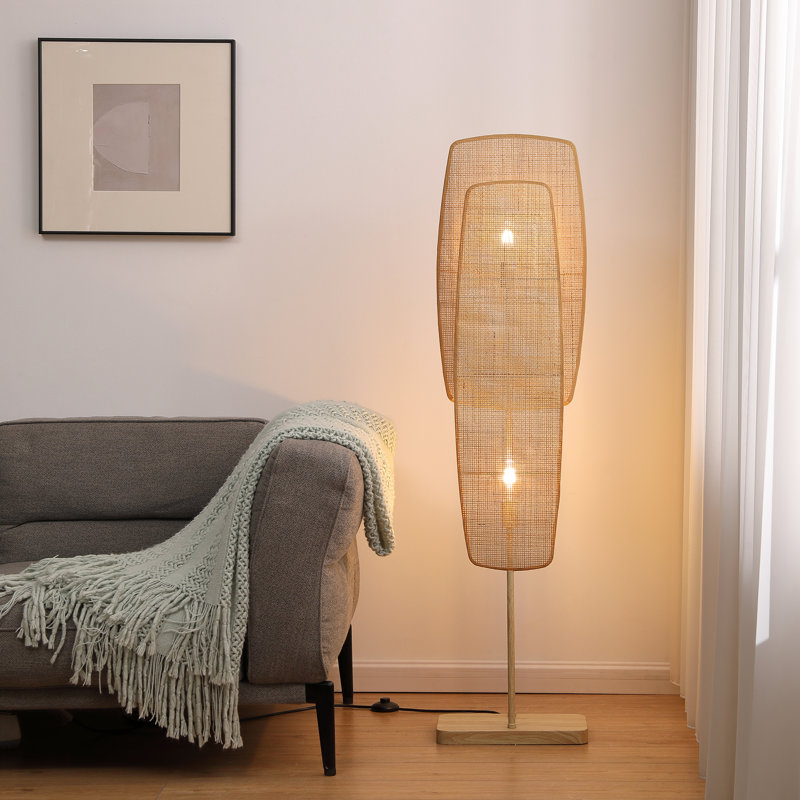
- Natural Materials: True to the Bohemian ethos, these lamps often feature elements like rattan, bamboo, or wood. These materials contribute to an organic, earthy vibe in your living space.
- Textural Richness: Texture is crucial in Bohemian décor, and boho floor lamps are no exception. They may include fringe, beading, or fabric shades with a tactile appeal.
- Bold Colors: If your room needs a pop of color, a boho floor lamp can deliver. Vivid hues are frequent in Bohemian pieces, allowing the lamp to stand out and make a statement.
- Artisanal Flair: Many boho lamps showcase handcrafted details, enhancing the lamp’s authenticity and charm.
- Mismatched Elements: In line with the Boho philosophy of mixing rather than matching, these lamps often incorporate seemingly mismatched components that create a harmonious whole.
Recognizing these features will help you choose a boho floor lamp that not only lights up your room but also elevates its overall Bohemian aesthetic. Remember, the goal is to find a lamp that resonates with your personal taste and complements the laid-back, artistic vibe of your décor.
Selecting the Perfect Boho Floor Lamp for Your Room
Choosing the right boho floor lamp can transform your room’s look and feel. Here’s how you can select the perfect piece for your space:
Consider the Lamp Size
Think about the height and width of the lamp. It should fit well in your space. Avoid lamps that are too large, as they may overpower the room. Likewise, a lamp too small may not make the impact you desire.
Assess Your Room’s Color Palette
Pick a lamp that complements or accentuates your existing colors. Bright colors add a pop, while neutral tones blend seamlessly.
Evaluate the Functionality
Determine the primary use of the lamp. Do you need it for reading, ambiance, or as a statement piece? This will guide your choice.
Match with the Room’s Style
Your lamp should echo the room’s boho vibe. Look for eclectic designs and natural elements that match your decor.
Check the Lighting Needs
Consider the type of light you need. Warm lighting can enhance the cozy, boho feel. A lamp with adjustable brightness is a plus.
Pick a Focal Point or Complementary Piece
Decide if the lamp will be a room’s centerpiece or complement other items. A lamp with intricate details can stand out, while a simpler design can support other decor elements.
Making the right choice for a boho floor lamp involves considering size, color, functionality, style, lighting needs, and how it will fit in with your room’s overall design. Keep these tips in mind, and you’ll find a lamp that not only lights up your space but also enhances its Bohemian charm.
Incorporating Boho Floor Lamps into Different Room Settings
Boho floor lamps are versatile decor pieces that can enhance various room settings. To integrate them successfully, it’s essential to consider how they’ll interact with the space and existing decor. Here’s how you can incorporate boho floor lamps into different rooms:
Living Room
In the living room, a boho floor lamp can serve as a captivating focal point. Choose a lamp with a statement design and place it next to a cozy reading nook or sofa. It will add warmth and character, and also provide functional lighting for socializing or relaxing.
Bedroom
A bedroom benefits from the soft, ambient light of a boho lamp. Position it beside the bed or in a dim corner to create a peaceful retreat. Opt for lamps with warm colors and soft textures to promote relaxation and comfort.
Study or Home Office
For your study or home office, select a boho floor lamp that offers adequate lighting for reading and working. Look for designs that complement your desk and bookshelves, encouraging creativity and focus in the room.
Dining Area
Dining areas can be enlivened with the artisanal touch of a boho floor lamp. Place it in a corner or near a sideboard to cast a welcoming glow over dinners and gatherings. Ensure the lamp’s height does not obstruct the view across the table.
Hallway or Entryway
Greet visitors with a boho lamp in the hallway or entryway. It will create a warm, inviting ambiance as soon as you step into the home. Choose a more compact lamp that fits the space without overcrowding it.
When integrating a boho floor lamp into any room, remember to balance functionality with design. Ensure it complements the room’s color scheme, style, and purpose. With thoughtful placement and selection, your boho floor lamp can transform any space into a charming and stylish haven.
Pairing Boho Floor Lamps with Other Bohemian Décor Elements
Creating a cohesive Bohemian space involves pairing your boho floor lamp with other decorative elements that reflect the same eclectic and artistic flair. To complement your lamp and enhance the Boho vibe of your room, consider these simple yet effective pairings:
Mix and Match Textiles
Layer rugs, throw pillows, and blankets in various patterns and textures. This adds depth and comfort to your space.
Add Natural Elements
Incorporate plants, wooden furniture, and wicker baskets to bring a touch of nature indoors.
Display Art and Artifacts
Hang tapestries, display vintage finds, and showcase travel souvenirs to tell a unique story.
Use Complementary Lighting
Combine your floor lamp with fairy lights or candles for a warm, glowing atmosphere.
Play with Wall Decor
Adorn your walls with macramé hangings or Bohemian art that speaks to your personal taste.
Incorporate Vintage Pieces
Choose a few vintage or thrifted items to give your room a sense of history and charm.
By thoughtfully pairing your boho floor lamp with these Bohemian décor elements, you can create a room that feels both inviting and expressive of your individual style.
DIY Tips for Personalizing Your Boho Floor Lamp
Personalizing your boho floor lamp can add a unique touch to your space. Here are some DIY tips to help you get started:
Choose Your Color Palette Wisely
Select colors that match or complement your room’s existing color scheme. Bold or pastel hues both work well.
Add Textural Elements
Wrap the base or shade in rope, yarn, or fabric to create a new texture. This can transform the lamp’s look.
Paint It Up
Use paint to give the lamp an updated appearance. Consider geometric patterns or freehand designs for a boho vibe.
Embellish with Accessories
Attach beads, feathers, or tassels for added detail. These can hang from the lampshade or stand.
Experiment with the Lampshade
Replace the shade with a different material, shape, or color. Try a patterned fabric or pierced tin for a change.
Use Decals or Stickers
Apply removable decals or stickers to the lampshade for a playful, non-permanent update.
Incorporate Nature
Adorn the lamp with elements from nature, like shells or driftwood, for an earthy feel.
By following these DIY tips, you can easily make your boho floor lamp a standout piece that reflects your personal style. Be creative and have fun with the process!
Maintaining and Caring for Your Boho Floor Lamp
To ensure your boho floor lamp maintains its beauty and function, proper care is essential. Here are some simple yet effective maintenance tips:
Keep It Clean
Dust your lamp regularly with a soft cloth. For deeper cleans, slightly dampen the cloth with water or a gentle cleaner.
Handle with Care
Be gentle when moving your lamp. Always hold it by the base, not the shade, to prevent damage.
Avoid Direct Sunlight
Keep your lamp away from prolonged exposure to sunlight. This can help preserve the vibrant colors of the lampshade.
Replace Bulbs Regularly
Check and replace light bulbs as needed. Use the correct wattage to prevent overheating.
Check Electrical Components
Every few months, inspect the cord and plug for wear. Replace them if they show signs of damage.
By following these guidelines, you can enjoy your boho floor lamp for years to come. Regular maintenance will keep it as a striking part of your home’s decor.
Where to Find Unique Boho Floor Lamps
When you’re on the hunt for the perfect boho floor lamp, there are several places to look. Start with local boutiques and home decor stores. These often carry exclusive pieces that you won’t find elsewhere. If you love a good treasure hunt, thrift shops and flea markets can be gold mines for unique boho floor lamps. You may stumble upon a vintage piece with real character. Remember that with second-hand items, you should check for any needed repairs or updates.
Online marketplaces are another excellent source for a broad selection of lamps. Sites like Etsy offer handcrafted and vintage options from artisans around the world. Here, you can find lamps that truly tell a story and are as unique as your space. If you’re looking for more contemporary designs or replicas, larger retailers like Wayfair or Amazon provide a vast array of choices. While shopping online, reviews and ratings can guide you to reliable sellers.
Finally, consider artisan fairs and craft shows where local craftsmen display their work. Such events are ideal for finding one-of-a-kind pieces and supporting small businesses. With patience and a keen eye, you’re sure to find a boho floor lamp that resonates with your style and adds that special touch to your home.
Wherever you decide to shop, keep the characteristics of a boho floor lamp in mind. Look for eclectic designs, natural materials, and an array of colors to discover the lamp that will perfectly illuminate and decorate your bohemian space.