Introduction to Outdoor Floor Lamps
Outdoor living spaces are not just about daytime enjoyment. An outdoor floor lamp can transform these areas when the sun sets. Brilliant, functional, and stylish, these lamps offer more than light. They bring aesthetics and utility together to your garden or patio. Outdoor floor lamps come in various shapes and sizes. They are designed to withstand the elements. This makes them perfect for outdoor use. They ensure your outdoor activities can continue well into the night.
An outdoor floor lamp is a free-standing light fixture. It brings indoor comfort outdoors. Commonly, they anchor seating areas and enhance the ambiance. They are not just practical for vision. They make outdoor spaces welcoming and warm. Today, the range of available styles is broad. It caters to every taste and outdoor setting. From sleek modern lines to traditional lantern looks, there’s a lamp for every garden.
Choosing the right outdoor floor lamp involves several considerations. You need to think about weather resistance, design, and lighting needs. They should be in harmony with your outdoor décor. Plus, they should stand up to various weather conditions. In the next sections, we will explore the types of outdoor floor lamps. These types include their materials, designs, and features. We will also discuss how to select, install, and maintain them for lasting outdoor enjoyment.

Varieties of Outdoor Floor Lamp Designs
Outdoor floor lamps are diverse and cater to various tastes and settings. The designs range from minimalistic to ornate, each with a distinct charm and function. Here we delve into a few popular styles that could elevate your outdoor space.
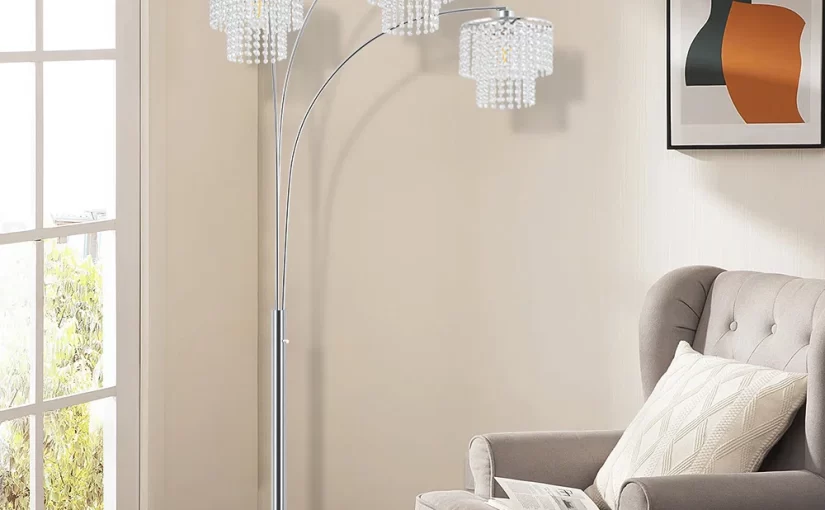
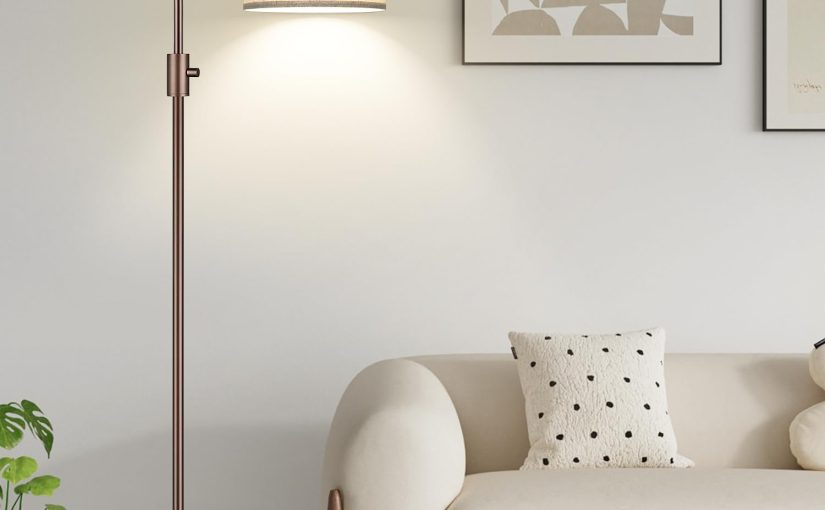
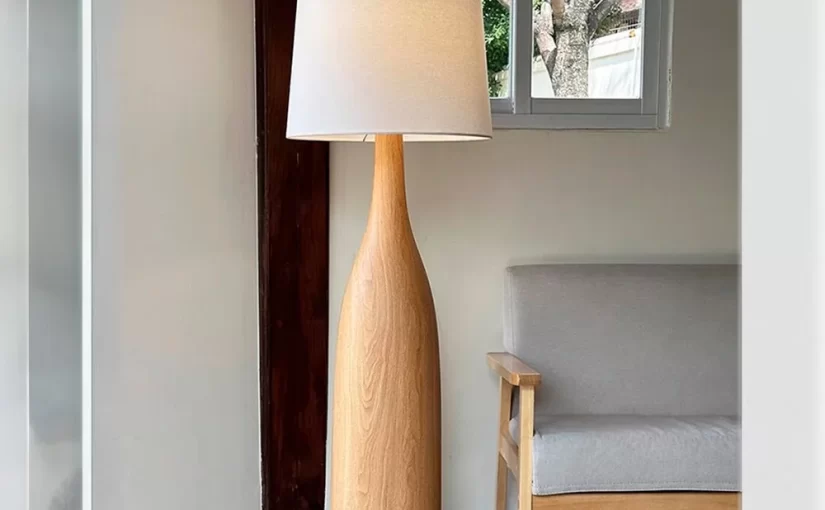
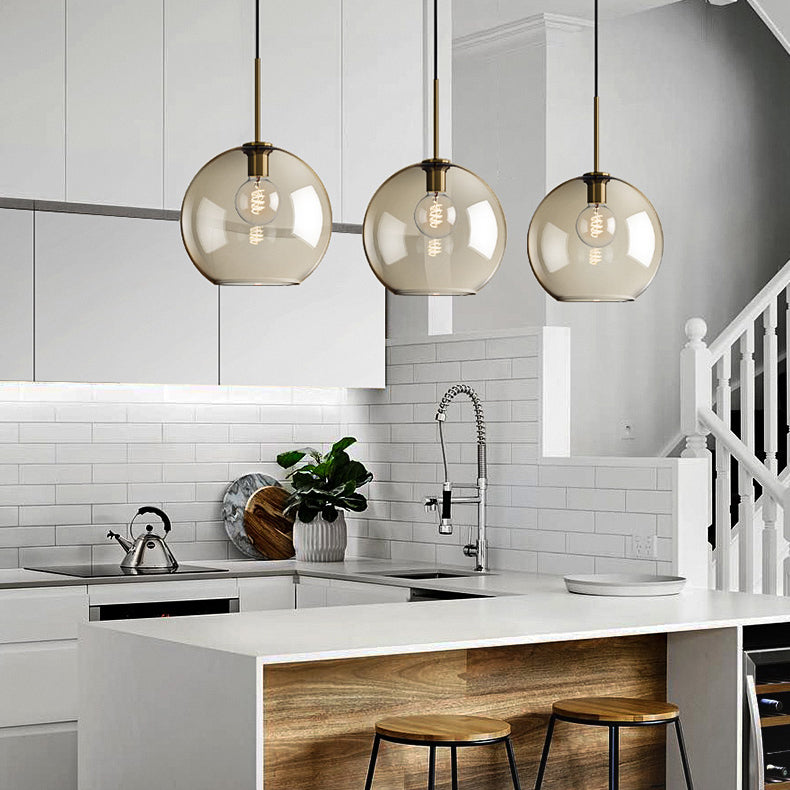
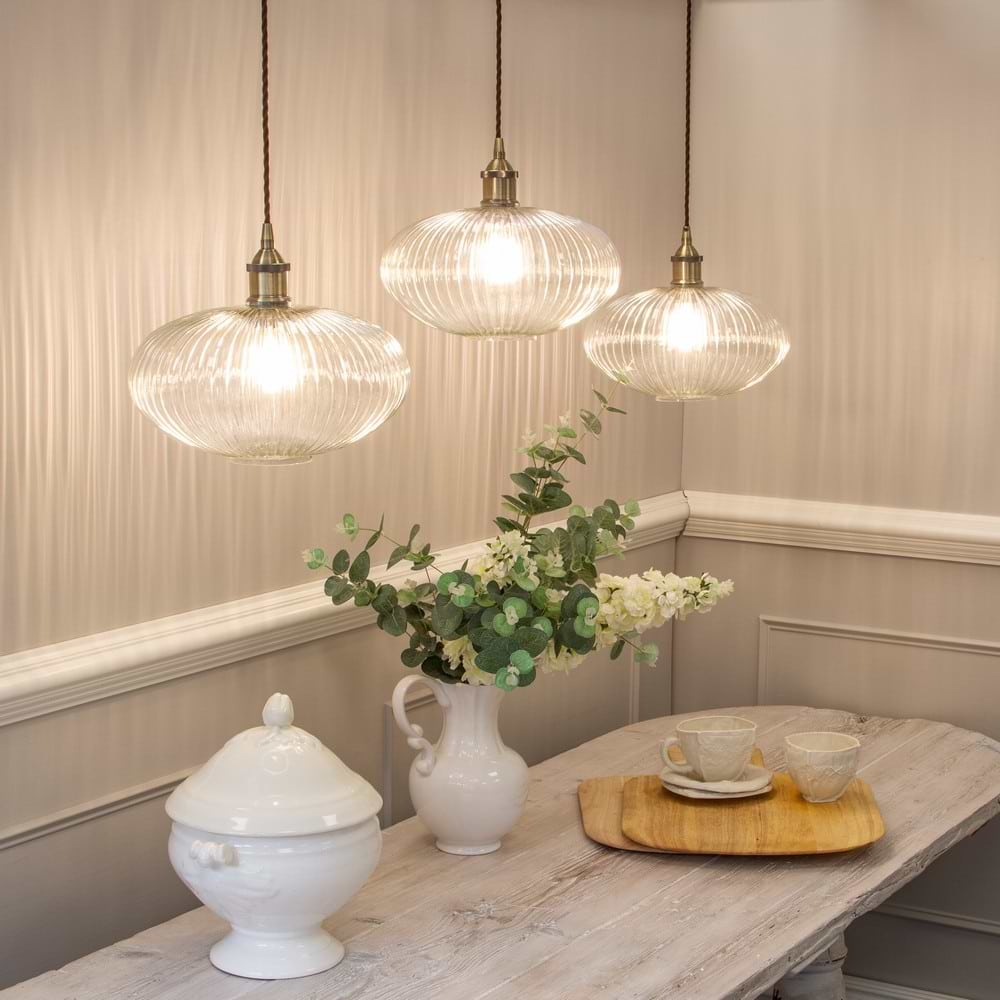
Modern and Contemporary Designs
Modern outdoor floor lamps boast clean lines and geometric shapes. They fit seamlessly into sleek outdoor living areas. These lamps often feature metal or glass components. And they provide bright, direct light—ideal for a modern, minimalist garden.
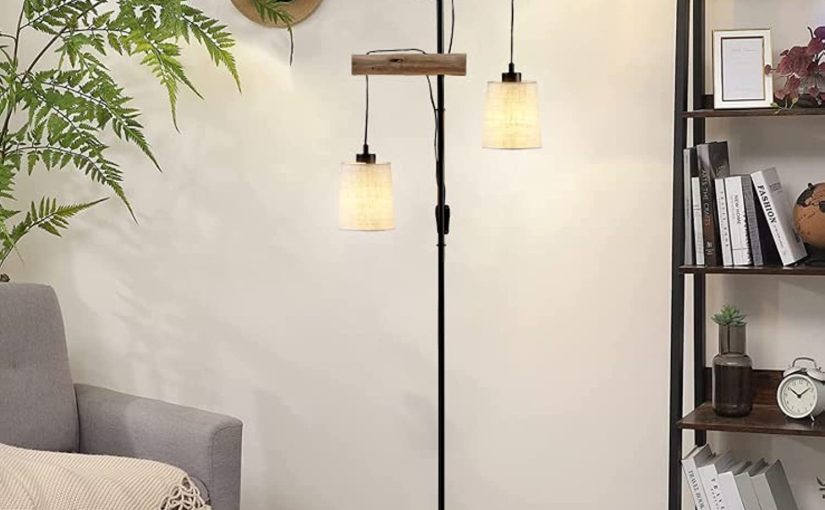
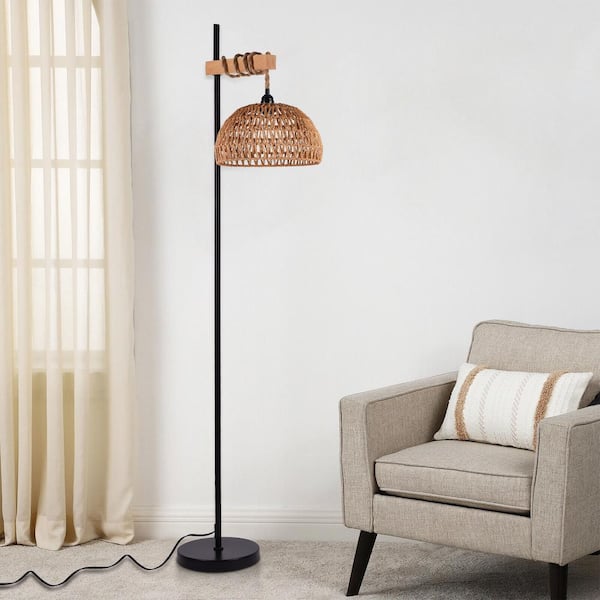
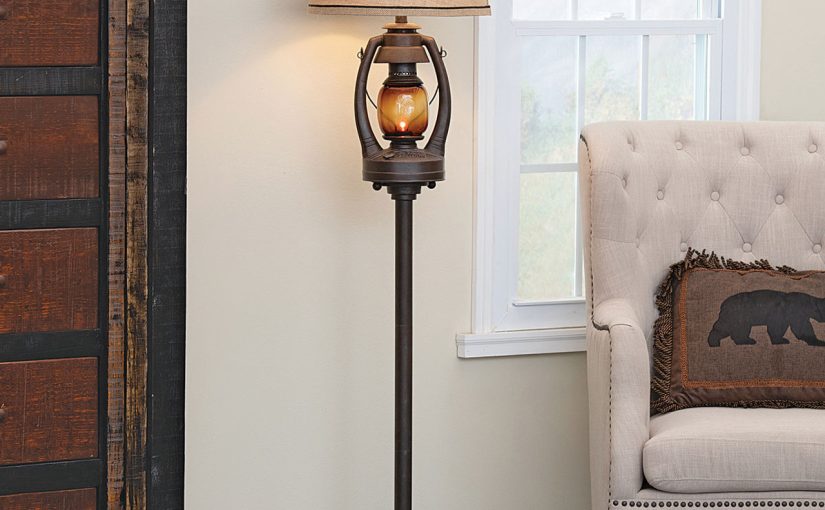
Traditional and Rustic Styles
Traditional designs may include lamps with intricate details and classic shapes like lanterns. They are often made from materials like bronze or wrought iron. They give off a soft, warm glow. Perfect for cozy, rustic patios or classic garden layouts.
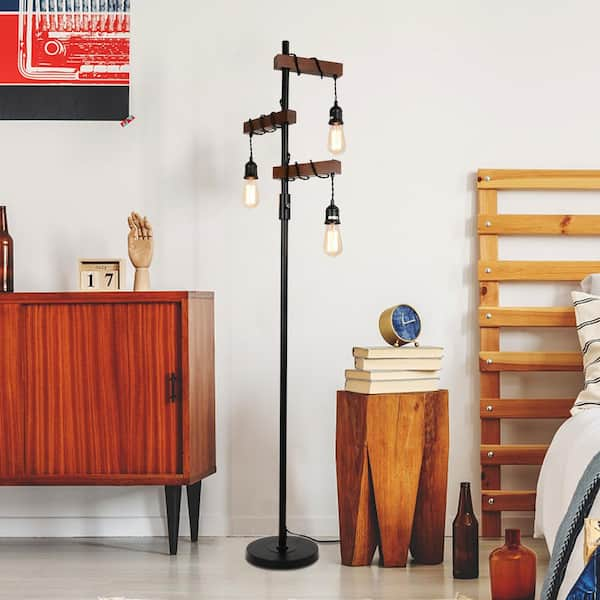
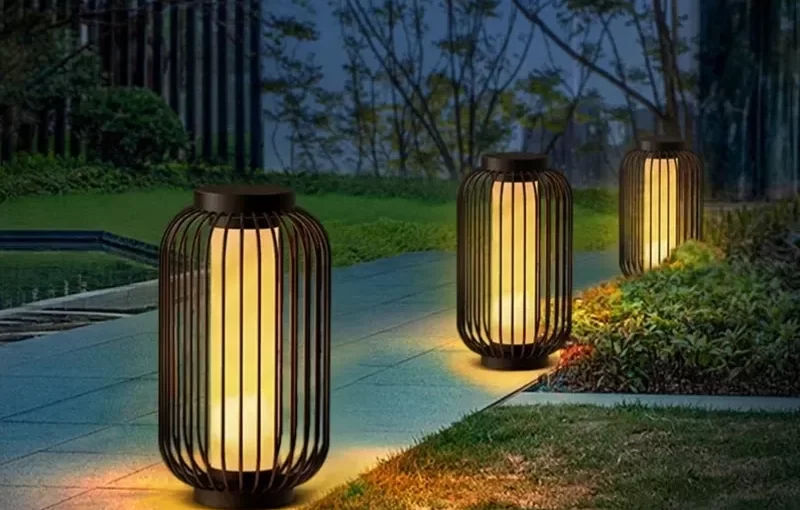
Industrial Look
Industrial outdoor floor lamps are all about raw, unfinished looks. Think metal frames and exposed bulbs. This style suits urban outdoor spaces or lofts with an edge. They’re robust and exude strong character.
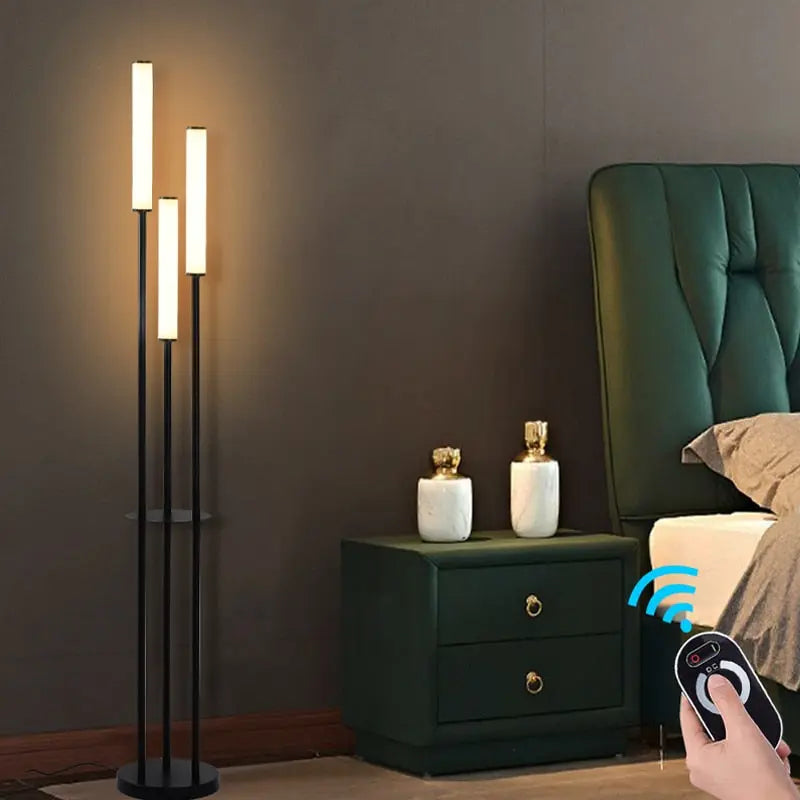
Solar-Powered and LED Lamps
Environmentally-conscious options include solar-powered and LED lamps. These are cost-effective over time. They use less energy and require less maintenance. Their designs are varied. They range from sleek to more traditional looks.
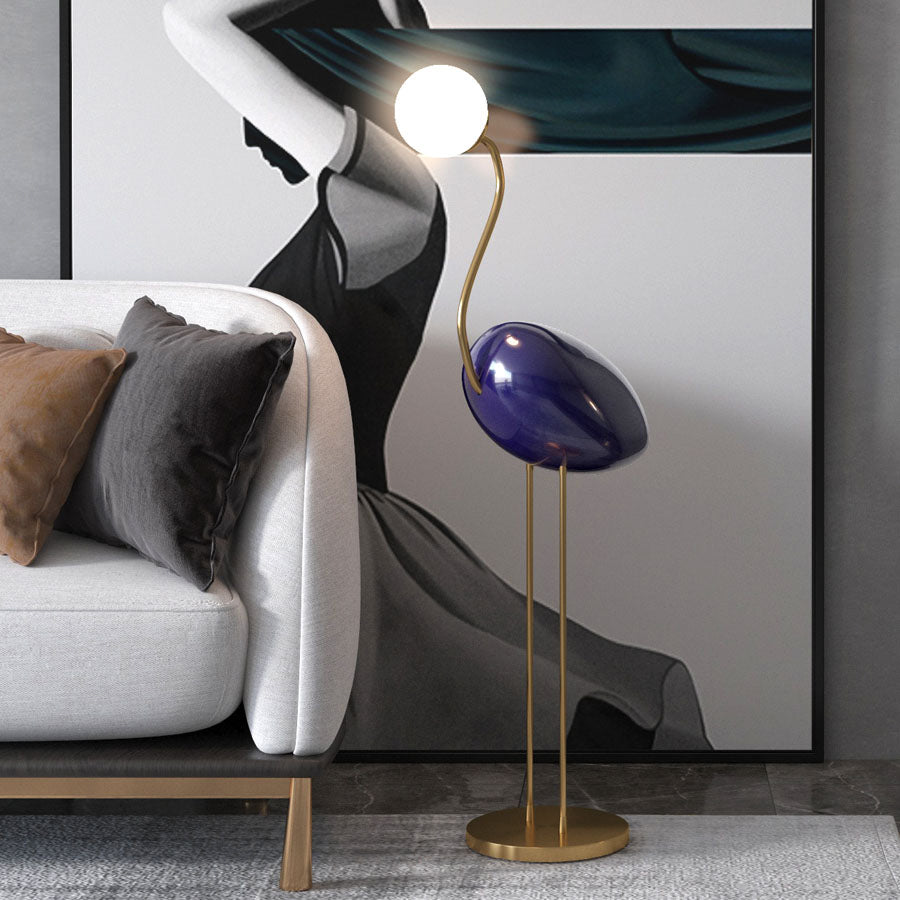
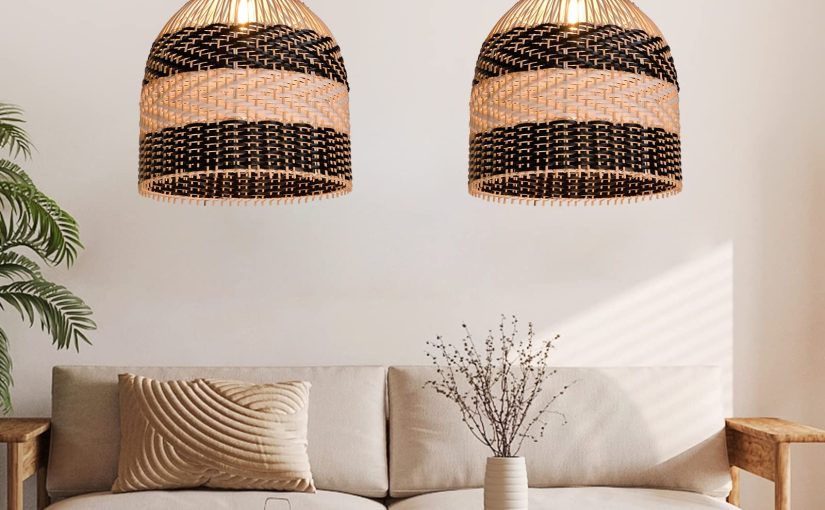
Decorative Elements
Some outdoor floor lamps come with added decorative elements. These can include colored glass, patterned shades, or artistic bases. They serve as a statement piece. These are as much about aesthetics as they are about illumination.
When incorporating an outdoor floor lamp into your space, choose a design that complements your outdoor aesthetic. Think about how the light will blend with the natural environment. Consider how the lamp style will enhance your garden’s look and feel.
Considerations for Choosing The Right Outdoor Floor Lamp
Choosing the right outdoor floor lamp requires careful thought. Here are key points to consider before making your selection.
Assess Your Space
First, look at your outdoor area. Measure the space where you plan to put the lamp. Ensure it fits well and does not overcrowd the area.
Style and Design
Pick a lamp that complements your outdoor decor. Think about whether a modern, traditional, or industrial look will blend with your garden’s theme.
Weather Resistance
Opt for lamps designed to endure outdoor conditions. Look for features like waterproof materials and rust resistance.
Lighting Needs
Consider what you need the lamp for. Is it for reading, security, or mood lighting? Your purpose will guide the brightness and type of light you need.
Energy Efficiency
Choose energy-saving options like LED or solar-powered lamps. They save money and are better for the environment.
Durability
Ensure the lamp is sturdy enough to stand firm in various weather conditions. It should last through seasons of use.
Safety Features
Safety is crucial. Go for lamps with a strong base to prevent tipping. Check for features like shatter-resistant shades.
Price
Finally, consider your budget. Balance cost with quality to find a durable, beautiful, and functional outdoor floor lamp.
Selecting an outdoor floor lamp is not just about the immediate appeal. It’s about matching your practical needs with your aesthetic desires for long-term satisfaction. Keep these considerations in mind to find the perfect outdoor floor lamp for your space.

Material and Durability in Outdoor Floor Lamps
Choosing the right material for your outdoor floor lamp is crucial. It affects both looks and longevity. Lamps face sun, wind, rain, and sometimes snow, depending on your location. Select materials that can brave these elements.
Weather-Resistant Materials
Look for lamps made of robust materials. Metals like aluminum and stainless steel resist rust and corrosion. Plastics should be UV-resistant to prevent fading. Woods used in outdoor lamps should be hardy, like teak or eucalyptus.
Quality of Construction
The build quality can impact durability. Joints and connections must be secure. Lamps should not wobble or have loose parts. Check for well-sealed lights. These stop moisture from getting in.
Protective Finishes
A good outdoor lamp will have protective finishes. Powder coating on metal parts prevents rust. Varnishes on wood lamps protect against moisture and insect damage.
Impact-Resistant Features
Lamp shades should be tough. Polycarbonate or shatterproof glass shades can withstand the occasional knock.
When choosing an outdoor floor lamp, think long-term. High-quality materials and construction mean you won’t replace the lamp soon. This saves money and effort over time. Plus, a well-made lamp stays looking good, enhancing your outdoor space year after year.
Energy Efficiency and Lighting Options
Choosing an energy-efficient outdoor floor lamp is smart and eco-friendly. It reduces energy bills and helps the environment. Here’s what to look for when considering lighting options.
LED Lamps
LED lamps are an excellent choice for energy efficiency. They use less power and last longer than traditional bulbs. This means lower energy costs and fewer bulb changes. Look for outdoor floor lamps that come with LED lighting.
Solar-Powered Lamps
Solar-powered lamps offer the ultimate in energy savings. They rely on sunlight to recharge. This allows for a renewable energy source each day. They need no electrical wiring, making them easy to install anywhere.
Light Sensors and Timers
Lamps with built-in light sensors or timers save energy. They turn on only when it’s dark or for a set period. This prevents unnecessary power usage.
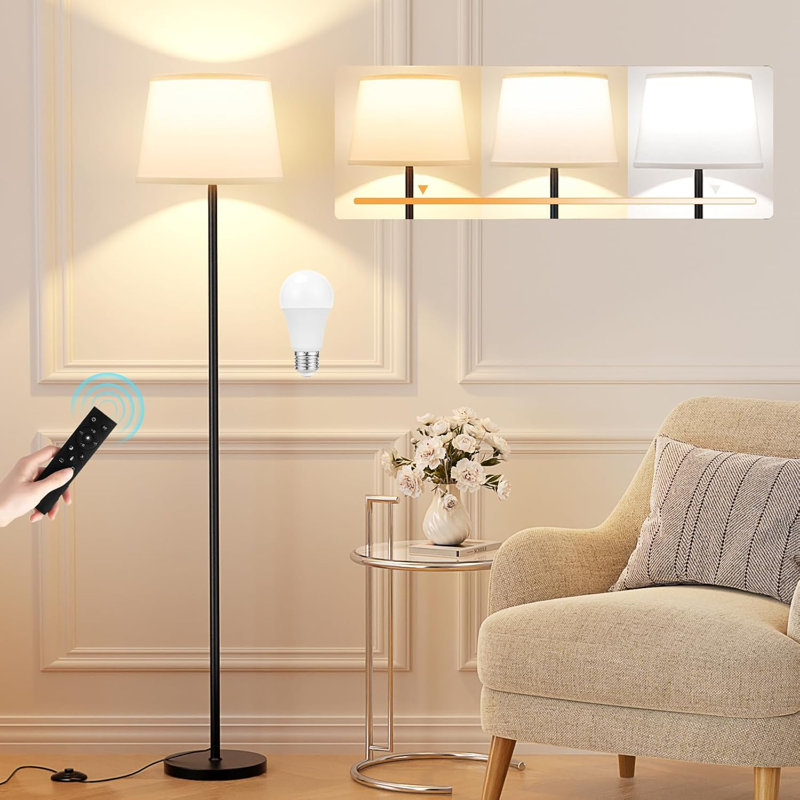
Brightness Control Options
Some lamps come with dimmers or adjustable settings. This lets you control the amount of light. It also saves energy when full brightness is not needed.
Choosing the correct lighting option can make a significant impact. Not just on your garden’s ambience, but also on your utility bills and carbon footprint.
Installation Tips for Outdoor Floor Lamps
Installing an outdoor floor lamp properly is vital for function and safety. This section provides practical tips for a smooth setup.
Choose the Right Location
Select a spot that enhances your garden’s features. It should be close to a power source if not solar-powered. Make sure it doesn’t obstruct pathways.
Check for Electrical Requirements
For non-solar lamps, ensure your outdoor sockets are suitable. They must have proper grounding and weatherproofing. Consider a professional electrician for installation.
Secure the Lamp
A sturdy base keeps the lamp stable. Fix the base firmly to avoid any wobbling. It should resist strong winds.
Safeguard the wiring
Protect cords from water and damage. Use cord covers or bury them slightly. Keep wires away from areas where they might be tripped over.
Follow the Manufacturer’s Instructions
Each lamp will have its specific setup guide. Read it carefully. Follow each step to ensure proper function and safety.
Check the Lamp’s Alignment
Once assembled, adjust the lamp so it lights the desired area effectively. Ensure it’s upright for even lighting.
Installation is straightforward when you plan ahead. By following these tips, you can enjoy your outdoor floor lamp safely for years to come.

Maintenance and Care for Outdoor Floor Lamps
Maintaining your outdoor floor lamp is key for longevity and performance. Here’s how to keep your lamp in top condition.
Clean Regularly
Wipe the lamp with a soft, damp cloth. Avoid harsh chemicals that can damage finishes.
Check for Wear and Tear
Inspect your lamp often for signs of rust or wear. Fix small issues before they become big problems.
Replace Bulbs as Needed
Change bulbs when they burn out. For LED lamps, look for signs of dimming.
Store During Extreme Weather
If possible, store your lamp indoors during harsh weather. This can protect it from damage.
Tighten Loose Parts
Regularly check for any loose screws or parts. Tighten them to keep your lamp stable.
Follow Manufacturer’s Guidelines
Use the lamp as directed. Adhere to any specific care instructions provided.
Regular maintenance ensures your outdoor floor lamp remains a reliable light source. It also helps to keep your outdoor space safe and inviting for years to come.
Safety Precautions for Using Outdoor Floor Lamps
When using outdoor floor lamps, safety comes first. Here are essential tips to minimize risks.
Location Matters
Place your lamp away from high-traffic areas. This prevents tripping or knocking it over.
Weatherproof Features
Use lamps designed for outdoor use. They should resist water and extreme temperatures.
Stable Base
Choose lamps with a heavy, stable base. This helps prevent them from tipping in the wind.
Correct Bulb Usage
Always use the type of bulb recommended by the manufacturer. Wrong bulbs can overheat.
Electrical Safety
Check that outdoor sockets are safe and weatherproof. Have an electrician install them if unsure.
Regular Inspections
Periodically check your lamp for any damage. Repair any issues promptly to keep it safe.
Avoid Overloading
Don’t overload electrical circuits. Plug in only what your outdoor outlets can handle safely.
Following these safety steps will ensure that your outdoor floor lamp enhances your space without risk.