
Introduction:
Chandeliers serve as dazzling focal points in our spaces, but when it comes time to remove or replace them, the task can seem daunting. Whether you’re upgrading your fixture or making adjustments to your home, understanding the intricacies of removing a chandelier is crucial for a successful outcome. In this comprehensive guide, we’ll walk you through the step-by-step process of safely and efficiently removing a chandelier, ensuring that your project is completed with confidence and ease.
Part 1: Assessing the Necessary Tools and Supplies
Level 1: Essential Tools
Before embarking on the removal process, gather the essential tools required for the task. These may include a stepladder, a voltage tester, wire cutters, pliers, and electrical tape, among others.
Level 2: Protective Supplies
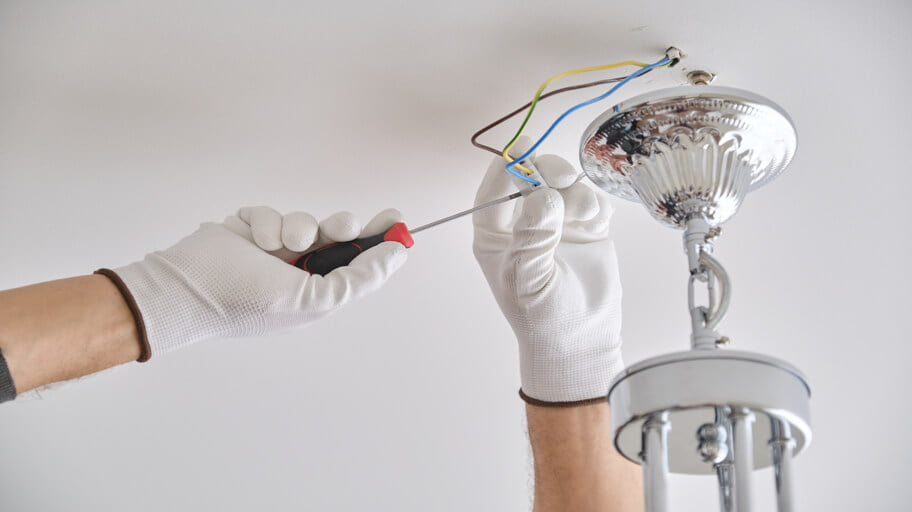
In addition to tools, protective supplies such as gloves and safety goggles are crucial for ensuring personal safety throughout the chandelier removal process. These items protect against potential electrical hazards and ensure a secure working environment.
Part 2: Safety Protocol and Precautions
Level 1: Turning Off Electrical Supply
The first and foremost step before removing a chandelier is to turn off the electrical supply. Locate the circuit breaker that controls the power to the chandelier and switch it off to prevent any electrical accidents during the removal process.
Level 2: Testing for Electricity
Using a voltage tester, verify that the power has been successfully turned off by checking the wiring connections. This essential step ensures that the area is safe to work in and reduces the risk of electrical shock.

Part 3: Detaching the Chandelier from the Mounting
Level 1: Disconnecting the Power
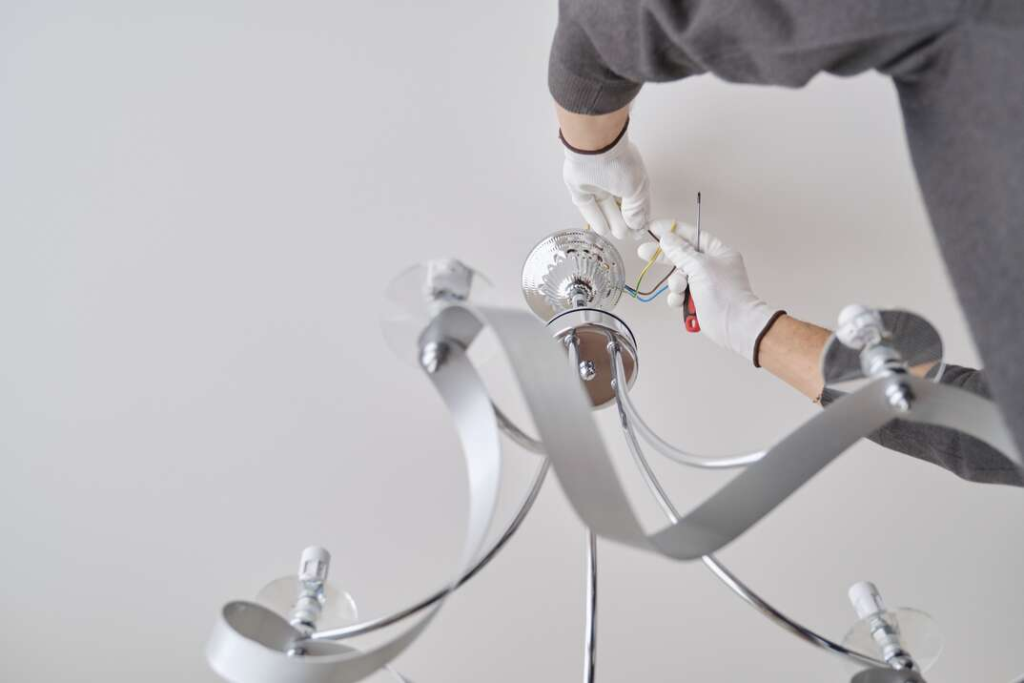
Once it has been confirmed that the power is off, carefully disconnect the chandelier from the electrical wiring. This may involve removing the canopy to access the wiring terminals.
Level 2: Loosening the Mounting Hardware
Use the appropriate tools to loosen the mounting hardware securing the chandelier to the ceiling. These fittings may include screws, nuts, or bolts, depending on the type of mounting system used.
Part 4: Safely Lowering and Removing the Chandelier
Level 1: Lowering the Chandelier
With the chandelier properly detached from the mounting, slowly and cautiously lower the fixture to the ground. Enlist the help of a partner if the chandelier is particularly heavy or intricate.
Level 2: Removal and Storage
Once the chandelier is lowered, carefully remove it from the installation area and find a safe location for storage, ensuring that it is protected from damage during the removal process.
Part 5: Ensuring Proper Disconnection and Handling of Wiring
Level 1: Disconnection of Wiring
After the chandelier has been removed, inspect the wiring to ensure that it has been properly disconnected from the electrical supply. Use wire nuts and electrical tape to secure loose wires and prevent accidental contact during handling.
Level 2: Proper Labeling for Reinstallation
To facilitate future reinstallation or disposal, label the wiring for proper identification. Indicating which wires are neutral, hot, and ground will streamline the process when the chandelier needs to be reinstalled or repurposed.

Part 6: Handling and Storing the Chandelier with Care
Level 1: Securing Fragile Components
Once the chandelier has been safely removed, carefully inspect it for any fragile components, such as glass shades or delicate ornaments. Secure these elements to prevent breakage during handling and storage.
Level 2: Protective Packaging
When storing the chandelier, ensure that it is packaged securely to avoid damage. Utilize padded wrapping or protective materials to shield the fixture from potential impacts or scratches while in storage.
Part 7: Ensuring Proper Disposal or Reinstallation
Level 1: Appropriate Disposal Methods
If the chandelier is being replaced and will not be reused, research the appropriate disposal methods for the fixture. Some components, such as electrical wiring and certain materials, may need to be discarded in compliance with local regulations.
Level 2: Reinstallation Considerations
If the chandelier is being removed for maintenance, cleaning, or reuse, plan for its safe reinstallation. Label and organize the parts, and, if necessary, document the removal process to aid in the seamless reassembly of the chandelier.
Part 8: Seeking Professional Assistance
Level 1: Consulting a Professional Electrician
If at any point you feel uncertain about the chandelier removal process, it is advisable to seek the expertise of a qualified electrician. Professional assistance can ensure that the removal is conducted safely and in compliance with electrical codes and regulations.
Level 2: Reinstallation Assistance
For complex or heavy chandeliers, enlisting the services of a professional for the removal and reinstallation process can provide peace of mind and guarantee a successful outcome.
Conclusion:
Cautiously removing a chandelier is a task that requires meticulous attention to safety and detail. By observing proper precautions, following the prescribed steps, and seeking professional guidance when necessary, you can ensure that the removal process is conducted with precision and care.
Remember, safety is paramount when handling electrical fixtures, so always prioritize the disconnection of the power supply and verify. That has been successfully turned off prior to commencing the removal. Additionally, securing and labeling components for storage or reinstallation will facilitate the process.
With this comprehensive guide, you are now equipped to confidently tackle the task of removing a chandelier, whether for a replacement, maintenance, or reinstallation. Approach the process with care, do not hesitate to seek the assistance of a professional to ensure a safe and successful outcome.
The step-by-step process outlined in this guide
Removing a chandelier may initially seem like a daunting task, but with the proper approach and careful consideration of safety measures. It can be accomplished with confidence and ease. By following the step-by-step process outlined in this guide, you can ensure that the removal of your chandelier is conducted safely and efficiently, allowing for a smooth transition to your next lighting project. Keep in mind that if you encounter any uncertainty or complications during the removal process. Seeking the assistance of a qualified electrician is always a prudent course of action. With the right tools, precautions, and meticulous approach, you’ll be well-equipped to remove your chandelier successfully. Opening the door to new lighting possibilities and home enhancements.
With the knowledge and insights gained from this guide, you are well-prepared to approach the task of removing a chandelier with competence and diligence. Opening the door to future lighting endeavors and home décor transformations. Be it for maintenance, replacement, or reinstallation, the careful and methodical approach you employ will ensure that your chandelier is handled with the utmost care and consideration, preserving its beauty and functionality for years to come.