Introduction to LED Tube Lighting
LED tube lighting is revolutionizing the way we light up spaces. Unlike traditional fluorescent tubes that rely on ballasts to regulate current, LED tubes operate on a simpler, more energy-efficient mechanism. How to wire led tube lights without ballast? When considering LED retrofitting, it’s essential to understand that not all LED tubes are designed the same. Some can work with existing ballasts (Type A or plug and play), while others require a direct connection to power after bypassing the existing ballast (Type B), and there are hybrid types (A+B) as well.
For those who are new to LED tubes or considering an upgrade from fluorescent tubes, it is crucial to grasp the benefits of LED technology. LEDs offer a longer lifespan, better energy efficiency, and decreased maintenance costs compared to their fluorescent counterparts. As LED tubes operate on low voltage DC, they often require a driver to convert high voltage AC—something ballasts were never designed to do.
In retail or residential settings, LED tubes provide better quality lighting with a range of color temperatures that can enhance the ambiance of a space. With a growing emphasis on sustainability and cost-saving measures, understanding how to transition to LED tube lighting through a ballast bypass could be invaluable. How to wire led tube lights without ballast? The following sections will delve into the types of LED tubes available, the materials you’ll need, and most importantly, provide a step-by-step guide on how to wire LED tube lights without a ballast safely and efficiently.
Understanding LED Tubes: Type A, Type B, and Hybrid
Choosing the correct LED tube is vital for a successful retrofit. There are three main types to consider: Type A, Type B, and Hybrid, each with distinct installation requirements.
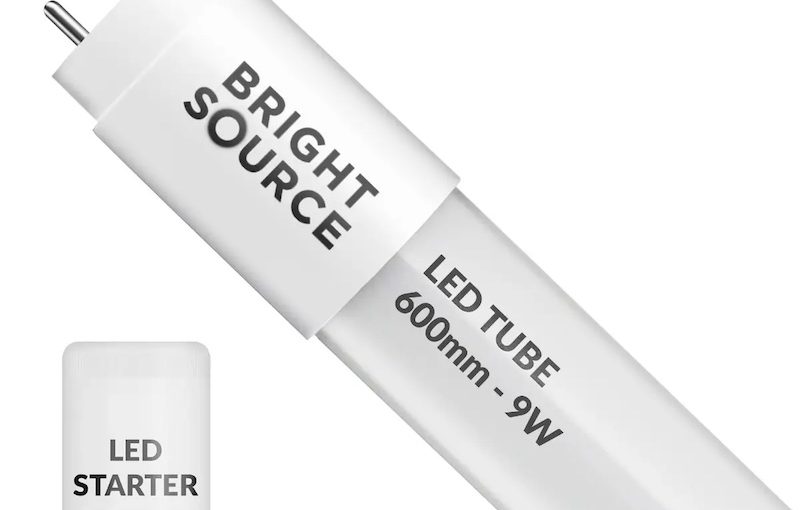
Type A: Plug and Play LED Tubes
Type A tubes work with the existing fluorescent ballast. They are easy to install but rely on the ballast’s condition.
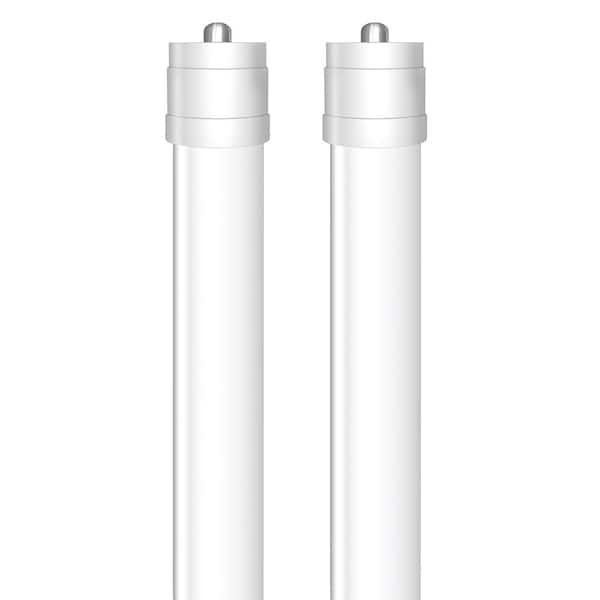
Type B: Ballast Bypass LED Tubes
Type B tubes require removing the ballast for direct wire to power. They offer more energy savings and less maintenance over time.
Hybrid: Type A+B LED Tubes
Hybrid tubes offer flexibility, functioning with or without a ballast. They are suitable for those who prefer an adaptable lighting solution.
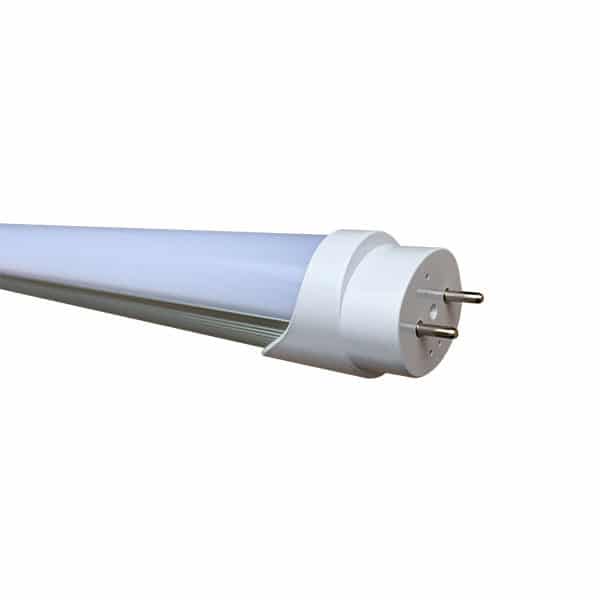
Each type has its pros and cons, and the choice largely depends on your specific lighting needs and whether you prefer a retrofit that works with the existing setup or a more comprehensive rewire that removes the ballast. Remember to check the compatibility of Type A tubes with the ballast and to use non-shunted tombstones for most Type B tube installations. Picking the right option can lead to better performance, energy savings, and a safer environment.
Step-by-Step Guide on Bypassing a Ballast
To retrofit your lighting with LED tubes, bypassing the existing ballast is often necessary. This process involves removing the ballast and rewiring the fixture for direct connection to the power supply. Here is a simple, step-by-step guide to help you through this process safely and effectively.
- Turn Off the Power: Locate your circuit breaker and switch off the power to the area where you’ll be working. This is to ensure your safety from electric shock.
- Access the Ballast: Open the light fixture to expose the ballast. In many T8 fixtures, the ballast is hidden behind a cover or beneath the tubes.
- Cut the Wires: Using a wire cutter, sever both the input hot (usually black or red) and neutral (usually white) wires close to the ballast. Do the same for the output wires leading to the sockets.
- Remove the Ballast: Unscrew and take out the ballast from the fixture. With the ballast gone, you won’t need it for the LED tubes to function.
- Connect the Wires: Strip about one inch of insulation from the cut wires. Connect the input hot wire to the output hot wire and the input neutral wire to the output neutral wire. Use wire connectors to secure the connections.
- Install the LED Tubes: Place the LED tube lights into the fixture sockets. Make sure the power is still off during this step.
- Restore Power: Once everything is connected and the LED tubes are in place, turn the power back on at the circuit breaker. Test your newly installed LED tubes to ensure they work correctly.
By following these steps, you can successfully bypass a ballast and enjoy the benefits of LED tube lighting. Always remember to take necessary safety precautions and refer to manufacturer instructions for any specific requirements related to your LED tubes.
Tools and Materials Needed for Ballast Bypass
To perform a ballast bypass for LED tube retrofitting, gather the necessary tools and materials first. Here’s what you’ll need:
- Safety gear: Protective eyewear and gloves are essential.
- Circuit breaker finder or multimeter: To confirm power is off.
- Screwdriver or nut driver: For opening the light fixture and removing the ballast.
- Wire cutters and wire strippers: To cut and strip the wires.
- Wire connectors: To join wires together securely.
- LED tubes: The new lights that will replace the fluorescent ones.
- Non-shunted tombstones (sockets): If your fixture has shunted tombstones, you will need to replace them.
- Cordless drill (optional): For fixtures that are hard to open manually.
- Electrical tape: For insulating connections if needed.
Before starting, double-check that you have all the tools and materials. This ensures a smooth and uninterrupted installation process. Remember to use non-shunted tombstones for most T8 LED tubes as they require separate points of contact for each side of the tube.
With these items on hand, you’re ready to safely and effectively bypass the ballast and wire your LED tubes. If you are unsure about any step, consult a professional electrician.
Safety Precautions for Ballast Bypass
Undertaking a ballast bypass requires meticulous attention to safety. Here are key precautions to ensure a hazard-free retrofit:
- Turn Off Power: Always start by switching off the circuit breaker. This prevents electric shocks. Confirm the power is off with a multimeter or circuit breaker finder.
- Wear Protective Gear: Put on gloves and eye protection before starting work. They shield against wire snips and other hazards.
- Use Right Tools: Ensure you have wire cutters, strippers, and screwdrivers. The correct tools prevent accidents.
- Secure Work Area: Keep the space well-lit and free from obstructions. A tidy area minimizes tripping risks.
- Comprehend Wiring: Understand how to wire LED tube lights without ballast. Miswiring leads to electrical faults. Study wiring guides carefully.
- Check Tombstones: Use non-shunted tombstones for a successful install. Incorrect tombstones may cause a short circuit.
- Test for Power: Before touching wires, test them with a multimeter. This ensures they are not live.
- Cap Wires Properly: After stripping wires, use wire nuts or connectors. Loose wires are dangerous.
- Follow Instructions: Abide by the LED tube and fixture manufacturer guidelines. This ensures proper installation.
- Seek Professional Help: If unsure, hire an electrician. Expert assistance guarantees safety.
By adhering to these safety measures, you can bypass ballasts with confidence and security.
Advantages and Disadvantages of Ballast Bypass
Bypassing a ballast brings several benefits and a few drawbacks to consider when retrofitting with LED tubes.
Advantages:
- Energy Efficiency: Without a ballast, LED tube lights use less energy. This can lead to lower electricity bills.
- Longer Lifespan: LED tubes last longer without the strain of a ballast.
- Reduced Maintenance: No ballast means fewer parts to maintain or replace over time.
- Simplicity: Wiring LED tubes directly to power simplifies the overall lighting system.
- Immediate Light Output: LED tubes reach full brightness instantly without a ballast.
Disadvantages:
- Installation Complexity: Bypassing a ballast requires some electrical knowledge and wiring work. It can be daunting for some.
- Additional Components: Non-shunted tombstones may be necessary, which adds to the retrofit list.
- No Going Back: Once you remove the ballast, you can’t revert to using fluorescent tubes easily.
- Possible Safety Risks: Incorrect wiring can lead to electrical hazards. Always ensure you follow the safety precautions.
- Labor Intensive: The initial effort to remove the ballast and rewire can be laborious compared to simple bulb replacements.
By understanding these advantages and disadvantages, you can make an informed decision on whether ballast bypass is the right choice for your LED retrofitting project.

Proper Disposal of Old Ballasts and Fluorescent Tubes
After a successful ballast bypass and retrofitting with LED tubes, it’s important to properly dispose of old ballasts and fluorescent tubes. These items contain materials that might be harmful to the environment if not handled correctly. Here are the steps for safe and responsible disposal:
- Check Local Regulations: Start by checking local waste disposal regulations. Some areas require special disposal methods for ballasts and tubes.
- Recycling Centers: Look for local recycling centers that accept electronic waste, including ballasts and fluorescent tubes. They have the proper facilities to handle them.
- Hazardous Waste Collection: If your tubes contain mercury, as most fluorescents do, contact a hazardous waste collection site. They will ensure safe mercury disposal.
- Manufacturer Take-back Programs: Some manufacturers offer take-back programs for their products. Reach out to the tube or ballast manufacturers for disposal options.
- Preparation for Disposal: Before disposal, place the old tubes and ballasts in proper packaging to prevent breakage and mercury exposure.
- Safe Transport: When transporting ballasts and tubes, keep them in an upright position in a sturdy container.
- Do Not Mix: Never mix ballasts and fluorescent tubes with regular trash. They need separate treatment due to their components.
- Labeling: Clearly label the disposal containers to alert waste handlers of the contents.
How to wire led tube lights without ballast? By following these guidelines, you help protect the environment and comply with legal requirements for waste disposal. Remember that careful disposal is part of a responsible retrofit process.
Troubleshooting Common Issues After a Ballast Bypass
After removing the ballast and installing LED tubes, you may encounter some issues. Here’s how to troubleshoot common problems:
- LED Tube Not Working: Ensure the power is on and check your wiring connections. If connections are loose, secure them.
- Flickering or Dimming: This could indicate a poor connection. Re-check wire connectors for a firm fit.
- Buzzing Noise: Usually caused by loose parts. Tighten all components in the fixture.
- Uneven Lighting: Make sure LED tubes are seated correctly in the sockets. Adjust if necessary.
- Tripped Circuit Breaker: A short circuit may be the culprit. Inspect all wiring, replace damaged wires.
- LED Tube Burns Out Quickly: Check for correct tube type and installation. Overheating can shorten lifespan.
- No Power to Fixture: Use a multimeter to test for voltage at the fixture. If none, trace back to your power source.
How to wire led tube lights without ballast? By methodically addressing each issue, you can resolve most problems encountered after a ballast bypass. Always disconnect power before attempting any fixes. If you’re unsure, contact a professional electrician for help.