Small LED lamp technology has revolutionized the way we illuminate our spaces, offering energy-efficient, durable, and aesthetically pleasing solutions for both functional and decorative lighting. As people increasingly seek modern and stylish lighting options, small LED lamps have gained significant popularity due to their versatility and adaptability to various settings. In this article, we will delve into the features, benefits, and applications of small LED lamps, explore the different styles and designs available, and discuss their environmental impact, all while highlighting how they can serve as cool table lamps in homes and offices.

Understanding LED Technology
What is LED?
LED stands for Light Emitting Diode, a semiconductor device that emits light when an electric current passes through it. Unlike traditional incandescent bulbs that produce light by heating a filament and fluorescent bulbs that use gas, LEDs generate light through electroluminescence, making them highly energy-efficient.
Advantages of LED Lighting
- Energy Efficiency: LED lamps consume significantly less electricity compared to traditional lighting options. They use approximately 80% less energy than incandescent bulbs, leading to lower utility bills.
- Longevity: Small LED lamps have an impressive lifespan of about 25,000 to 50,000 hours, far surpassing that of incandescent bulbs (around 1,000 hours) and compact fluorescents (around 10,000 hours). This durability reduces the frequency of replacements.
- Low Heat Emission: LEDs emit very little heat in comparison to traditional light sources. This characteristic minimizes the risk of burns and reduces air conditioning costs, especially in warmer climates.
- Instant Lighting: LEDs light up instantly at full brightness without any warm-up time, making them ideal for areas requiring immediate illumination.
- Environmental Impact: LED technology contains no harmful materials such as mercury, often found in fluorescent bulbs. This eco-friendly aspect makes LEDs a desirable choice for sustainable living.
The Features of Mini LED Lamp
Compact Design
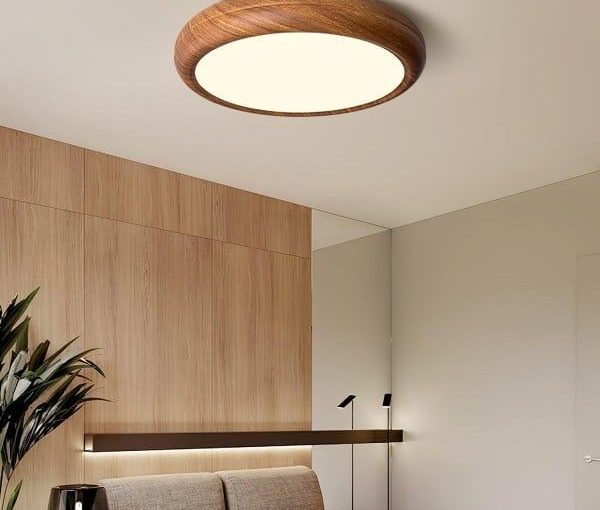
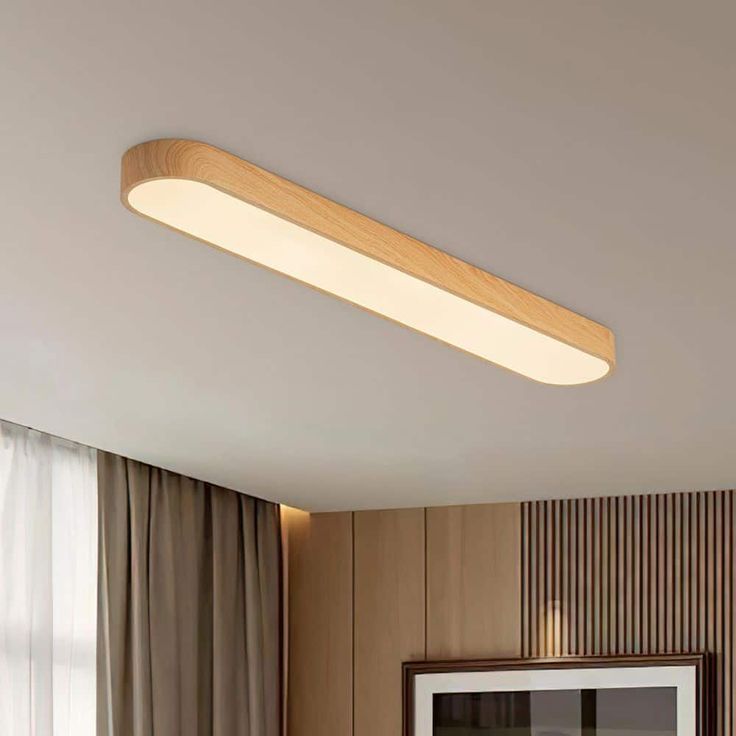
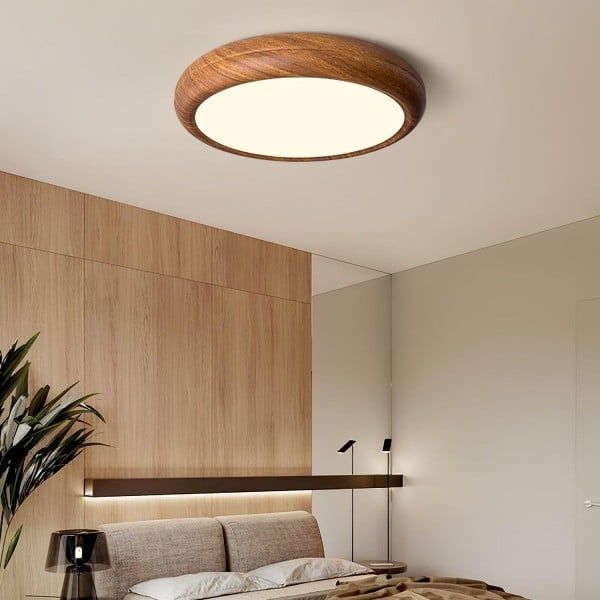
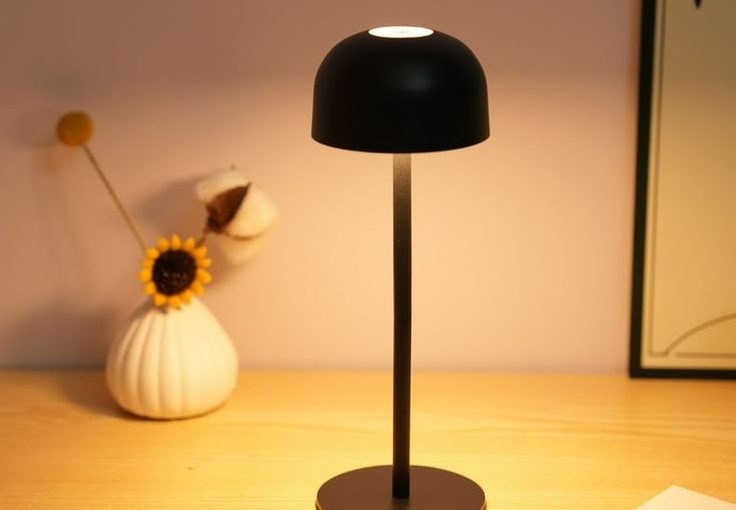
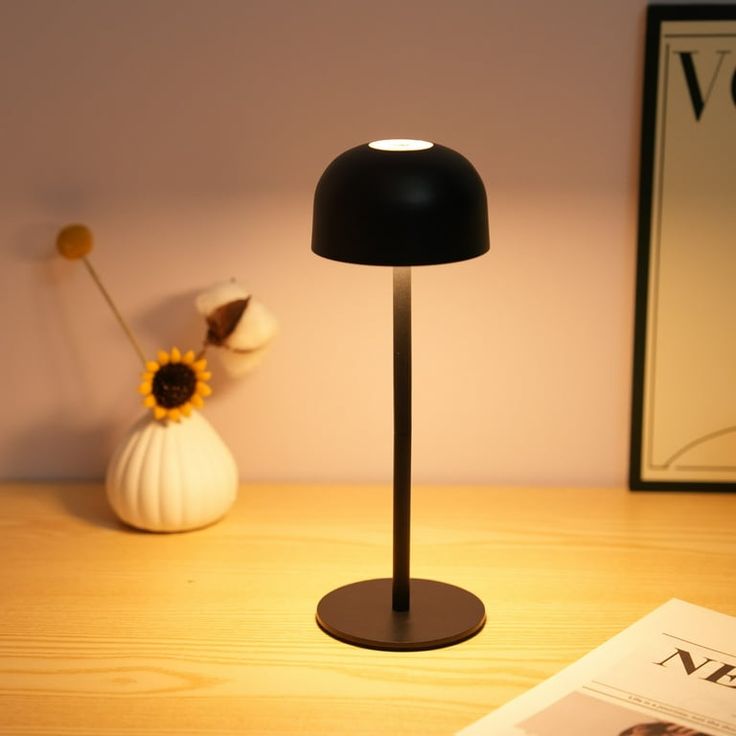
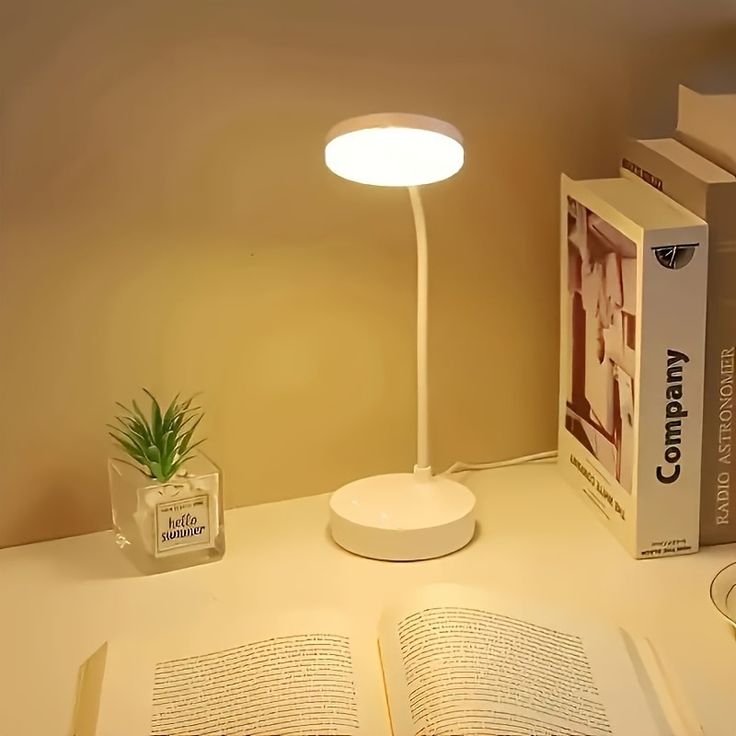
One of the defining characteristics of small LED lamps is their compact design. These lamps can easily fit into tight spaces, making them ideal for desk lighting, bedside tables, or any corner of a room needing illumination. Their small footprint allows for creative placement options, enriching the aesthetics of a space.
Adjustable Brightness and Color Temperature
Many small LED lamps offer adjustable brightness levels and color temperatures, allowing users to customize their lighting according to preferences or tasks. Depending on the model, users can switch between warm white and cool white light, enhancing mood and productivity.
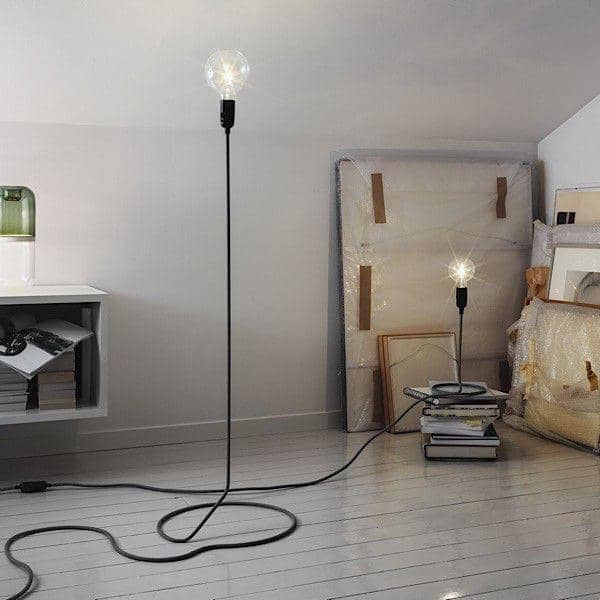
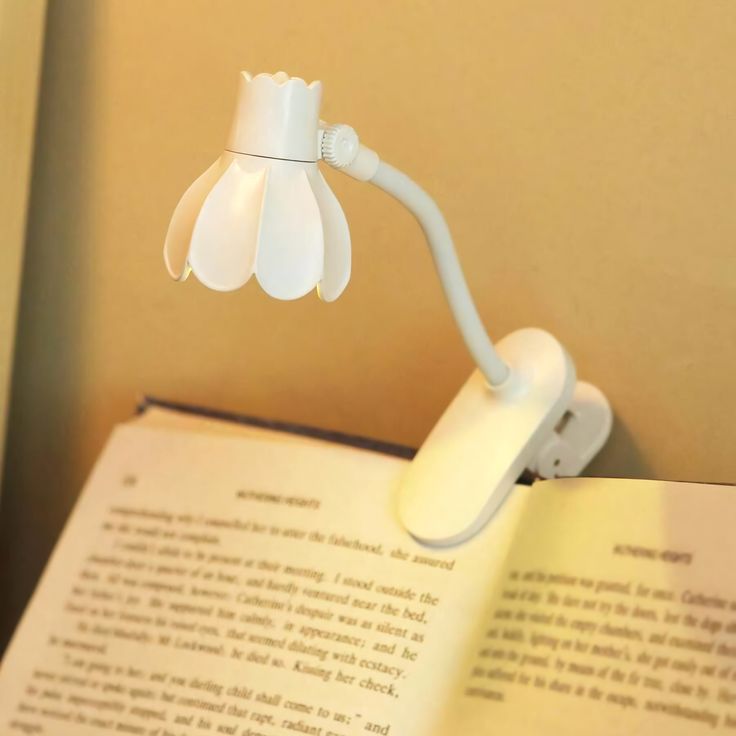
Portability
Many small LED lamps are lightweight and portable, enabling users to move them from one place to another effortlessly. This feature is particularly useful for individuals who frequently change their arrangements or for those who need task lighting in different areas.
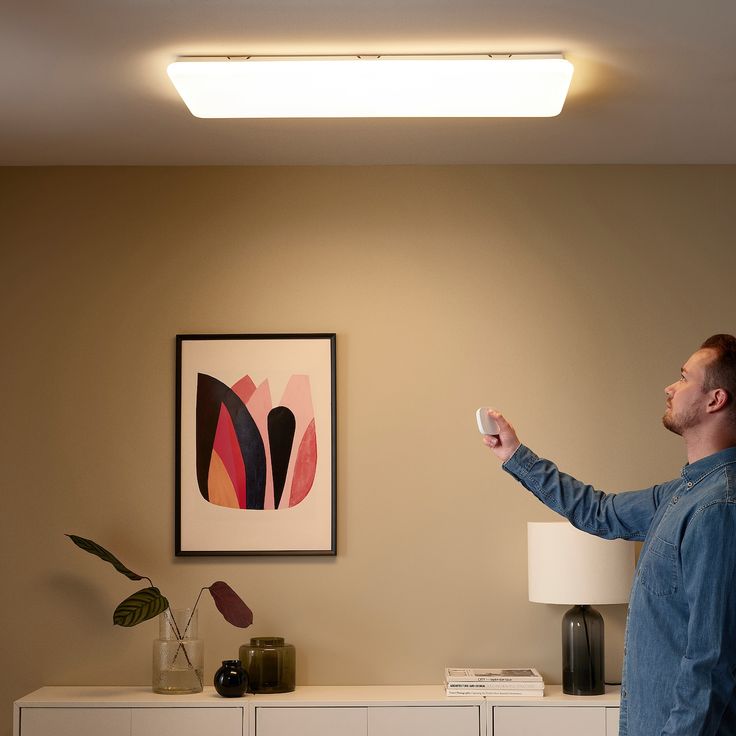
Smart Features
As technology evolves, many small LED lamps now offer smart features that include timers, dimmers, and smartphone connectivity. Users can control their lighting via mobile apps or voice commands, adding convenience and innovation to their everyday lives.
Applications of LED Lamps
1. Home Lighting
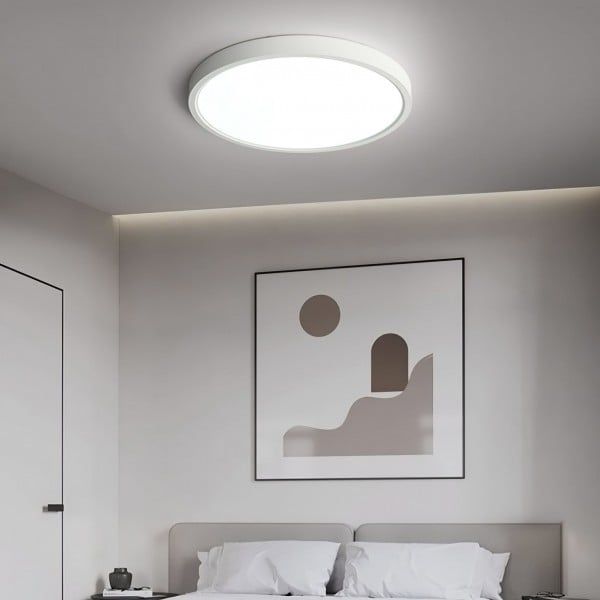
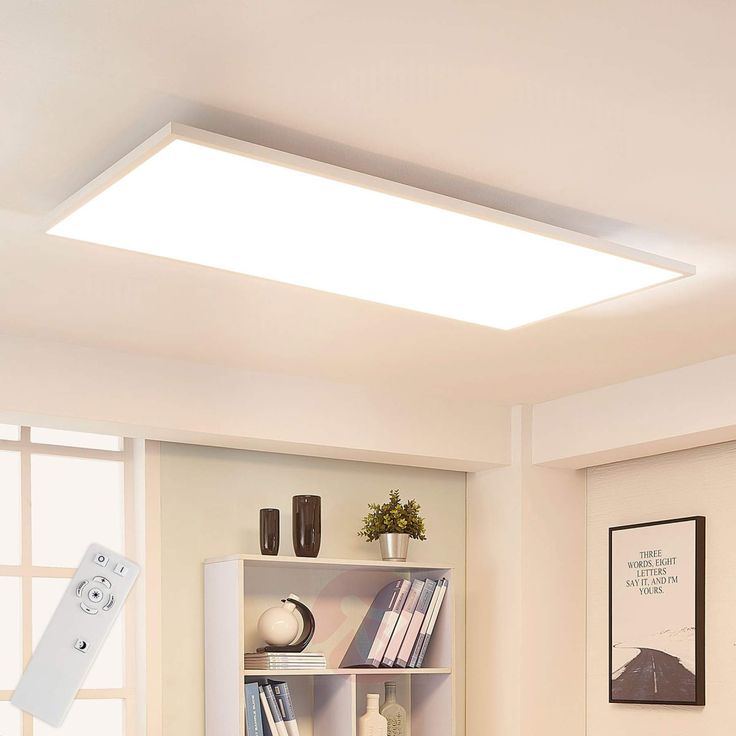
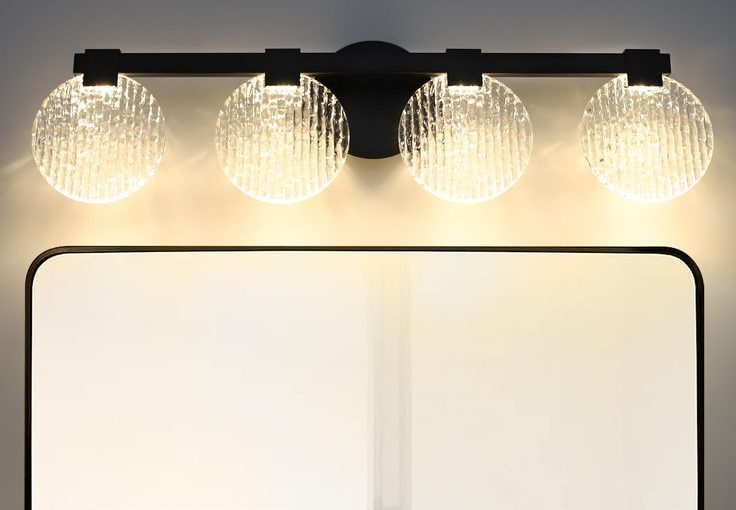
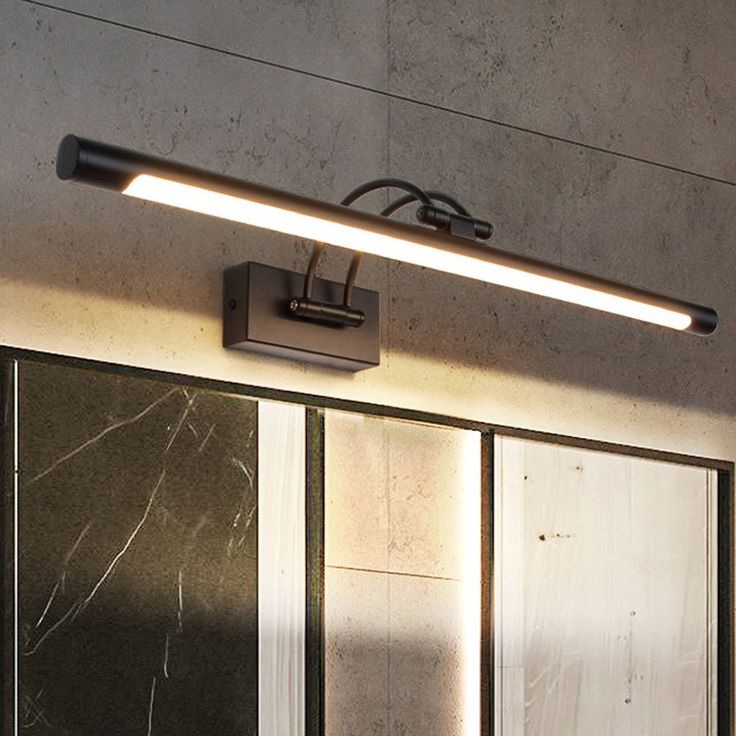
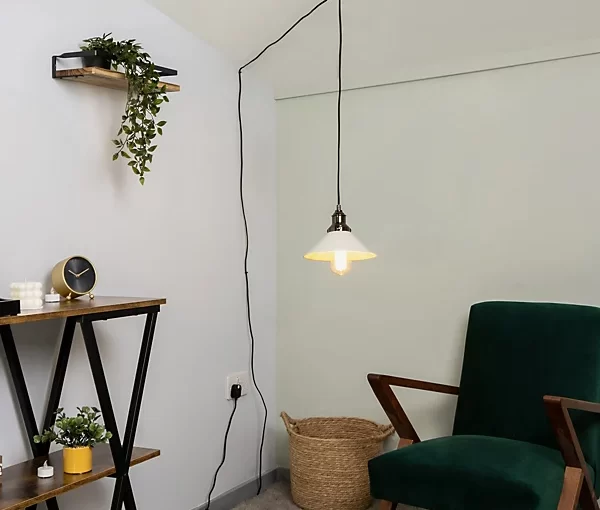
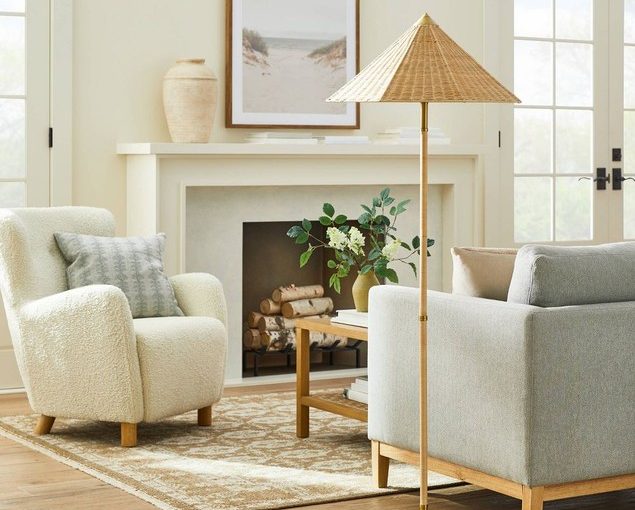
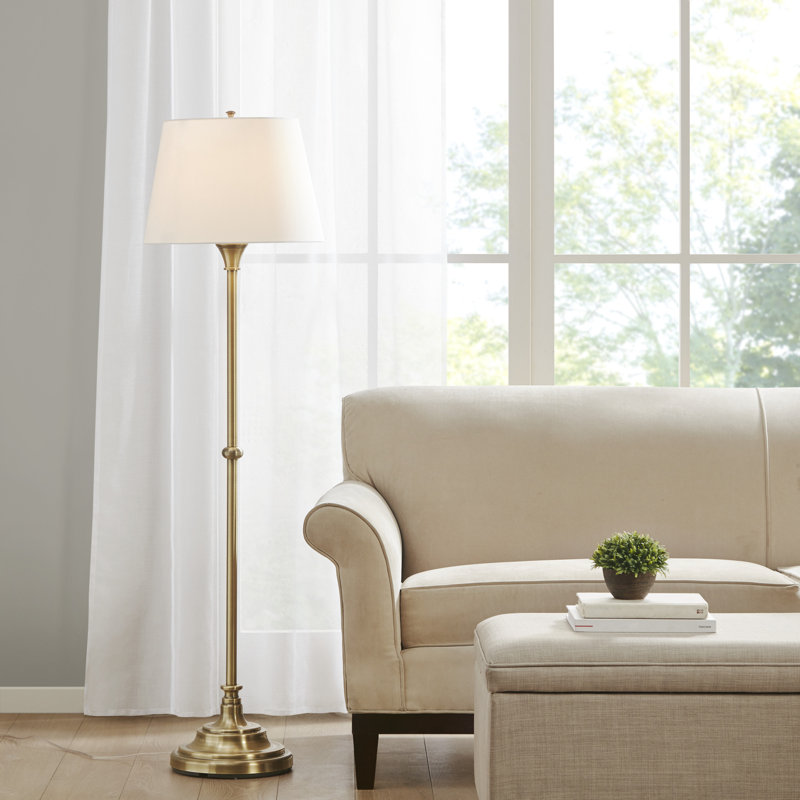
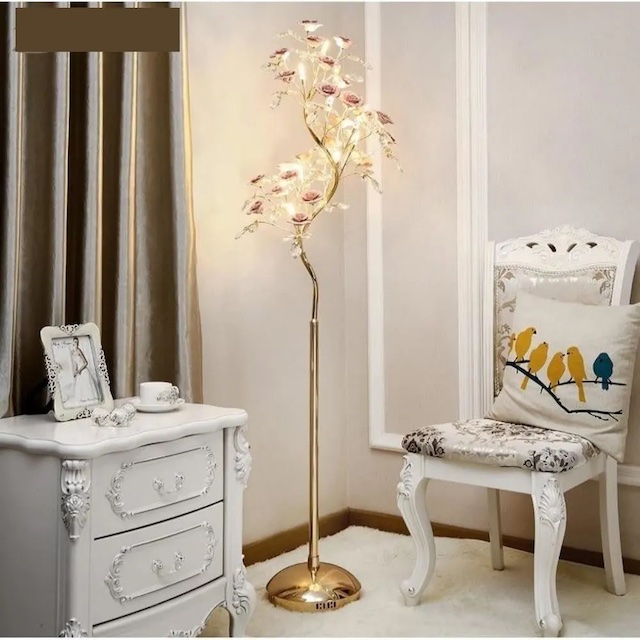
Small LED lamps play a vital role in home lighting. They can be strategically placed on tables, end shelves, or countertops to provide ambient and task lighting. In living rooms, they can serve as accent lights to highlight artwork or create cozy atmospheres during social gatherings.
2. Office Use
In the workplace, small LED lamps are becoming a popular choice for desk lamps. Their adjustable brightness and directional lighting capabilities help reduce eye strain during long hours of reading or working on computers. Moreover, their modern design adds a stylish flair to office environments, enhancing productivity and focus.
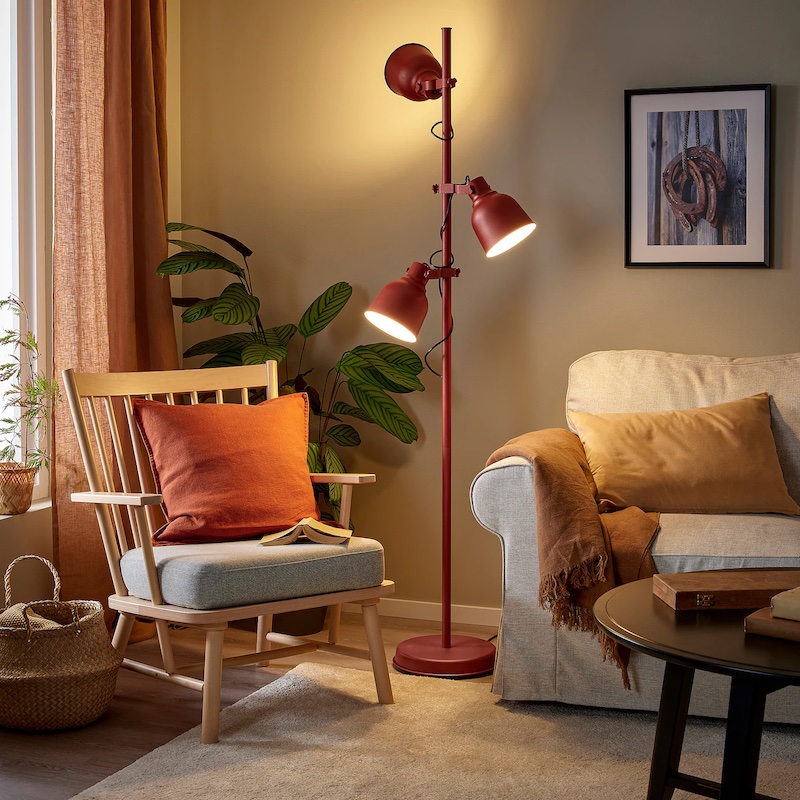
3. Bedside Lighting
Small LED lamps are excellent options for bedside tables, offering soft, warm light that promotes relaxation. Many models include features such as touch control, built-in USB charging ports, and adjustable brightness levels, making them practical companions for nighttime reading and unwinding before sleep.
4. Children’s Rooms
In children’s rooms, small LED lamps can serve as night lights or decorative elements. They come in various fun shapes and colors, sparking imagination while providing comfort and safety. Furthermore, parents can select dimmable options, allowing for a soothing glow during bedtime routines.
5. Outdoor Spaces
Small LED lamps are also valuable for outdoor settings, such as patios and garden areas. Weather-resistant designs ensure safe usage during outdoor gatherings, enhancing ambiance without compromising safety.
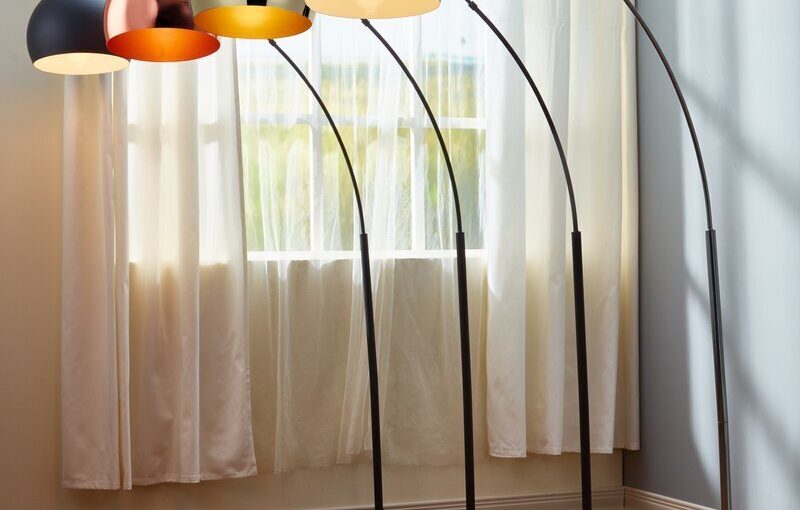
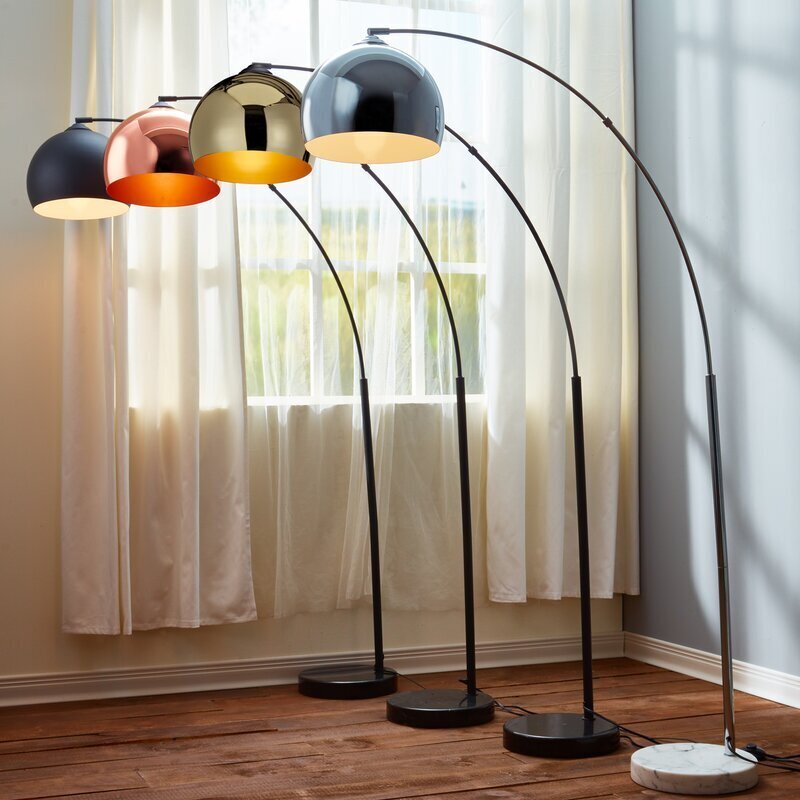
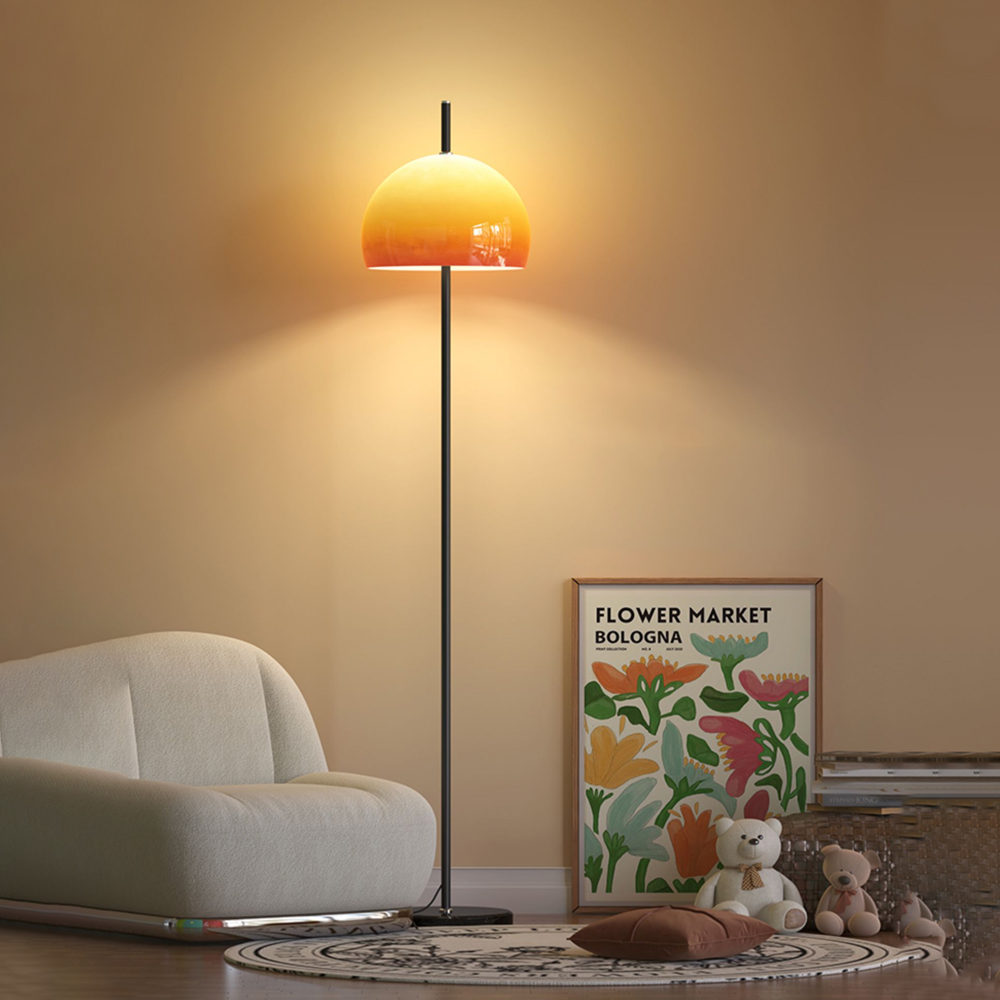
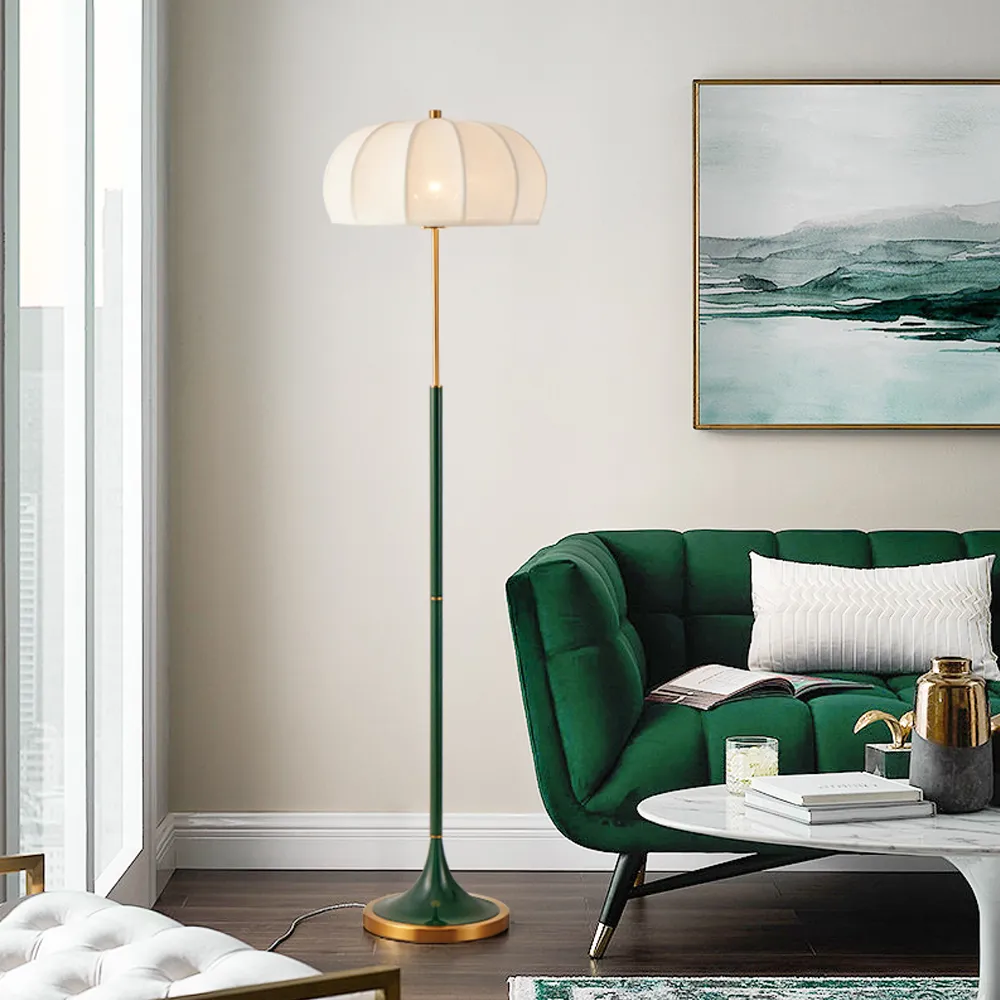
Stylish Designs of Mini LED Lamps
Small LED lamps come in an array of designs, catering to diverse tastes and interior styles. Below are some popular styles:
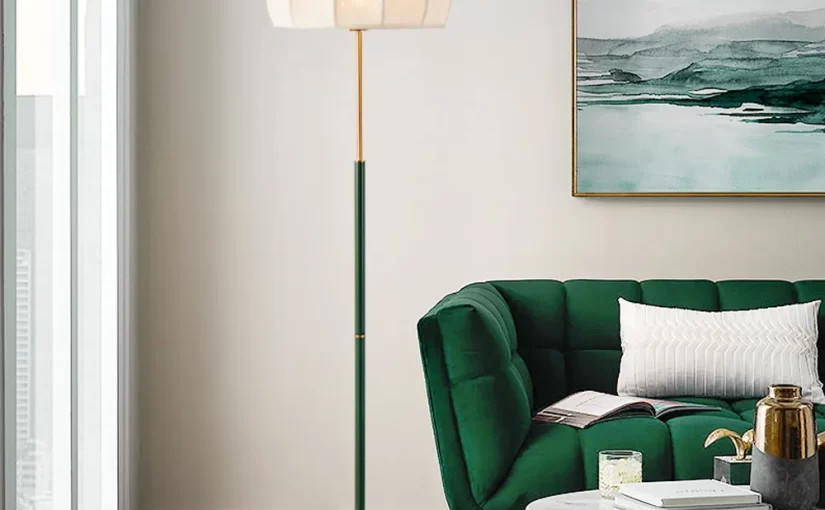
1. Minimalist Lamps
Minimalist small LED lamps feature clean lines and simple shapes, embodying a sleek, contemporary aesthetic. These lamps often utilize neutral colors like white, black, or gray, allowing them to fit seamlessly into modern decor.
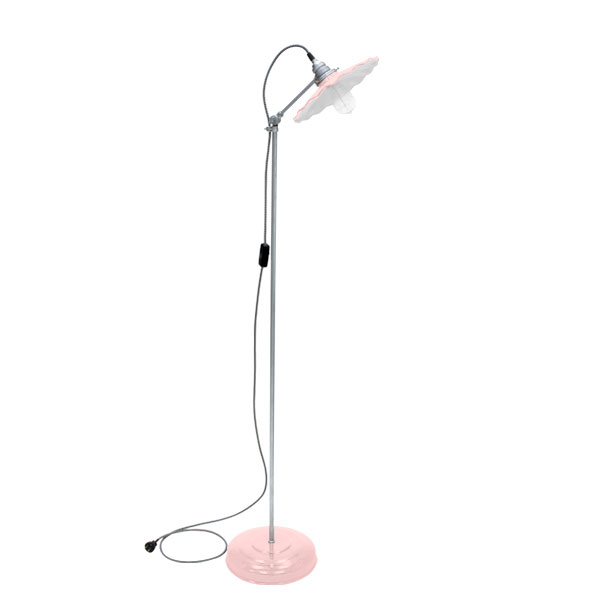
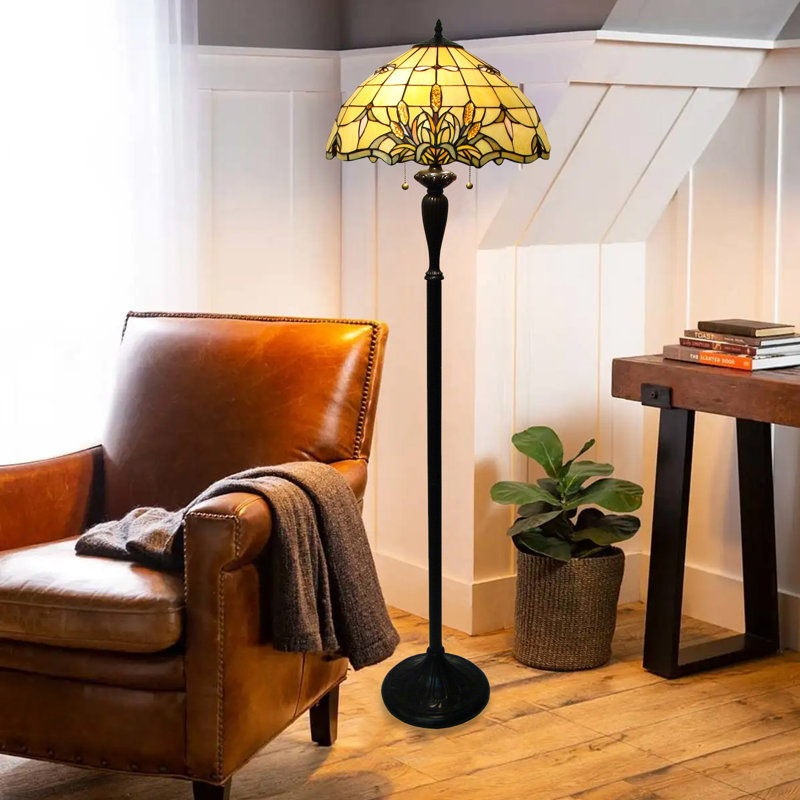
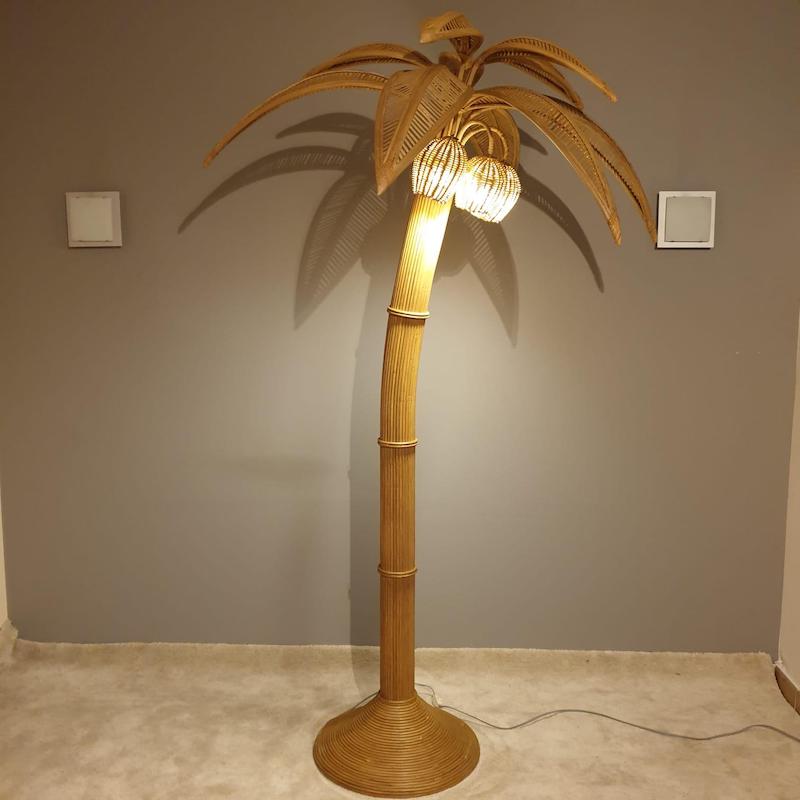
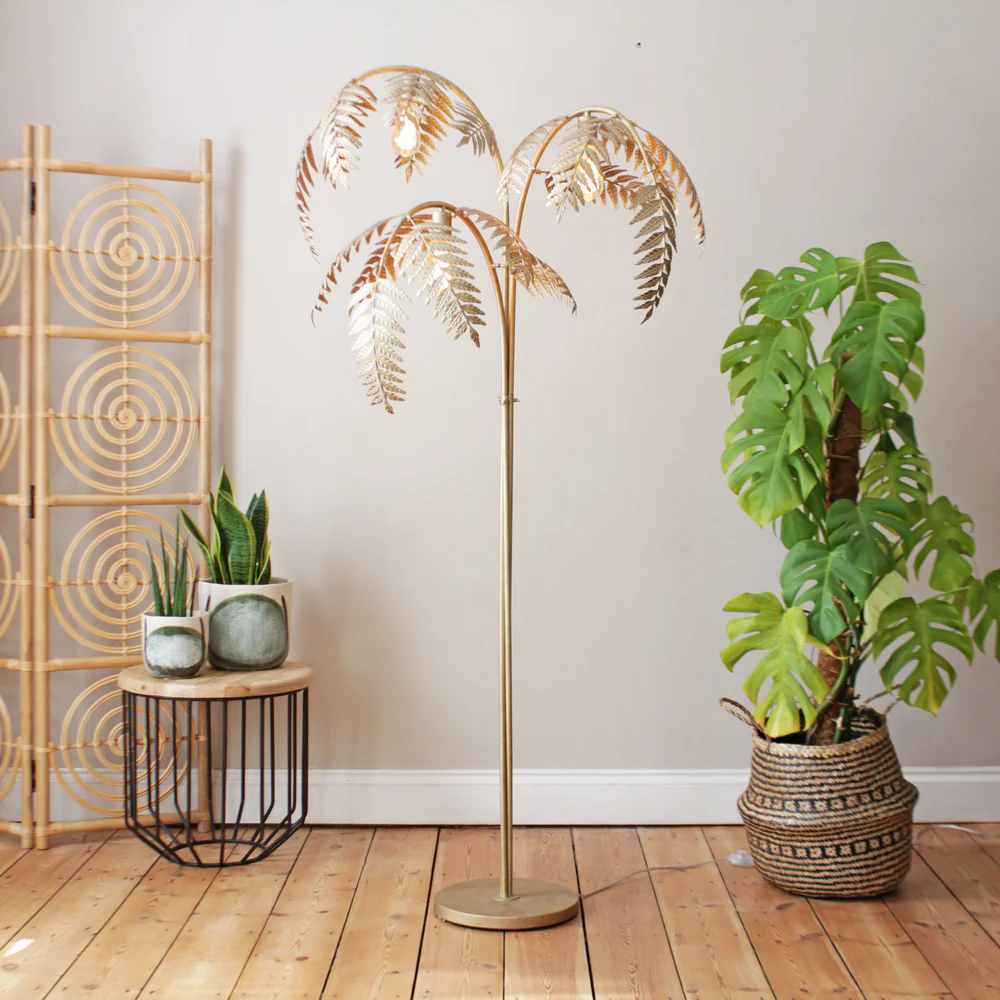
2. Vintage-Inspired Lamps
Vintage-inspired small LED lamps evoke nostalgia with their antique finishes and classic designs. Often made with materials like brass or aged metal, these lamps can bring a touch of charm and elegance to both traditional and eclectic spaces.
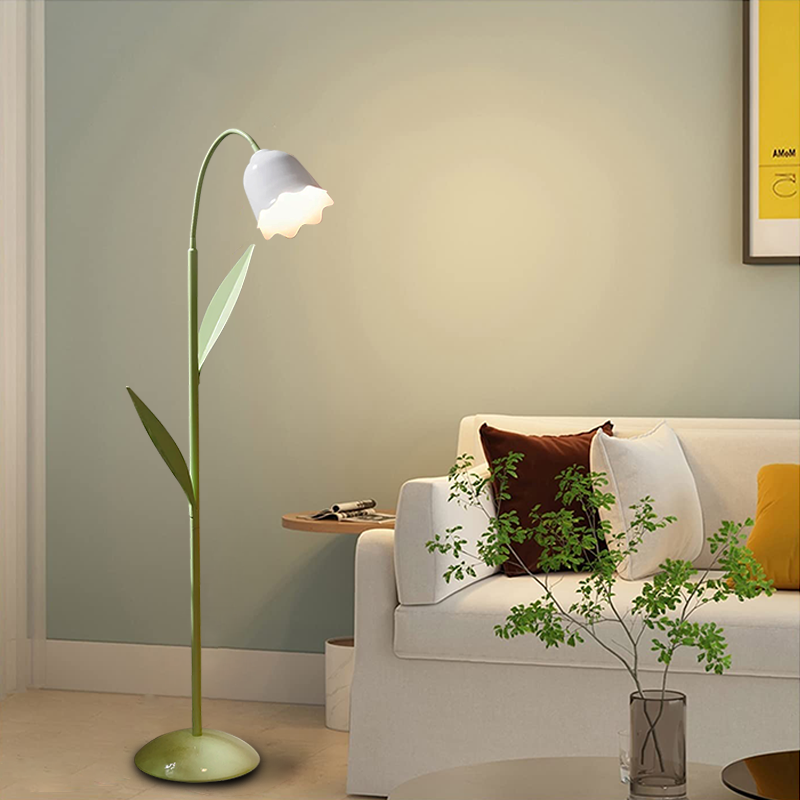
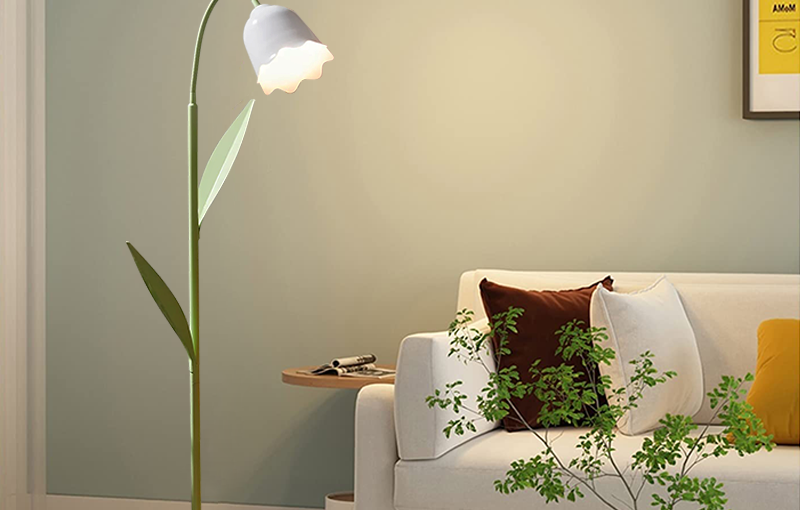
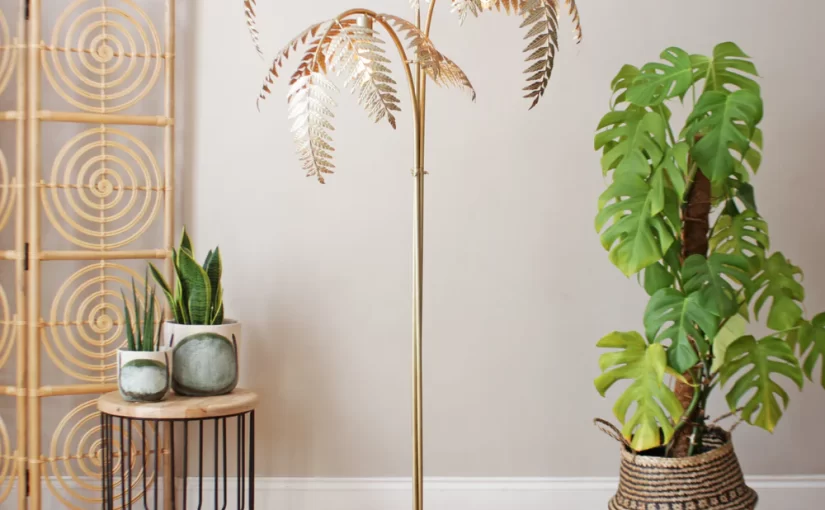
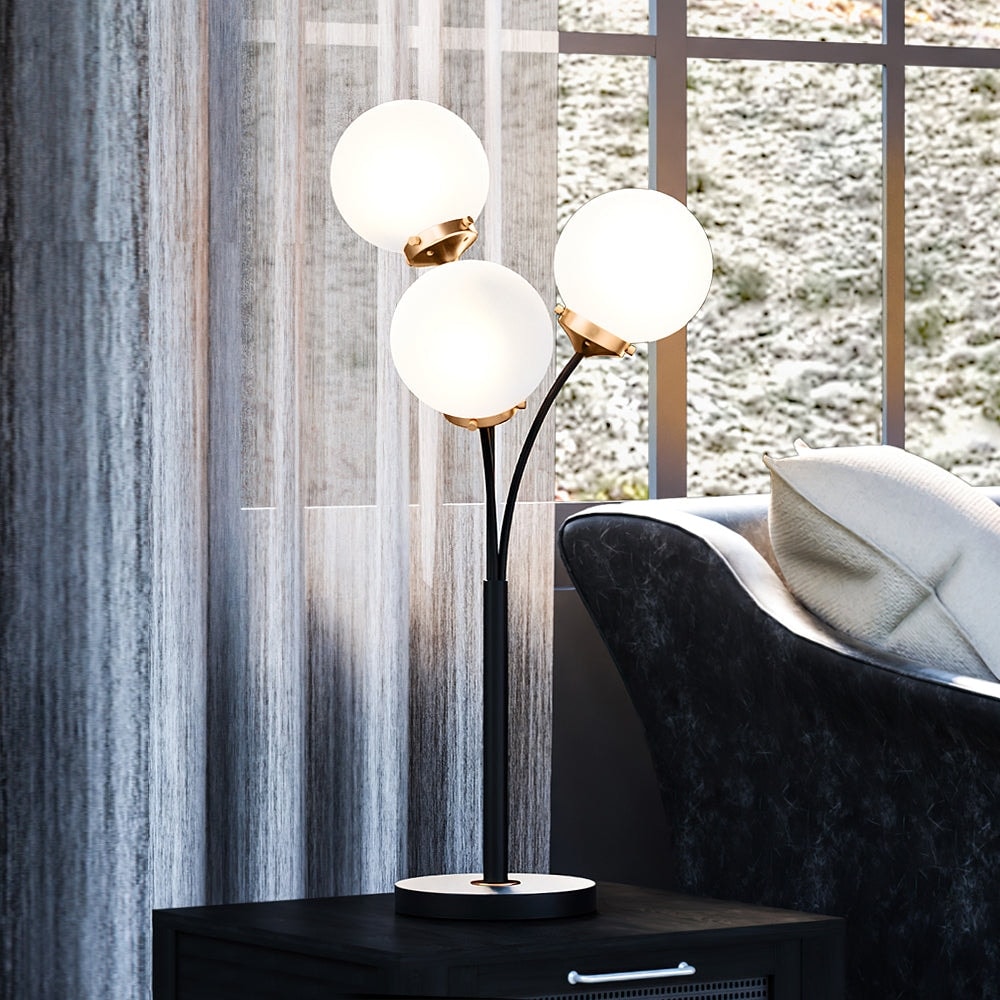
3. Decorative Lamps
Decorative small LED lamps come in whimsical shapes, such as animals, flowers, or abstract forms. These playful designs add personality to rooms, serving as functional lighting while doubling as decorative art pieces.
4. Smart Lamps
Smart small LED lamps incorporate advanced features such as app connectivity and voice command capabilities. They often come in sleek, modern designs and can change colors, sync with music, or adjust brightness based on user preferences.
5. Desk Lamps
Functional small LED desk lamps are designed with adjustable arms and diffusers for workspace optimization. They often include features such as USB charging ports and integrated power strips, enhancing their utility in home offices.
Environmental Impact of Mini LED Lamps
Using small LED lamps contributes significantly to reducing environmental impact. Their energy efficiency decreases overall power consumption, leading to lower greenhouse gas emissions associated with energy production. Furthermore, their long lifespan reduces waste in landfills, as fewer lamps need to be disposed of over time.
Recycling LED Lamps
As with any technology, responsible disposal and recycling of LEDs are essential. While LED bulbs do not contain hazardous materials, their electronic components should be recycled properly to minimize environmental harm. Consumers can check local recycling programs for electronics to ensure responsible disposal.
DIY Ideas for Using Small LED Lamps
Embracing creativity is an excellent way to customize your lighting solutions. Here are some DIY ideas for using small LED lamp creatively:
1. Customized Light Fixtures
Transform a simple small LED lamp into a unique light fixture by painting it, wrapping it with fabric, or adding decorative elements such as beads or string lights. This personalization adds a unique touch to your decor.
2. Table Centerpieces
Use small LED lamps as part of a table centerpiece. Place them alongside flowers, candles, or decorative items to create a visually striking combination. This setup can enhance mood for events, parties, or romantic dinners.
3. Mood Lighting
Integrate small LED lamps in creative ways to set various moods in your space. For instance, use colored LED bulbs or filters to create party atmospheres or relaxation areas.
4. Reading Niche
Designate a reading nook by grouping small LED lamp in the area. Use adjustable lamps for focused lighting and combine them with comfortable seating, pillows, and bookshelves for an inviting space.
5. Outdoor Lighting Creations
Use small LED lamps to create charming outdoor lighting accents, such as lining pathways, illuminating garden features, or hanging in trees. These ideas add warmth to outdoor gatherings while ensuring safety.

The Future of Small LED Lamp
The future of small LED lamps looks promising, with continuous advancements in technology and design. Innovations in smart technology, such as better app integrations and enhanced energy-saving features, will likely redefine how we illuminate our spaces.
Emphasizing Sustainability
As awareness grows surrounding environmental issues, manufacturers will focus on creating more sustainable and eco-friendly lighting products. This evolution may include using recycled materials, improving energy efficiency, and developing more innovative designs.
Integration with Smart Homes
As smart home technology continues to gain popularity, small LED lamps are expected to play an increasingly integral role. With integration into existing smart home systems, users will enjoy enhanced control over lighting, leading to improved convenience and energy management.
Conclusion
The small LED lamp is not merely a source of light; it embodies a modern intersection of technology, design, and sustainability. With their energy efficiency, durability, and versatility, small LED lamps emerge as essential lighting solutions in both personal and professional spaces.
By understanding their capabilities and exploring the myriad designs available, individuals can utilize small LED lamps to enhance home and office environments, create inviting atmospheres, and promote wellness. Their stylish aesthetics shift them from basic lighting to expressive elements within interior design.
As we continue to lean into innovation, small LED lamps will undoubtedly adapt to meet the changing needs of consumers, paving the way for a brighter, more sustainable future. Embrace the charm and functionality of small LED lamp, and let your creativity shine as you illuminate your spaces!